A messenger bag has to solve a problem most waterproof products never face: it must repel rain that arrives sideways, and it must still look like something a professional will carry into a meeting. Those two requirements pull in opposite directions, because every visible waterproofing measure — a storm flap, a roll collar, taped seams, technical hardware — reads as outdoor equipment. The result is a category where the marketing shows a city street and the engineering quietly follows an outdoor specification, and users discover the gap the first time they walk twenty minutes through wind-driven rain with a laptop inside. Understanding where the water actually enters is worth more than any ratings claim, because the entry points are structural and predictable.
This piece covers that mechanism from both sides of the buying decision — for professionals choosing a commuter bag, and for brands specifying one. It covers why rain does not fall straight and what that does to flap geometry, the three places water enters a messenger bag and which one dominates, how much coverage a flap actually needs and how to measure it, magnetic snaps against clip buckles in genuinely wet conditions, where water goes once it is under the flap and how it is drained, how to size around documents and laptops rather than around litres, the structure-versus-slouch decision that governs whether a bag reads as professional at all, strap geometry and why these bags slip more than backpacks, fabric choices that survive both a downpour and a boardroom, internal organisation without adding bulk, what two hundred and fifty opening cycles a year does to a closure, and how to test a commuter claim before committing to production. QUANZHOU JUNYUAN BAGS — custom waterproof bag production since 2014, 4,950 m² SGS-verified facility — works to MOQ 500 pieces per style, with sampling in 6–10 working days and bulk in 35–50 days, FOB Xiamen.
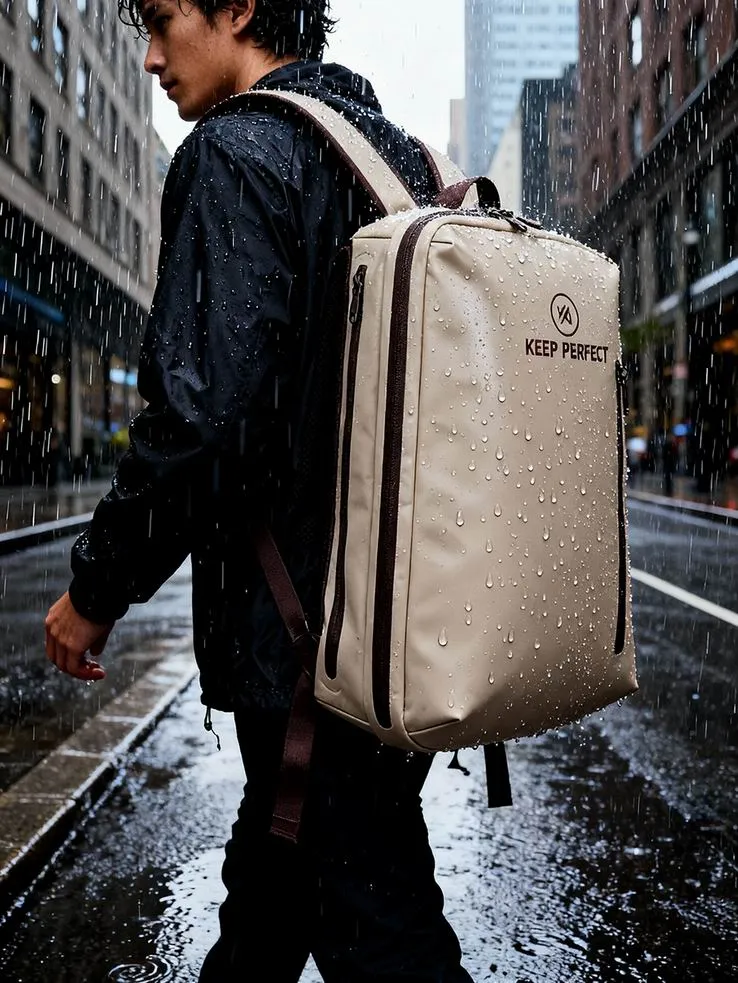
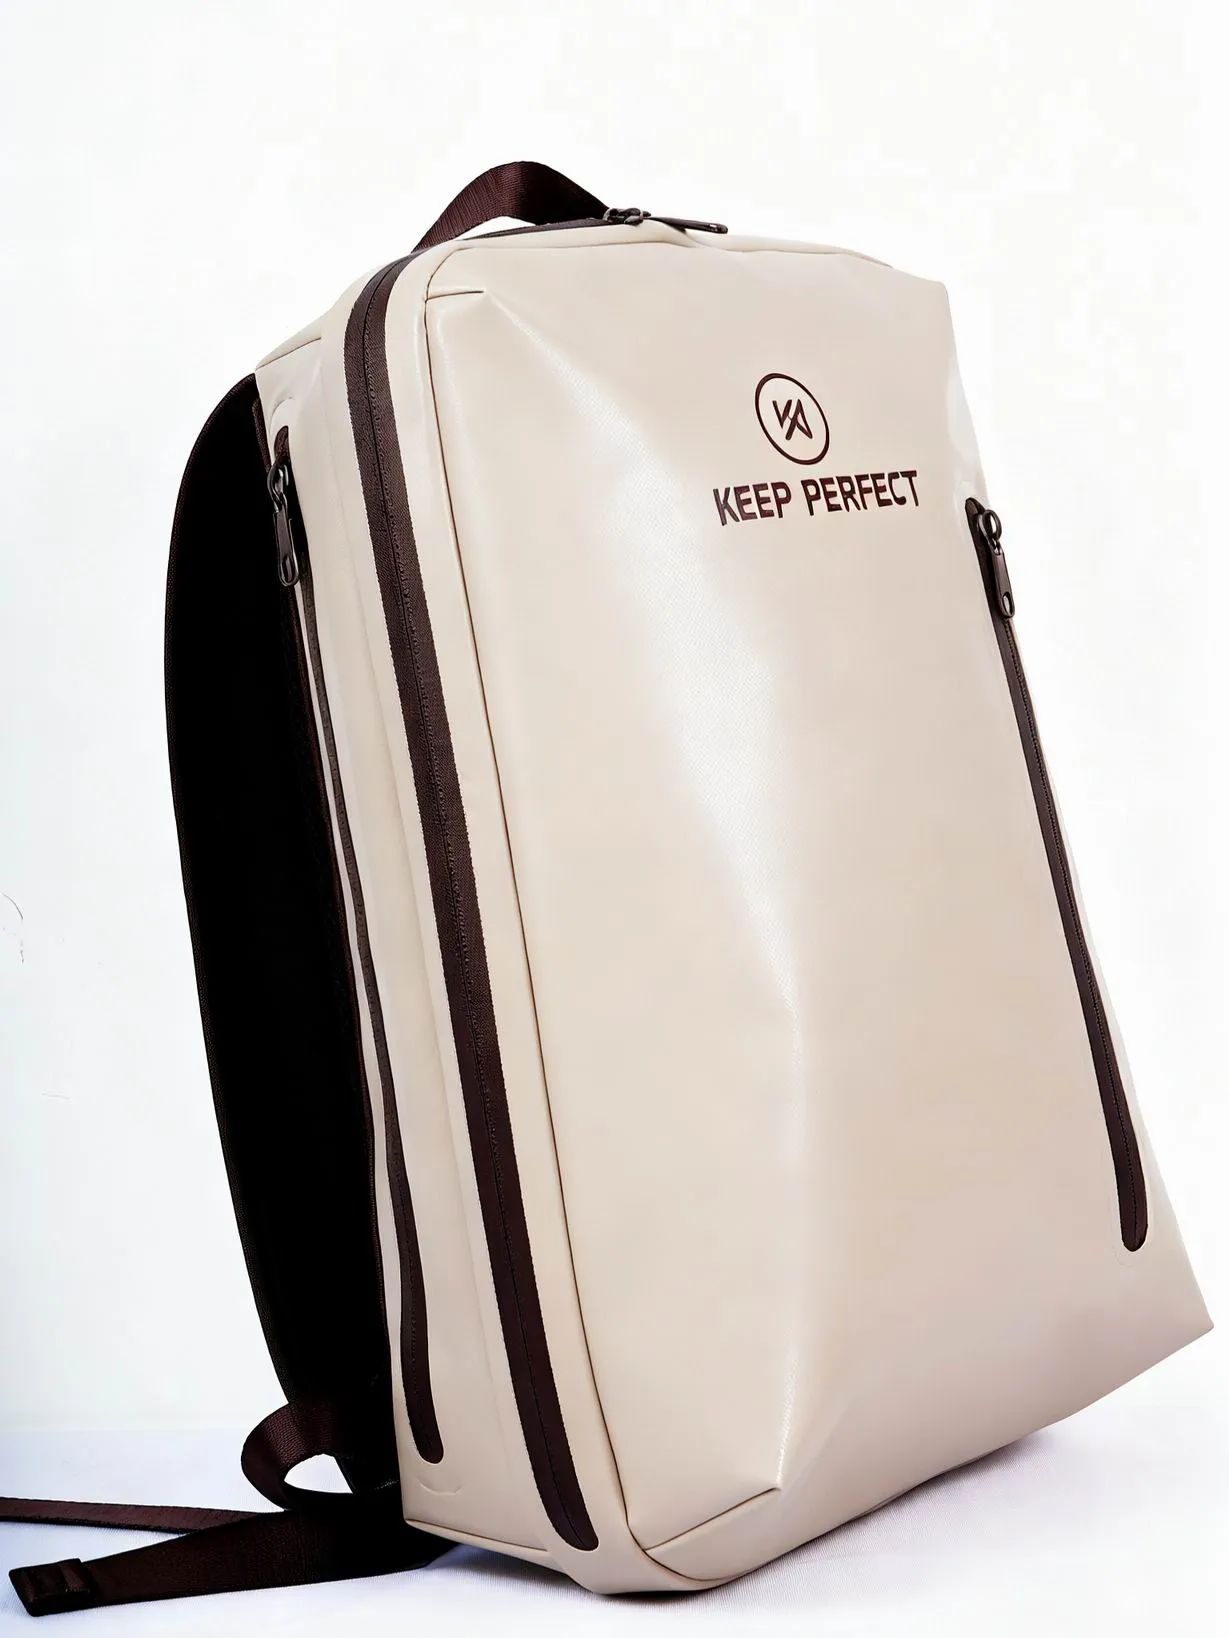
Rain does not fall straight: what a flap really defends against
Every judgement about waterproof messenger bags changes once you accept one physical fact: in a city, rain arrives at an angle. Buildings create downdraughts and corner vortices, vehicles push sheets of water sideways, and a person walking generates their own relative wind, so a twenty-minute walk in a moderate shower exposes a bag to far more water on one vertical face than on the horizontal top. Urban professional carry is therefore a directional problem, and the flap is the only part of the bag designed with direction in mind.
That reframes what the flap is for. It is not primarily a lid; it is a directional shield, and it works by ensuring that water running down the outer face reaches the bottom edge of the flap and drips off, rather than continuing onto whatever is beneath. For that to happen the flap must extend past the widest part of the bag on the side facing the rain, and it must be held reasonably close to the body. A flap that stops short, or that stands away from the body because the bag is overfilled, converts the shield into a funnel.
There is a second mechanism at work that is less obvious and more damaging. Capillary action pulls water into any narrow gap, including the gap between the flap and the body. Once water occupies that gap it travels along it and reaches whatever horizontal seam or closure sits below, regardless of how waterproof the outer fabric is. The countermeasure is not more coverage alone but a break in the path: a rolled edge on the flap, a drip line, or a small stand-off that widens the gap from a capillary dimension of well under a millimetre to something water cannot bridge.
For anyone specifying a commuter product, the practical conclusion is that water testing should be directional. Vertical spray testing, which is what most suppliers do, will pass a bag that fails badly within ten minutes of a walk down a rainy street. Angled spray at roughly 45 degrees plus a wet-body simulation should be the minimum, and the expectation should be set against the real exposure rather than against the product’s ability to survive a laboratory shower. Choosing the target is the subject of our guide to choosing the right waterproof level.
The three entry points and which one dominates
A messenger bag has exactly three ways to take in water, and field returns distribute overwhelmingly toward one of them. Knowing which one dominates tells a brand where to spend and tells a buyer where to look when comparing two products that carry identical claims.
| Entry point | Share of real-world wetting | Mechanism | What actually prevents it |
|---|---|---|---|
| Under-flap seams and closures | Dominant; the large majority of complaints | Water in the capillary gap travels to the first horizontal seam or zip below the flap | A drip edge on the flap, no unprotected horizontal seams beneath it, sealed closures |
| Side gussets and their top corners | Significant, especially when overfilled | Rain hitting the exposed top of the gusset runs inward rather than outward | Gusset tops covered by the flap line; sealed or inward-folded gusset corners |
| The back panel against the body | Occasional, usually mistaken for sweat | Water running down the wearer’s own coat into the contact area | A spacer mesh or a smooth panel with a drainage channel at the base |
| Seams along the base | Rare from rain; common from setting the bag down | Standing water drawn in through an unsealed base seam | A welded or taped base seam; feet or a reinforced base |
| Through the outer fabric itself | Very rare above entry price points | Coating failure or wetting-out under abrasion | Adequate coating specification and DWR maintenance |
The first row deserves the development budget and it has a clear specification answer: treat everything beneath the flap as if it were exposed, because sooner or later it will be. That means no unprotected horizontal zip anywhere under the flap line, no untaped horizontal seam, and no pocket formed by stitching directly into the front panel below the flap. Where a front pocket is genuinely needed under a flap, its seam must be sealed and its top edge must sit below the drip line.
The third row is the one users misdiagnose and it is worth naming explicitly: water running down a coat into the back panel often produces a damp patch that users attribute to a leaking seam. A thin spacer-mesh panel with a channel at the base costs little and removes the ambiguity, and it also improves comfort in summer, which is an easier thing to sell than a drainage channel.
The construction choices that determine all of these — welded versus sewn versus bonded — are compared in our review of stitched, welded and bonded construction, and the specific question of how closures are rated is set out in our guide to closures from zips to roll-tops.
Flap coverage geometry: how much is actually enough
Coverage is usually specified as a drop measurement — how far the flap hangs below the top of the bag — and that measurement alone is misleading. What matters is the relationship between three dimensions: how far down the flap reaches, how far it extends sideways past the widest point, and how closely it lies against the body when the bag is full. A bag can have a generous drop and still funnel water in because it flares outward when loaded.
A workable rule for a commuter messenger is that the flap should cover the top two-thirds of the front panel as a minimum, extend to within fifteen millimetres of the side edges or beyond, and still overlap the body by at least twenty millimetres when the bag is packed to its intended maximum. The last condition is the one most often violated, because nobody checks coverage with a full bag; they check it empty and photographed.
Two cheap features change behaviour more than any amount of extra coverage. A rolled or piped edge along the bottom of the flap creates a physical drip line, so water leaving the flap does so away from the body rather than creeping toward it. And a small pair of side tabs or magnets that pull the lower corners of the flap inward keeps it lying flat against a full bag, closing the funnel that an overfilled load otherwise opens.
There is a real trade-off worth stating. Deep coverage and a close fit make the bag slower to open, and messenger users open their bags constantly — at security, at a desk, on a train. Somewhere around the point where opening takes more than about three seconds, users stop closing it properly, and an improperly closed flap protects nothing. The best commuter designs resolve this with a single-handed closure that is easy to shut but requires a deliberate pull to open.
Magnetic snaps against buckles when it is actually raining
Closure choice on a messenger flap is argued about as though it were aesthetic, and it is not: it determines whether the bag is closed after its owner has fumbled it with wet hands in a doorway. The magnetic snap, the twist-lock, the clip buckle and the hook-and-loop panel each fail differently, and the failure modes matter more than the dry-lab pull numbers quoted on specification sheets.
| Closure type | One-handed use when wet | Behaviour when overfilled | Durability over years | Best application |
|---|---|---|---|---|
| Magnetic snap, single | Excellent; locates itself | Holds, though alignment suffers | Very good; magnets do not wear | Default for daily urban carry |
| Magnetic snap with two positions | Excellent | Best; the second position absorbs the extra volume | Very good | Bags that swing between light and heavy days |
| Twist-lock or turn-button | Poor with gloves or wet hands | Poor; needs precise alignment | Good, but the post loosens over years | Heritage styling where looks dominate |
| Side-squeeze plastic buckle | Moderate | Good; the strap absorbs the difference | Moderate; buckles crack in cold | Casual messenger and courier styling |
| Metal cam or ladderlock buckle | Poor to moderate | Excellent; adjustable strap length | Good, but corrosion and noise | Technical outdoor cross-body |
| Hook-and-loop tab closure | Excellent | Good within a limited range | Poor; collects lint and loses grip | Budget points only |
The second row is the quiet winner and is used far too rarely. A single magnet is perfectly adequate on a half-empty bag and is marginal on a full one, because the geometry no longer brings the two halves together. A two-position — or a magnet plus a short adjustable strap — costs almost nothing extra and covers the whole realistic fill range, which is exactly what a commuter experiences across a week.
Two cautions belong with any magnetic specification. Strong magnets near a laptop are fine in practice with modern solid-state storage, but they remain a poor idea directly adjacent to magnetic-stripe cards and some hotel key systems, so the teller’s pocket should not sit against them. And a magnet wrapped in fabric loses nothing over time but can detach from its mounting if the stitching around it fails, which is a cheap thing to reinforce and an expensive thing to discover. Our hardware notes in buckles, snaps and strap fittings cover the mounting and corrosion numbers.
Where a buckle is chosen for its appearance, specify that it should not be the only thing keeping the flap down in the wet. Buckles loosen with wear, and a buckle doing the holding combined with a magnet doing the locating is considerably more robust than either alone — the magnet keeps the flap roughly positioned while the buckle takes the load, which is how the best courier bags have always been built.
Where the water goes once it is under the flap
This is the part of the design nobody photographs and the part that decides whether the contents stay dry. Water that gets past the flap is now inside the product’s outer envelope, and what happens next depends entirely on whether the designer gave it a route out. If they did not, it pools at the lowest point, which is usually the bottom corner of the front panel or the base of the main compartment, and then it wicks.
There are three acceptable strategies, and every messenger bag should declare which one it uses. Exclusion — seal everything under the flap so nothing can enter, which is expensive and tends to make the bag stiff. Managed drainage — accept that some water enters and provide a channel and a drain point so it leaves, which is cheap and effective but means the bag cannot be described as waterproof. Or sacrificial buffering — a secondary panel behind the front that catches water and protects the main cavity, which is the best compromise for most products.
The sacrificial approach deserves more attention than it gets. A simple hanging panel of welded film between the front shell and the main compartment, open at the bottom so whatever enters runs down and out, protects the cavity without claiming anything or costing much. It also lets the outer shell look entirely conventional, which is exactly what the professional-carrying constraint demands.
Whatever strategy is chosen, the lowest seam is the critical one, and it fails by wicking rather than by leaking. Testing seats and wicking behaviour is covered in our review of seam integrity testing methods, and taping options are compared in our notes on seam taping and sealing. Specify the base seam of a commuter messenger as sealed or welded, whatever the decision elsewhere.
Sizing around documents and laptops rather than litres
A messenger bag is bought to carry flat rectangular objects, so its capacity should be specified by what fits rather than by volume in litres — and this is the area where the category makes the most avoidable mistakes, because laptops come in nominal sizes that do not correspond to their dimensions.
| Load to carry | Real dimensions to design against | Common specification error | Consequence of the error |
|---|---|---|---|
| 13-inch laptop | About 300 x 215 x 16 mm; allow 20 mm of padding overall | Designing to the screen diagonal | A tight sleeve that stresses the zip and corners |
| 14-inch laptop with a sleeve | About 320 x 230 x 25 mm including the sleeve | Ignoring that users keep laptops in sleeves | The laptop simply does not go in |
| 16-inch laptop | About 360 x 250 x 20 mm; often heavier than users expect | Assuming the old 15-inch footprint | A bag that fails for the fastest-growing laptop size |
| A4 documents flat | 210 x 297 mm; needs an interior clear width of at least 320 mm | Curved or tapered interiors | Creased documents, the number one office complaint |
| US Letter flat | 216 x 279 mm | Assuming A4 fits everywhere | Rejected returns in North America |
| Folio or ring binder | Up to 250 x 320 x 50 mm | Designing only for loose paper | The binder stays on the desk and the bag gets replaced |
| A3 or a large tablet in a case | 297 x 420 mm and up | Scaling up a smaller bag rather than re-patterning | A distorted bag that looks wrong and carries badly |
The most useful number in that table is the interior clear width for documents, because it is the one that requires the least engineering discipline and is most often missed. An interior that is measurably wider than 320 millimetres across its full height lets an A4 document lie flat without pressure, and it costs nothing if specified before the pattern is cut. This is precisely the kind of dimensional work covered in our guide to dimensional customisation.
Laptop protection has a second dimension beyond size: the drop the pad has to absorb, and where it has to absorb it. A suspended sleeve that keeps the device off the base of the bag by fifteen to twenty millimetres protects against the common accident, which is setting the bag down hard on a floor or a kerb rather than dropping it from a height. Padding material choices and their compression behaviour over years are set out in our notes on foam padding for protection, and our protection guide for laptop bags and tech backpacks covers the whole question from the device side.
Structure against slouch: the appearance constraint nobody prices
Waterproofing makes bags stiffer, and stiffness reads as technical. This is the central tension of the category: the measures that protect the contents also make the bag look like outdoor equipment, and a professional user will quietly stop carrying a bag that does not fit their working environment long before the bag wears out. Returns for this reason do not appear in warranty data; they appear as declining repeat purchase.
The levers available to a designer are real but limited, and they are worth listing because they are cheap when applied deliberately. Coated fabrics with a matte finish and a fine weave read considerably less technical than glossy laminates. Welds can be placed on the reverse or hidden under binding so they are not visible from the front. Hardware can be specified in a dark plating rather than in raw metal or bright plastic. And structure can come from the pattern — a gusset that holds a clean rectangular section — rather than from visible stiffeners.
- Choose a matte, finely woven coated fabric over a glossy laminate; the performance is nearly identical and the reading is completely different.
- Keep visible welds and tape off the front panel, using binding or pattern placement rather than sealed external seams.
- Specify dark-plated or blackened hardware; bright metal and pale plastic announce outdoor equipment.
- Build shape from the gusset and the pattern rather than from inserted stiffeners, which telegraph through the fabric.
- Trim every external technical cue — reflective piping, lash points, compression straps — unless the product genuinely needs it.
- Test the result by photographing it next to a conventional leather briefcase and asking buyers which one belongs in a meeting.
None of that reduces water performance if it is planned from the start, and it is considerably harder to retrofit. The mistake most brands make is to take an existing outdoor body, change the colourway to black and expect it to pass in an office. It does not, because the cues are structural rather than chromatic — the seam placement, the hardware style and the profile give it away regardless of colour.
Appearance sits alongside durability rather than against it, and the categories are complementary rather than competing. Our review of waterproof bags that balance fashion and function covers the wider design language, and our day-to-day guide to commuting in rain covers what users actually report wanting after a year of doing it.
Strap geometry: why messengers slip more than backpacks
The single-shoulder carry is why people buy a messenger bag and also why some of them stop using it. A single diagonal strap has an inherent instability: any movement of the load rotates the bag around the wearer, so it slides toward the front or the back depending on what is inside and how the wearer is moving. Users compensate by hiking their shoulder, which produces the neck and shoulder complaints associated with the format.
Three variables control this and none is expensive. Strap width: anything carrying above about five kilograms should be at least 38 millimetres wide, and above eight kilograms 50 millimetres with padding. Pad friction: a strap with a slightly grippy backing stays put on a suit shoulder far better than a smooth webbing, and the difference is immediately noticeable. And the angle of the strap’s anchoring, which should place the bag’s centre of mass relatively high and close to the back rather than low and loose, so the load does not pendulum.
A stabiliser strap is the standard engineering answer and is worth specifying on anything intended for regular commuting. A short secondary strap from the bag’s lower side to the main strap prevents the bag from swinging away from the body, particularly when the wearer is walking quickly or cycling. It costs very little, it is barely visible, and it converts a bag that swings into a bag that stays where it is put.
Anchor strength is where this all fails eventually, because the strap attachment takes repeated shock loading in shear rather than in tension. Anchors into a single layer of fabric tear out; anchors into a reinforced panel with a webbing spine running under the base last far longer. Load expectations and test protocols for this are set out in our guide to load testing straps and handles, and the comparison with other single-shoulder formats is in our notes on sling and cross-body bags.
Two hundred and fifty opening cycles a year and what they do
A commuter opens their bag far more often than any other user except perhaps a parent, and the number is worth stating because it reframes durability entirely. A typical office commute involves opening the bag at least twice at each end plus several times during the day; across roughly two hundred and twenty working days that is well over seven hundred full open-and-close cycles a year, and a bag expected to last four years has to survive about three thousand. Nothing in a standard product test programme simulates that.
The consequences land in predictable places. Hook-and-loop quietly loses grip somewhere between one and two thousand cycles. Magnetic snaps hold up well but their mountings loosen. Zips fail at the slider rather than at the teeth, and they fail earlier if the tape has been flexed around a tight radius. Fabric wears at the top fold of the flap, where it creases in exactly the same place every single time. Each of those is preventable at the design stage and none is preventable afterwards.
- Hook-and-loop lasts roughly 1,000 to 2,000 cycles before losing grip and collecting lint, which rules it out as a primary closure on anything used daily.
- A coated zip and slider reach about 3,000 to 5,000 cycles, failing at the slider rather than the teeth, so specify the slider by brand and keep the tape radius generous.
- A magnetic snap runs well beyond 10,000 cycles; what fails is its mounting, so the stitch pattern around it matters more than magnet strength.
- The top fold of the flap is the first thing to look tired, developing a permanent crease and then coating cracks, which a generous fold radius largely prevents.
- A webbing strap adjuster survives several thousand adjustments before slipping under load; a metal or moulded cam outlasts a plain ladderlock considerably.
- The lining at the base of the main cavity usually outlasts the shell and develops abrasion holes at the corners, unless the corners are radiused and reinforced.
The practical development move is to add a cycling test to the programme: load a bag representative of a real commute, open and close it mechanically five hundred times, then repeat the directional spray test. Products that pass spray testing fresh and fail after cycling exist in every price band, and the gap is invisible until someone tests for it.
Organisation without bulk: pockets against profile
Organisation sells messenger bags and ruins their profile. Every added pocket adds a layer, a seam and thickness, and thickness is the enemy both of appearance and of capacity efficiency — a bag that is fifty millimetres thick looks like luggage and carries like carry-on. The discipline is to decide which pockets earn their place and to build the rest as dividers within one cavity.
The pockets that consistently earn their place are a laptop sleeve with a suspended base, one document sleeve that lets paper lie flat, a small items zone with two or three slots, and one external quick-access pocket placed above the flap line so it does not compromise the water defence. Everything beyond those tends to be used twice and then ignored, while adding cost and bulk permanently.
Placement is worth more than count. A pocket under the flap line is a water risk; a pocket on the front face of the flap is accessible and safe; a pocket against the back panel is discreet and sits in the zone that gets damp from the wearer’s coat. Putting the phone in that last position is a common mistake that users discover when they retrieve a damp device.
For anyone developing a range, the modular approach works well here: one shell pattern with two or three internal insert options. It means one set of tooling for several SKUs, and lets the range offer a light organiser version and a full-office version without re-patterning the body. That kind of SKU planning is the subject of our guide to SKU rationalisation and line planning.
Failure modes specific to commuter messenger bags
The recurrence pattern below is drawn from what commuters actually report rather than from laboratory results, and tracing each symptom back to its originating decision is the cheapest available form of quality planning.
| Symptom | Mechanism | Originating decision | Specification response |
|---|---|---|---|
| Damp paper or a damp laptop after a rainy walk | Water crossing the capillary gap to the first horizontal seam below the flap | Unsealed seam under the flap line | Seal every seam below the flap; add a drip edge; consider a sacrificial inner panel |
| Bag looks technical rather than professional | Visible welds, glossy laminate, pale or bright hardware | An outdoor body in a new colourway | Matte fabric, hidden seams, dark hardware, shape from the pattern |
| Shoulder and neck pain after six months | Single-strap instability and too narrow a strap | Strap width chosen for looks | Minimum 38 mm, 50 mm above eight kilograms; add a stabiliser strap |
| Flap will not stay shut when the bag is full | Single fixed closure with no volume tolerance | A magnet or buckle at one fixed position | Two-position closure or a magnet plus a short strap |
| Zipper separates on a front pocket | Slider wear after a few thousand cycles | Slider specified by price rather than by brand and test | Specify the slider, test it, and keep the tape radius generous |
| Strap anchor tearing from the body | Shear load into a single fabric layer | Anchor reinforcement omitted | Reinforced panel plus a webbing spine under the base |
| Permanent crease across the flap | The same fold point flexed thousands of times | Tight fold radius with a stiff coating | Generous radius; softer coating at the fold line |
Note how few of those are waterproofing failures in the strict sense. The bag is bought for rain protection and returned for professional appearance, strap comfort and closure wear, which is the same pattern seen across every carry category that gets used daily rather than occasionally. A programme that allocates its effort according to its marketing will over-test spray and never test ten thousand cycles.
The process-side counterpart — keeping these decisions honest across a production run rather than solving them once at sampling — is set out in our guide to common waterproof bag defects and prevention, and business-travel expectations that overlap heavily with commuting are covered in our notes on professional travel protection.
Testing a commuter claim before it goes into production
The test programme for a commuter messenger should be built around the commute rather than around the waterproofing standard, and almost none of it requires a laboratory. What it requires is honesty about how the bag will actually be used: twenty minutes of angled rain, a full load, several openings an hour, and a hard set-down on a hard floor several times a day.
- Angled spray test at roughly 45 degrees for ten minutes with the bag loaded, inspecting under the flap rather than merely at the contents.
- Walk simulation: wear the loaded bag through a twenty-minute Exposure in heavy rain and weigh the contents before and after; anything above a few grams is a failure.
- Cycling test: open and close the closure mechanically five hundred times, then repeat the angled spray test.
- Overfill coverage check: pack to one hundred and twenty per cent of intended volume and measure how much flap overlap remains.
- Set-down test: load to working weight and set the bag down hard fifty times on concrete, inspecting base seams and the laptop suspension.
- Professional appearance panel: photographs alongside conventional business bags, scored by people who do not know the product.
Two of these belong in routine production audit rather than only at sampling: the angled spray test and the cycling test. Both detect drift in materials and workmanship faster than any document review, and both take minutes on the floor. A programme running neither will ship a good sample and a mediocre production run without ever knowing the difference.
Standard methods do exist for the properties that matter — spray resistance, water penetration and colour fastness — and bodies such as ISO and AATCC catalogue them. Cite the specific method and its result rather than a generic rating; a defined method plus a number is worth considerably more than a claim, and it is the only basis on which two quotations can legitimately be compared.
Developing an urban carry line: hardware, branding and margin
Commercially this category rewards precision over breadth. A messenger programme is not a place for eight SKUs; it is a place for two or three sizes that share one shell construction, one hardware suite and one closure specification, differentiated by colourway and by internal insert. Minimum order quantity is 500 pieces per style, which supports exactly that shape: three styles, one architecture, no duplicated development cost.
Hardware deserves an unusually large share of attention relative to its cost, because it is what users touch most and what looks tired first. Specify plated rather than raw metal, and ask for a stated salt-spray or corrosion result — a commuter bag meets salt and grit every winter. Test sliders and adjusters by brand rather than by price, since they are the moving parts most likely to fail in month eighteen. Our hardware review of buckles, straps and fittings sets out what to ask for.
Fabric choice for this category sits mostly between TPU-coated and PVC-coated woven polyester in the 420 to 900 denier band, with the higher end suiting structured bags and the lower end unstructured ones. TPU costs more and lasts considerably longer in both hydrolysis and cold-flex terms, which matters for a product expected to survive four winters. The property comparison is set out in our review of TPU against PVC, and abrasion behaviour across the denier range in our notes on abrasion resistance standards.
Branding on a professional bag has to be restrained, and the constraint is a printing one: logos on matte coated fabrics are usually screen printed or heat transferred within the coating’s temperature limit, while embroidery through a waterproof shell perforates it and should be avoided unless it is applied before assembly and sealed by the construction. Method-by-method constraints are in our review of logo printing and embroidery options. For corporate programmes, packaging presentation carries disproportionate weight and is covered in our notes on packaging options for wholesale orders.
Price the claim honestly and say which of the two jobs the bag prioritises. A commuter messenger that uses managed drainage can protect a laptop perfectly well while admitting that it is shower-resistant rather than submersible, and it can be sold honestly at a strong margin; one that claims waterproof without either sealing or drainage will be returned. Sampling runs 6–10 working days per round and bulk production 35–50 days, quoted FOB Xiamen; the sequence is set out in our guide to lead times on custom orders. If you want this turned into a costed specification, review our own process from first enquiry through sampling into bulk production and send the target device sizes, the intended carry weight and the claim you want to make. Minimum order quantity is 500 pieces per style, samples take 6–10 working days, bulk production runs 35–50 days, and quotations are issued FOB Xiamen.
Frequently Asked Questions
Q1. Are messenger bags actually waterproof?
Most are shower-resistant rather than waterproof. They handle light rain well and struggle with wind-driven rain, because the flap has gaps at its sides and the seams beneath it are usually not sealed.
Q2. Where does water get into a messenger bag?
Mainly beneath the flap. Water occupies the capillary gap between flap and body, travels down it, and reaches the first unprotected horizontal seam or zip, which is why sealing below the flap line matters so much.
Q3. How much coverage should a messenger flap have?
Cover roughly the top two-thirds of the front panel, reach within fifteen millimetres of the sides, and still overlap the body by at least twenty millimetres when the bag is packed to maximum.
Q4. Is a magnetic snap or a buckle better in wet weather?
A magnet for usability, ideally with a second position. Add a buckle or short strap to take the load on a full bag. Buckles alone loosen over years; magnets alone lose alignment when overfilled.
Q5. Do magnetic closures damage laptops or cards?
Modern laptops with solid-state storage are fine, but keep the teller’s pocket and cards away from strong magnets, since magnetic stripes and some hotel keys can be affected.
Q6. What size should the laptop compartment be?
Design to device dimensions, not screen diagonal. A 14-inch laptop in a sleeve needs about 320 by 230 by 25 millimetres, and a 16-inch machine needs about 360 by 250 millimetres.
Q7. Will A4 documents lie flat in a messenger bag?
Only if the interior clear width exceeds 320 millimetres across the full interior height. Anything narrower and the paper creases, which is the commonest office complaint about this format.
Q8. Why does my shoulder hurt after carrying a messenger bag?
Single-strap instability and too narrow a strap. Above five kilograms you want at least 38 millimetres of width, above eight kilograms 50 millimetres with padding, plus a stabiliser strap.
Q9. How do I stop the bag sliding around while I walk?
Fit a short stabiliser strap from the lower side of the bag to the main strap, and use a strap with a grippy backing rather than smooth webbing. Both are cheap and both work.
Q10. Can a messenger bag look professional and still be waterproof?
Yes, if waterproofing is designed rather than borrowed: matte coated fabric, seams hidden under binding, dark hardware, and shape from the pattern instead of inserted stiffeners.
Q11. How many times a year do commuters open their bag?
Well over seven hundred cycles, counting the commute and the working day. Over a four-year life that is about three thousand, which is far more than any standard product test simulates.
Q12. What wears out first on a commuter messenger bag?
Usually the fold across the top of the flap, followed by zip sliders and hook-and-loop. Hook-and-loop loses grip somewhere between one and two thousand cycles, which a commuter reaches in under two years.
Q13. Is hook-and-loop acceptable as a flap closure?
Only at budget price points. It loses grip and collects lint after a thousand or two cycles, which a commuter reaches in under two years, and then it stops holding altogether.
Q14. Should the back pocket be used for a phone?
No. That area gets damp from water running down the wearer’s own coat, and it is often mistaken for a leak. Keep electronics in a pocket above the flap line or inside the main cavity.
Q15. How should I test a messenger bag before buying in bulk?
Load it, spray at 45 degrees for ten minutes, inspect beneath the flap, then open and close the closure five hundred times and repeat the spray test. The second run is the one that finds real problems.
Q16. What strap anchor construction should I specify?
A reinforced panel with a webbing spine running under the base from one anchor to the other. An anchor into a single fabric layer will tear out under the repeated shear loading of a commute.
Q17. What is the minimum order for a custom messenger range?
500 pieces per style. That comfortably supports three sizes sharing one shell construction, one hardware suite and one closure, differentiated by colourway and internal insert.
People Also Ask
Are waterproof messenger bags good for commuting?
Yes, provided they are tested at an angle. Vertical spray tests pass bags that fail during twenty minutes of wind-driven rain on a city street.
Where does rain get into a messenger bag?
Beneath the flap. Water crosses the capillary gap and reaches the first unsealed horizontal seam, so sealing below the flap line matters most.
Should a commuter bag use magnets or buckles?
Magnets for daily ease, ideally with a second position, plus a buckle or short strap to carry load when the bag is full.
What width should a messenger strap be?
At least 38 millimetres for loads above five kilograms, and 50 millimetres padded above eight. Wider straps cut shoulder pain far more reliably than extra padding alone.
Can a waterproof bag still look professional?
Yes, with matte coated fabric, seams hidden under binding, dark hardware and shape built into the pattern instead of stiffeners.
How long should a commuter messenger bag last?
Four years is a reasonable target, roughly three thousand opening cycles. Test the closure to that number before committing to production.