In a survival context water is not a comfort problem, it is the first link in a causal chain that ends in bad decisions. Still water carries heat away around twenty-five times faster than still air, and evaporating just one litre of moisture from clothing removes roughly the amount of heat an adult produces over several resting hours. Mild hypothermia degrades judgement and fine motor control, and it does so precisely at the point where lighting a fire, opening a pouch or operating a radio requires fine motor control. So the first requirement of a wilderness survival bag is not that it looks capable; it is that its contents are dry at the moment they are needed, months or years after being packed.
This guide covers that requirement from the inside out. It sets out the physics of why wet becomes cold, assigns a moisture priority across the four content classes that matter most, explains why redundancy has to be spatial rather than merely numerical, describes the double-layer principle of sealing both bag and contents independently, ranks sealing methods by how long they actually last, deals with the heat and ageing problems that destroy stored kits, compares configurations by environment, sets the specification for a bag that must be opened with numb hands, lists the packing mistakes that undo waterproofing, gives a weight structure that makes a kit likely to be carried, records what actually fails, sets an inspection schedule, and closes with how programmes should specify these kits. The production baseline at QUANZHOU JUNYUAN BAGS — custom waterproof bag production since 2014, 4,950 m² SGS-verified facility — is MOQ 500 pieces per style, sampling in 6–10 working days and bulk in 35–50 days, FOB Xiamen.
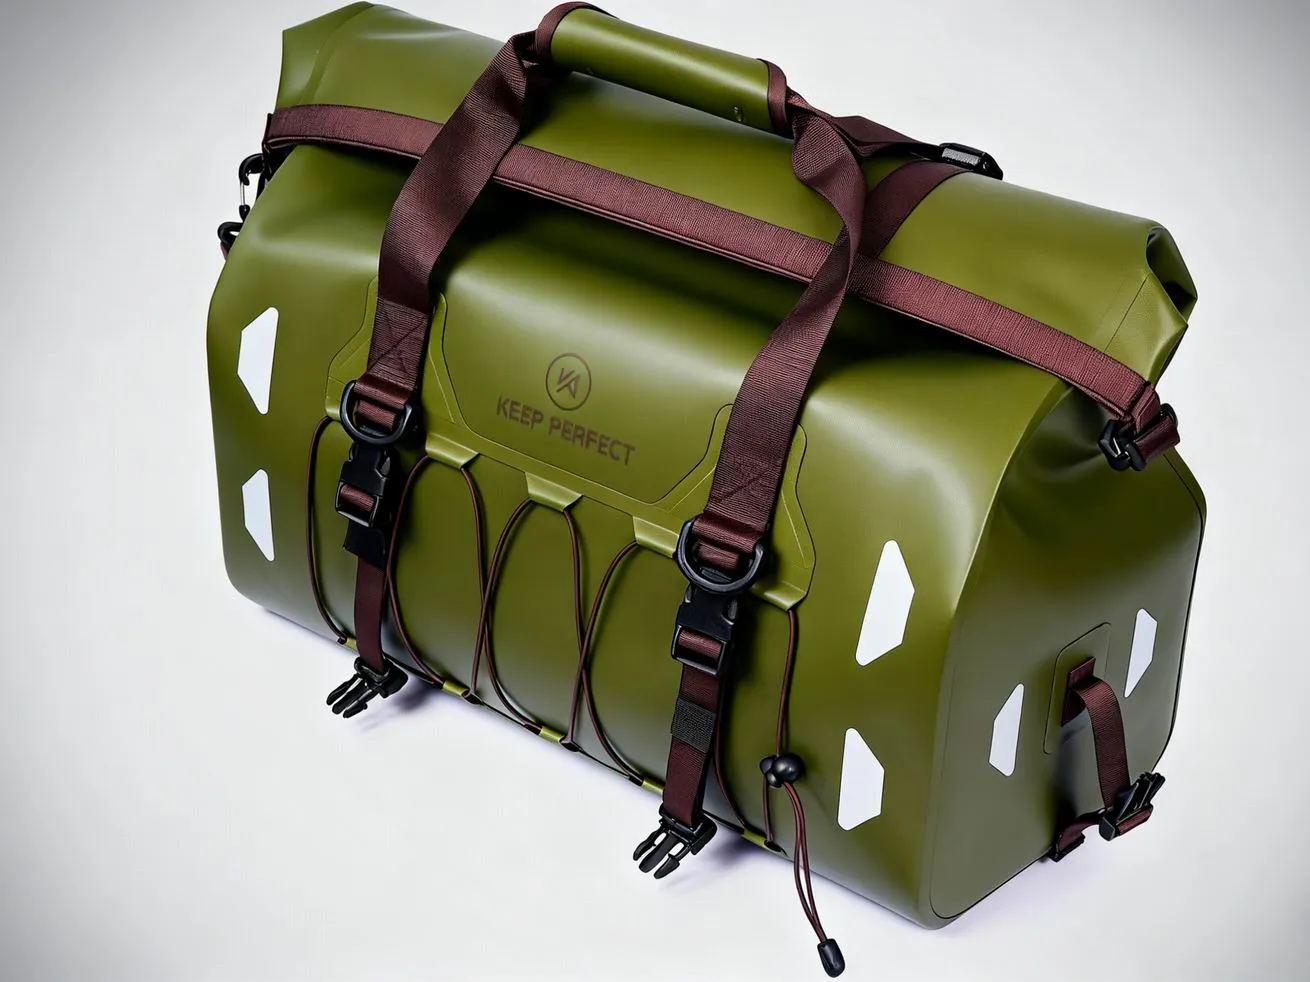
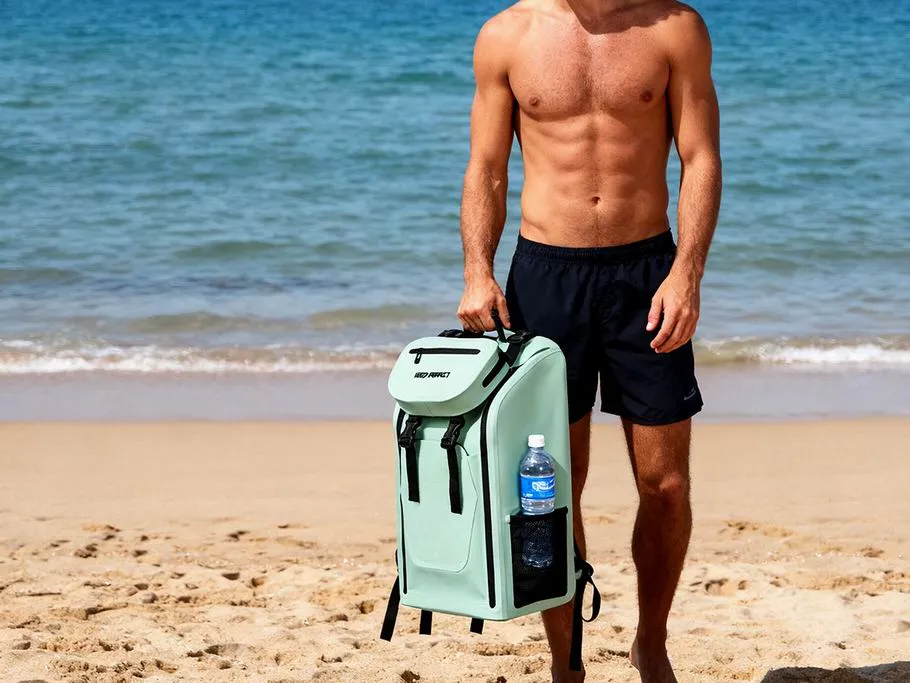
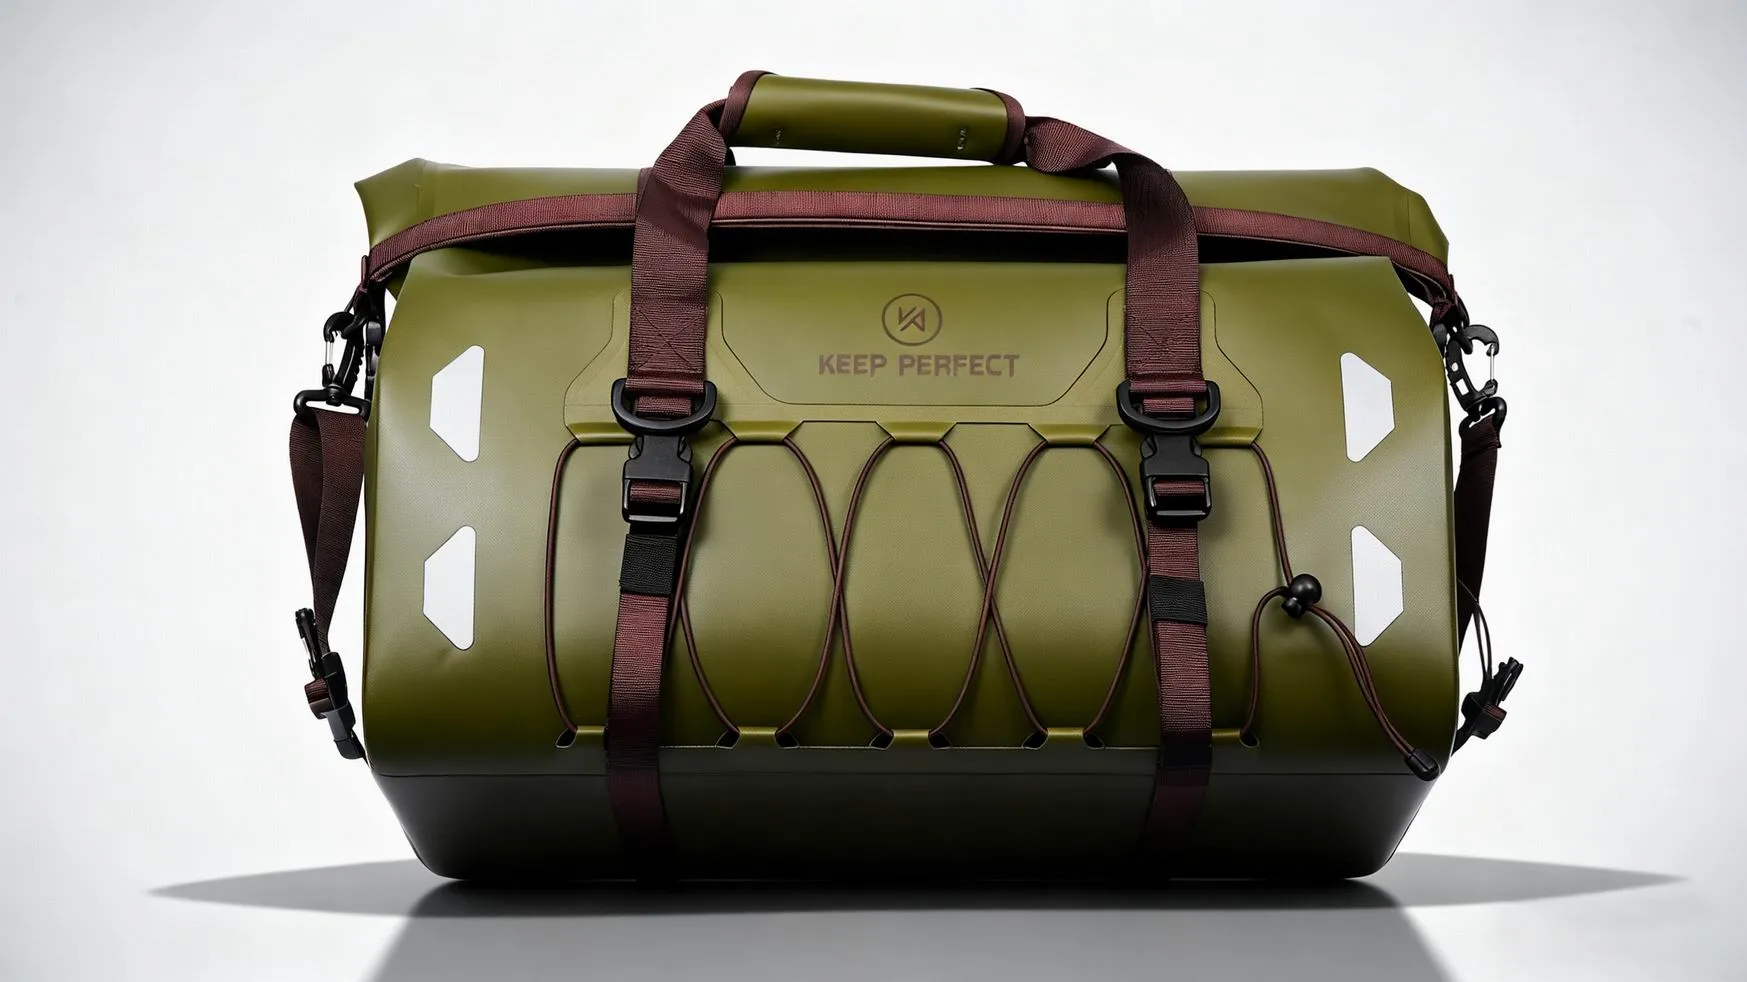
Wet becomes cold, and cold becomes bad decisions
Every wilderness survival bags specification should begin with two numbers, because once they are understood most of the design argument resolves itself. The first is conductivity: water carries heat roughly twenty-five times faster than still air, so clothing that was keeping you comfortable becomes actively harmful the moment it is saturated. The second is latent heat: evaporating a single litre of water removes about 2,260 kilojoules, which is several hours worth of resting metabolic heat production. Those two facts together are why getting wet is treated as a survival event rather than as discomfort.
The third fact is the one that shapes survival kit waterproofing, and it concerns behaviour rather than thermodynamics. As core temperature falls through the mild hypothermia range, judgement degrades and fine motor control fails early — typically before the person recognises that anything is wrong. A shivering adult with poor dexterity cannot strike a match reliably, cannot undo a small slider, cannot open a tight screw cap, and frequently cannot work out why. Every item in the kit therefore has a hidden requirement that has nothing to do with its function: it must be operable by someone whose hands have stopped cooperating.
That produces an ordering which is not the one most people pack. Keeping one dry insulating layer dry outranks everything except stopping catastrophic bleeding. Keeping fire-starting capability dry is next, because fire addresses wet, cold, water purification, signalling and morale simultaneously. Everything else — food, navigation, comfort items — sits below those, which is why a kit arranged by category rather than by criticality is usually arranged wrongly. Public preparedness guidance published by authorities such as the US Ready campaign consistently states the same hierarchy, with shelter and warmth above sustenance.
There is a commercial consequence too. In this category the waterproof claim is a safety claim, and a safety claim that fails after three years of storage in a vehicle is worse than no claim at all, because the failure is discovered during an emergency rather than during a weekend trip. That is why the sections on sealing methods and rotation matter more here than in any other bag category we cover.
The four content classes and their moisture priority
A kit is not a list; it is a set of failure consequences. Grouping contents by what happens when they get wet makes the waterproofing requirement obvious, because it turns out that a single bag-level rating is meaningless when four very different sensitivities sit inside it. Some of these items fail instantly from a few drops, some survive a soaking and are ruined by something else entirely, and treating them identically is how most kits go wrong.
| Content class | What happens when it gets wet | Real sensitivity | Minimum protection and redundancy |
|---|---|---|---|
| Fire starting | Matches and tinder will not take a flame; a butane lighter also fails below roughly minus 10 degrees regardless of water | Extreme | Individually heat-sealed pouch with desiccant; two methods using different physics, stored separately |
| Signalling and communications | Electronics stop; passive mirrors, whistles and panels are unaffected | High for electronics, low for passive devices | Electronics in a welded pouch or rigid case; always carry one passive method as well |
| Water purification | Tablets cake and lose potency; hollow-fibre and ceramic filters are ruined by freezing rather than by wetting | Moderate for chemicals, high for freeze damage | Sealed pouch for tablets; keep any filter that has been used close to the body in sub-zero conditions |
| First aid | Dressings contaminated, adhesives fail, haemostatic agents unreliable | High for dressings and anything adhesive | Repackaged into single-use sealed pouches by function; bleeding control prioritised and accessible |
| Insulation layer | The clock starts immediately; nothing else in the kit compensates | Extreme | Its own dry sack, opened only when needed; one worn, one packed |
The fire row deserves expansion because it is where optimism does the most damage. Carrying three lighters is not redundancy, it is three instances of the same failure mode: butane vaporises poorly in cold, piezoelectric igniters become unreliable when wet, and the wheel cannot be turned with numb fingers. Real redundancy means different physics — a ferrocerium rod and striker, which works wet if it is dry when struck but is compromised by humidity only through its tinder, alongside a lighter, alongside waterproof matches. Keep the tinder drier than the ignition source, because it is the tinder that actually fails.
Our notes on first aid bags for outdoor use cover the fourth row in more detail, including why bulk first aid packaging is the wrong unit for this application, and our guide to keeping camp gear dry covers the general protection principles that apply to everything else in the pack.
Redundancy has to be spatial, not numerical
The most common error in assembled kits is duplication without distribution. Two fire starters in the same pouch share every risk that pouch has: the same seal, the same puncture, the same moment when the bag is opened in the rain. Numerical redundancy inside one container protects against nothing except running out; spatial redundancy protects against the failures that actually happen.
The useful model has three locations. Something critical lives on the person, in a pocket, at all times, because people become separated from bags — a pack goes over a cliff in a stream crossing, slides off a ledge, is left behind at the point where a decision went wrong. The bag itself carries the working set. And the ‘deep’ spare lives somewhere structurally different, ideally in a different type of container, so no single seal failure removes everything.
The on-body layer deserves more attention than it gets because it answers the realistic failure rather than the dramatic one. The dramatic scenario is losing the pack entirely; the everyday scenario is needing fire or light during the ten minutes while the pack is off your back. A small sealed fire kit, a whistle and a light carried in clothing are worth more than their weight because they are available at the instant of need.
The cost of doing this properly is smaller than people assume. A duplicated fire kit weighs perhaps 60 to 90 grams, a whistle around 10, a backup light under 40. Total maybe 150 grams across three locations, against a typical kit mass in the low single digits of kilograms. There is no weight argument against it, which is why the failure to do it is a thinking failure rather than a budget failure.
The double-layer principle: seal the bag, then seal the contents
Two layers of protection exist in this category for a reason that has nothing to do with belt-and-braces conservatism. The two layers defend against genuinely different events, and neither substitutes for the other.
Bag-level waterproofing defends against the environment: rain, spray, a wet vehicle floor, condensation, an accidental drop in shallow water. Item-level sealing defends against the bag: being opened in weather, being punctured, having a closure left unfastened, having a seam that failed after years of ageing, and having contents that leak onto everything else. Most importantly, item-level sealing means the wearer can open the bag in a downpour, take out the pouch they need, and close it again without exposing anything else.
That last point is the operational argument and it is decisive. A single-sealed kit opened in rain becomes a wet kit for the rest of the trip, because everything inside absorbs moisture from the air and from hands. A bag of sealed pouches behaves differently: it can be opened repeatedly in the worst conditions and its contents remain exactly as they were packed. It also means the inventory is legible, because pouches can be labelled individually and seen at a glance.
There is one nuance worth stating because it trips people up: item-level sealing should never be so thorough that it becomes the only layer. A welded pouch inside an uncoated pack is worse than a good pack containing adequately protected items, because the pouches are then the sole defence against rain during the several minutes the bag is open. Our review of double-layer construction covers the same trade from a manufacturing perspective.
Sealing methods ranked by how long they actually last
Anyone packing a kit to sit untouched for years needs to know which methods degrade, because several popular choices fail silently and discoverably only in an emergency. The relevant test is not whether a seal is watertight on the day it is made, but whether it is still watertight after two years of thermal cycling in a car boot.
| Sealing method | Realistic storage life | Failure mode | Best use in a kit |
|---|---|---|---|
| Snap-lock polyethylene bag, single | 1 to 2 years | Seal creep, puncture at folds, and stiffening in cold | Short-term only; replace at every inspection rather than trusting it |
| Double snap-lock bags with the closure opposed | 2 to 3 years | Still punctures; the bags abrade each other at contact points | Acceptable interim for low-criticality items |
| Heat-sealed laminate pouch with a tear notch | 5 years and beyond | Puncture at a creased corner; the notch is the weak point | The default for fire kits, tinder and anything consumed once |
| Welded TPU pouch with a roll-top closure | Several years with inspection | Weld fatigue at the corners; closure stiffens when very cold | Reusable items accessed repeatedly; check welds annually |
| Screw-top rigid container with a gasket | 3 to 5 years for the gasket | Gasket compression set and cracking; threads seize when grit gets in | Crushable items, batteries, anything opened often in weather |
| Roll-top dry bag as the outer layer | Depends entirely on the coating | Coating hydrolysis; stiffening below freezing | The outer environment layer, never the only layer |
| Vacuum-sealed pouch | 3 to 5 years | Slow loss of vacuum through the film; unsuitable for anything needing loft | Rarely appropriate; compression is a travel technique, not storage |
Two material cautions belong with that table. Polypropylene becomes brittle at low temperatures, so a container that survives a summer in a boot can shatter when dropped in freezing conditions; polyethylene and polyamide behave considerably better and are worth specifying for anything that will see real cold. And gaskets are a consumable: silicone O-rings hold compression set reasonably well but should be replaced on a schedule rather than inspected visually, because they fail by hardening rather than by visible damage.
Whatever method is chosen, add desiccant sized to the pouch rather than guessing, and use an indicating type so its condition can be checked at a glance during inspection. Our notes on temperature and humidity testing explain how these conditions are simulated, and our review of accelerated ageing shows why a seal that looks fine after one year can be failing by the third.
Storage: heat, ageing and the rotation discipline
Stored kits fail from storage conditions far more often than from use, and the common storage locations are the problem. A car boot is the most frequently chosen location and among the worst available: interior temperatures in direct summer sun can exceed 60 degrees Celsius, and the daily cycling through that range damages almost every material in the kit long before the first trip.
What heat cycling destroys, in order of how often it is discovered: coatings and films lose flexibility and become brittle; adhesives on tapes, plasters and labels soften then fail; alkaline cells lose capacity and eventually leak; elastic components perish; and some plastics deform enough that threads and closures no longer align. None of this is visible from outside a sealed bag, which is precisely why inspection has to be scheduled rather than opportunistic.
Three substitutions remove most of the risk. Move the kit out of direct vehicle heat into the cabin or a shaded interior location, or accept a rotation schedule if it must stay in the boot. Replace alkaline cells with lithium primary cells, which have a materially longer shelf life, are not prone to leakage in the same way, and perform far better in cold — the last point matters as much as the shelf life. And replace any foil-packed food and any perishable medical supplies on a fixed annual date rather than ‘when it looks old’.
- Write the packing date on the outside of the bag and the next inspection date beside it. A date nobody can see is a date nobody keeps.
- Keep a printed inventory card inside the bag, listing each pouch, its contents and its replacement date.
- Inspect every six months, and gear the inspection to the failure table later in this guide rather than simply looking inside.
- Rotate food, water and batteries annually on a fixed date tied to something memorable rather than to a calendar month nobody will notice.
- Exercise the closures at every inspection. A seal that has not been opened in a year is the one least likely to work when needed.
- Replace anything below minus-related failure lines immediately rather than at the next cycle: if in doubt, replace.
The discipline that makes this actually happen in practice is embarrassingly simple: make inspection a two-minute task. A kit requiring unpacking, evaluating and repacking will not be inspected; a kit with a card of dates, a transparent / labelled pouch layout and a checklist printed inside the lid genuinely will be. That is a design requirement, not a user behaviour problem.
Environment configurations differ more than people expect
A single generic wilderness kit is a compromise across environments whose dominant risks are almost unrelated. Cold-wet environments kill through hypothermia; arid environments through water loss; marine environments through immersion and separation from the vessel; urban disruption through entirely different mechanics again. The bag, the sealing and much of the content should follow the environment.
| Environment | Dominant risk | What changes in the specification | Common mistake |
|---|---|---|---|
| Temperate forest and rainforest | Sustained wet and cool; everything damp all the time | Emphasis on fire tinder dryness, a dry insulation layer and vapour management; higher hydrostatic head helpful | Assuming a wet-weather shell substitutes for a dry spare layer |
| Alpine and cold-wet | Hypothermia and freezing of equipment | Filters kept near the body, lithium cells, closures tested at sub-zero, and high-visibility elements | Carrying a single ignition source that fails when cold |
| Desert and arid | Water loss and extreme diurnal temperature range | Greater water capacity and purification redundancy; less insulation; UV-resistant materials | Heavy wool-only planning with insufficient water capacity |
| Coastal and small-craft | Immersion, and separation from the vessel | Genuine submersion protection for electronics, high-visibility colour, attachment points and buoyancy | Trusting a splash-rated bag for immersion scenarios |
| Flood and urban disruption | Short-notice evacuation, contaminated water, loss of services | Documentation in a sealed pouch, water purification, light and communications; discreet appearance | Building a wilderness kit for a scenario that is urban |
Two rows repay specific attention because they are most often mis-specified. In the coastal case the binding requirement is usually flotation and attachment rather than dry storage, since the realistic event is entering the water with the kit; a bag that floats and can be clipped to the wearer or the vessel is doing more for survival than one with a better water rating and no attachment point. Our notes on coastal and boating applications, including our review of bags for marine use, cover that in detail.
In the urban case the dominant requirement is documentation and water rather than fire, because the realistic event is disruption of services and a need to move or to prove identity. A generic wilderness kit is a poor answer to it, and the honest thing for a brand to do is to sell two configurations rather than one compromise labelled as suitable for everything.
Choosing the bag when the hands are numb
The bag itself should be specified against the worst realistic operator rather than against the best. A survival kit gets opened by someone cold, frightened, injured or in darkness, often while wearing gloves, and every ergonomic decision should be tested against that condition rather than against a shop floor.
Openings come first. Anything recessed, small or requiring alignment is out; the practical minimum is a loop pull offering around 25 to 30 millimetres of purchase, ideally in a contrasting colour so it can be located by touch and by eye. Fewer, larger openings beat several small ones, because search time with poor dexterity scales badly. Roll-tops work well in mild conditions and can become genuinely difficult when the film stiffens below freezing, so either specify a closure test at the expected minimum temperature or use a large-tooth coil zip with a storm flap.
Colour is the argument that never resolves and should be resolved by splitting it. Rescue visibility argues for a bright outer; many users want a discreet appearance, and some environments argue against drawing attention. The answer is a dull outer with a high-visibility interior lining that becomes a signalling panel the moment the bag is opened, plus retroreflective patches for search after dark and a whistle attached at the strap rather than buried. That gives both properties without compromise.
Three further specifications are cheap and disproportionately valuable. Attachment points that allow the bag to be clipped to a person, a raft or a harness. Some degree of flotation, since a sealed bag containing air floats and that property has saved more kit than any closure rating. And a shape matched to its storage location, because the overwhelming failure mode for stored kits is not being carried at all — a bag that does not fit its shelf, its locker or its boot gets left behind. Our guide to dimensional specification applies directly.
Packing mistakes that undo the waterproofing
Half the failures in this category are introduced at packing time rather than manufactured, and the recurring ones have nothing to do with the quality of the bag. They are worth listing plainly because each undoes the work described above.
- Putting everything in one large sealed bag. Opening it once in rain wets the entire kit; seal by content class instead.
- Storing fuel, batteries or other leak-capable items inside the main sealed volume. A leaking container contaminates or destroys everything nearby, and it does so invisibly.
- Counting duplicates instead of distributing them. Three lighters in one pouch share every failure that pouch has.
- Including cotton anything. It absorbs and holds moisture against skin, which reverses every argument in this guide.
- Relying on a single ignition method. Butane and piezoelectric igniters have overlapping failure modes in cold and wet conditions.
- Carrying a water filter without planning for freezing. A wetted hollow-fibre membrane damaged by ice is permanently ruined, which the user cannot see.
- Powering critical devices with alkaline cells. They lose capacity in cold, degrade in storage and eventually leak.
- Burying small critical items under bulk ones. Anything needed in the first hour must be reachable in seconds, with poor dexterity and no light.
The contaminating-container point deserves the most emphasis because it is the one that destroys a kit silently. A fuel bottle that weeps inside a sealed bag transfers its contents to every other surface over months, ruining dressings, food and fabrics without showing any external sign. Fuels, batteries and anything volatile belong either outside the main sealed volume or inside their own rigid container with its own inspection schedule.
The final entry is really a statement about layout as much as contents. Time-to-need is a better organising principle than category: bleeding control, fire, light, shell layer and water should be reachable within a few seconds, while anything whose use begins after several hours sits deeper. Our guide to expedition packing systems applies the same ordering at larger scale.
Weight tiers: ensuring the kit is actually carried
The best survival kit in the world has zero value if it is left at home, and it is left at home for a very boring reason: it was too heavy or too bulky for the trip it was meant to accompany. Every kilogram added to a kit reduces the probability that it is carried, and that probability is the only thing that matters. Design therefore starts from a weight budget and works backwards.
The tiered structure resolves the trade better than a single bag. Tier one is on-body and tiny — fire, a whistle, a light and purification tablets, around 300 to 500 grams, always carried. Tier two is the immediate bag covering twenty-four hours — insulation, shell, bleeding control, water and its treatment, signalling, navigation — landing somewhere between 2 and 4 kilograms. Tier three is a cache, vehicle- or camp-based, carrying bulk water, extended food, shelter and tools, counted in the 5 to 10 kilogram range and accepted as conditional.
The total carried should stay within roughly 10 per cent of body mass for a person who may have to walk out, so around 7 kilograms for a 70 kilogram adult and materially less for an older or injured person. Every addition therefore displaces something, which forces the priority argument rather than allowing the kit to grow indefinitely. Our notes on weight optimisation cover where mass can be removed without weakening anything that matters.
The one place not to economise is the small items that address the first hour. A gram saved on redundant fire-starting costs more than a kilogram saved elsewhere, because fire is the intervention that resolves wet, cold and unsafe water at once, and it is also the first function to fail when moisture gets in.
What actually fails in stored kits
The pattern of failures found in kits that have been in service for a few years is consistent, and its most useful property is that none of the failures are exotic. They are all predictable consequences of one of the mechanisms already described.
| Observed failure | Mechanism | Where it originated | Response |
|---|---|---|---|
| Fire kit would not light | Tinder absorbed humidity through a degraded seal | Sealing method with a life shorter than the rotation interval | Heat-sealed pouch with desiccant; treat tinder as the most sensitive element |
| Everything corroded or contaminated inside | Battery or fuel leakage inside a sealed volume | Volatile items stored with everything else | Isolate batteries and fuels in their own rigid container outside the main pouch |
| Water filter stopped working | Wetted membrane frozen and cracked | No plan for sub-zero storage of the filter | Carry filters inside clothing when temperatures fall below freezing |
| The bag coating went sticky and peeled | Hydrolysis of a polyurethane coating under heat cycling | Coating chemistry and storage location | Specify TPU rather than PU; move out of direct vehicle heat |
| Could not open it with cold hands | Small or recessed closure hardware | Ergonomics specified for normal conditions | Large contrasting loop pulls; test the closure at the expected minimum temperature |
| Roll-top would not seal in the cold | Film stiffened below freezing | Closure type chosen without a temperature test | Freezer test before sign-off, or use a protected large-tooth zip |
| Dressings unusable after repeated openings | Bulk packaging exposed to moisture every time it was accessed | Wrong unit of packaging for the application | Repackage into single-use sealed pouches by function |
| Kit was left behind | Weight and bulk exceeded what the trip justified | No weight budget at design stage | Three-tier structure with a stated total and a stated carry probability |
Reading that list as a whole, four of eight failures are storage or ageing problems rather than use problems. That is the distinguishing feature of this category and the reason it should be engineered differently from any other bag covered in this series.
The production-side view of the same defects — preventing them across a run rather than designing them out one at a time — is set out in our guide to preventing common waterproof bag defects, and the material comparison behind the coating row is developed in our review of TPU and PVC options.
Inspection schedule and how to make it happen
A rotation schedule only works if it is short, visible and tied to an external event. The following pattern is deliberately minimal, because elaborate schedules are abandoned within a year and simple ones survive.
- Every six months: open every pouch, check the indicator on each desiccant, cycle every closure, and confirm the inventory card matches the contents.
- Every twelve months, on a fixed memorable date: replace food, water, batteries and any medical item with a stated expiry.
- Every two to three years: replace gaskets and any elastic component, regardless of appearance, because these fail by hardening rather than visibly.
- At every trip: check the fire kit specifically and confirm that the on-body tier is on the person before leaving.
- After any immersion or contamination: treat the whole kit as compromised and re-seal everything rather than drying it partially.
- Whenever a component is used: replace it immediately, not at the next inspection, since the next inspection is usually late.
Two mechanical aids make compliance far more likely. First, print the schedule and the checklist inside the bag lid or on a welded card sleeve rather than shipping a paper insert, because paper leaves the bag within a year. Second, package consumables in pouches sized to be swapped whole, so rotation is a replacement rather than a repacking exercise; this is also what turns pouches into a recurring purchase for whoever supplies the programme.
Finally, record it. A completed-inspection line written on the card with the date takes five seconds and converts the whole system from intention into evidence. It is the cheapest audit trail available in any safety context.
Specifying these kits for programmes and brands
Survival and emergency kits are procured rather than bought, which changes how they should be developed. The buyer is typically an organisation fitting out vehicles, boats, crews, response teams or retail assortments, and it wants several hundred identical units with region-specific contents. That points to a particular product structure: one bag specification shared across the programme, with the variation living in the contents rather than in the bag.
That structure is also the economical one, because the minimum order quantity is 500 pieces per style and every bag colour, size or print variation counts as another style. One bag, one closure family, one colourway, and then a set of standardised internal pouches — small for fire kits, medium for medical, large for insulation — keeps the programme to a manageable number of styles while still allowing contents to vary by region or by vessel type. Our guide to minimum order quantities sets out how that arithmetic is usually structured.
Printing and documentation are worth more here than in most categories. Because paper leaves the bag, the durable options carry real value: the inventory checklist printed directly onto an interior panel or onto a welded card, the inspection table printed beside it, pouch labels printed rather than handwritten, and a dating method that survives handling. Our review of printing options for coated shells covers which methods last, and our notes on packaging for wholesale orders address presentation for retail assortments.
Two cautions close this section. The first is regulatory: emergency and marine safety equipment is subject to national and international requirements that vary by market and by intended use, and those requirements govern the equipment rather than the bag — so the claim set has to be agreed with the buyer for each market and each use case, and any specific compliance must be documented to the method named by bodies such as the International Organization for Standardization or the relevant national authority. The second is that this category attracts inflated claims; the honest position, which is also the defensible one, is to state what has been tested and to resist anything not verified.
Sampling runs 6–10 working days per round and bulk production 35–50 days, quoted FOB Xiamen. If you want this turned into a costed programme, Send a brief covering the intended environment, the tier structure, pouch sizes, printing requirements and any compliance obligations. Minimum order quantity is 500 pieces per style, samples take 6–10 working days, bulk production runs 35–50 days, and quotations are issued FOB Xiamen.
Frequently Asked Questions
Q1. Why does getting wet matter so much in a survival situation?
Water carries heat roughly twenty-five times faster than air, and evaporating one litre removes heat equivalent to several hours of resting metabolism. Mild hypothermia then degrades judgement and dexterity before it is noticed.
Q2. What should I waterproof first inside a survival kit?
The dry insulation layer and the fire kit. A spare insulating layer and usable fire address wet, cold, unsafe water and signalling together, and both fail immediately once damp.
Q3. Is one lighter enough for fire starting?
No. Butane vaporises poorly in cold and piezoelectric igniters are unreliable when wet. Carry at least two methods using different physics, kept in different places.
Q4. Should I carry duplicates in the same bag?
Numerically yes, spatially no. Duplicates in one pouch share every risk that pouch has. Put something critical on your person and the deep spare in a different container.
Q5. Why seal items individually if the bag is already waterproof?
Because bags get opened in rain, punctured and left unfastened. Individual pouches mean you can open the bag repeatedly in bad weather without wetting anything else.
Q6. How long do snap-lock bags protect contents?
About one to two years. Seals creep, folds puncture and the film stiffens in cold. Heat-sealed laminate pouches with desiccant last considerably longer and suit anything critical.
Q7. How often should a survival kit be inspected?
Every six months for seals, desiccants and closures, and annually for food, water and batteries. Replace gaskets and elastic every two to three years regardless of appearance.
Q8. Is storing a survival kit in a car boot a bad idea?
Usually yes. Interior temperatures can exceed 60 degrees Celsius in summer, and daily cycling degrades coatings, adhesives, cells and elastics. Move it into the cabin or accept a strict rotation schedule.
Q9. Should I use alkaline or lithium batteries in a survival kit?
Lithium primary cells. They store for around ten years, resist leakage far better and perform much better in cold, which matters as much as shelf life.
Q10. Can I store fuel or batteries inside the main sealed bag?
No. Both can leak, and a leak silently contaminates dressings, food and fabrics with no external sign. Keep them outside the main volume in rigid containers.
Q11. Will a water filter survive being frozen?
A wet hollow-fibre or ceramic filter can be permanently damaged by ice, invisibly. In sub-zero conditions carry it inside your clothing rather than in the pack.
Q12. How much should a survival kit weigh?
Keep total carried load near 10 per cent of body mass, so around 7 kilograms for most adults. Use three tiers so the critical items are always carried even when the rest is not.
Q13. What colour should a survival bag be?
Discreet outside, high-visibility inside. A bright interior lining becomes a signalling panel when opened; add retroreflective patches and a whistle on the strap rather than buried.
Q14. Are roll-top closures good for survival kits?
They work well until the film stiffens in cold. Test the specific closure at the lowest temperature you expect, or specify a large-tooth zip under a storm flap instead.
Q15. What is the most common survival kit packing mistake?
Putting everything in one sealed bag. It is opened once in rain and stays wet for the rest of the trip. Seal by content class and design so the first-hour items are reachable immediately.
Q16. How do I make sure a kit actually gets inspected?
Print the checklist and inspection table inside the bag instead of shipping paper, make pouches swappable whole rather than repackable, and write the completed date on the card every time.
Q17. Can one bag style work for several different emergency programmes?
Yes, and it is the better approach: one bag specification with standardised pouches, varying contents by region, keeps the programme within practical minimum order quantities.
People Also Ask
Why is staying dry so important in survival?
Water conducts heat about twenty-five times faster than air, and evaporating moisture removes hours worth of body heat, leading to hypothermia and poor decisions.
What should be most protected in a survival kit?
The fire kit and a dry insulation layer. Both fail immediately when damp, and both address several survival needs at once.
How often should I check a stored survival kit?
Every six months for seals and desiccants, annually for food, water and batteries, and every two to three years for gaskets and elastic.
Is it bad to keep a survival kit in a car?
Yes, particularly in the boot. Interior heat can exceed 60 degrees Celsius and cycling degrades coatings, adhesives and batteries.
Should items be sealed inside a waterproof bag?
Yes. Individual pouches let you open the bag repeatedly in rain without wetting anything, and they keep leakage or puncture damage contained.
How heavy should a wilderness survival kit be?
Keep carried load near 10 per cent of body mass and use three tiers, so the critical items travel with you even if the bulk does not.