A weekend trip is decided by whether the bag keeps water out. A six-to-fourteen-day expedition is decided by what still works after water has been getting in for four days. That is a different engineering problem, and it is why gear lists written for weekends fail on expeditions: they assume one failure ends the trip, when in reality an expedition continues with a compromised layer and the system has to degrade in a controlled way rather than collapse.
The model that holds up is three layers with clearly different jobs: a dry core that must stay dry for the whole trip and is sized by contents rather than by pack volume, a compression middle that manages bulk and is allowed to be damp, and a sacrificial outer zone for everything that can be wet without consequence. Around that sits a set of unglamorous disciplines — plastic liners where they beat dry bags, a reach rule for daily access, a grams-per-litre weight budget, a repair kit matched to the construction, and a shakedown before departure. This guide covers each one with numbers, plus what brands should specify when building an expedition packing range. QUANZHOU JUNYUAN BAGS — custom waterproof bag production since 2014, 4,950 m² SGS-verified facility — works to MOQ 500 pieces per style, with sampling in 6–10 working days and bulk in 35–50 days, FOB Xiamen.
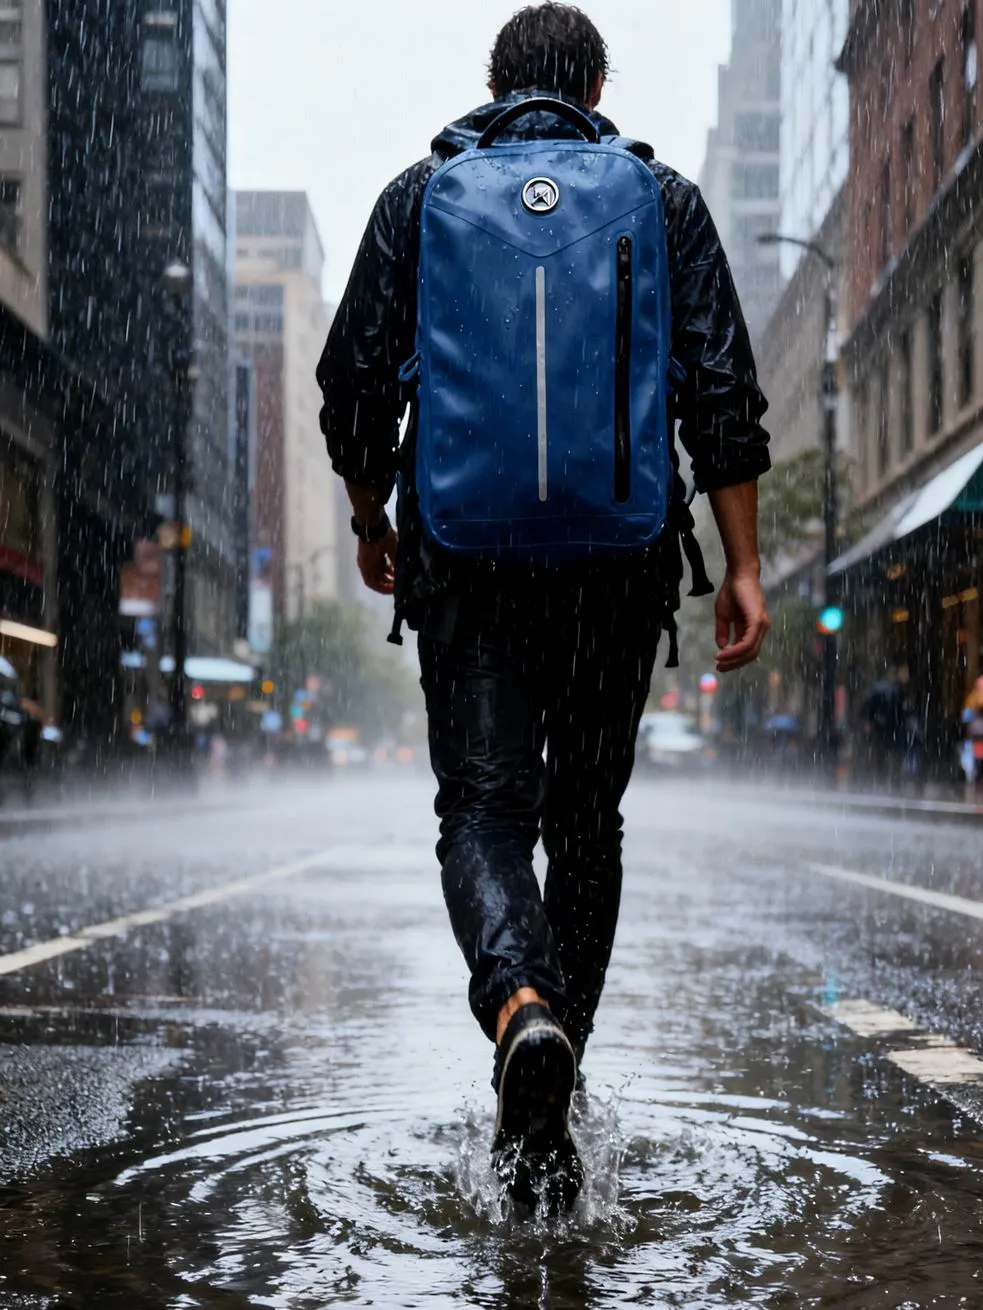
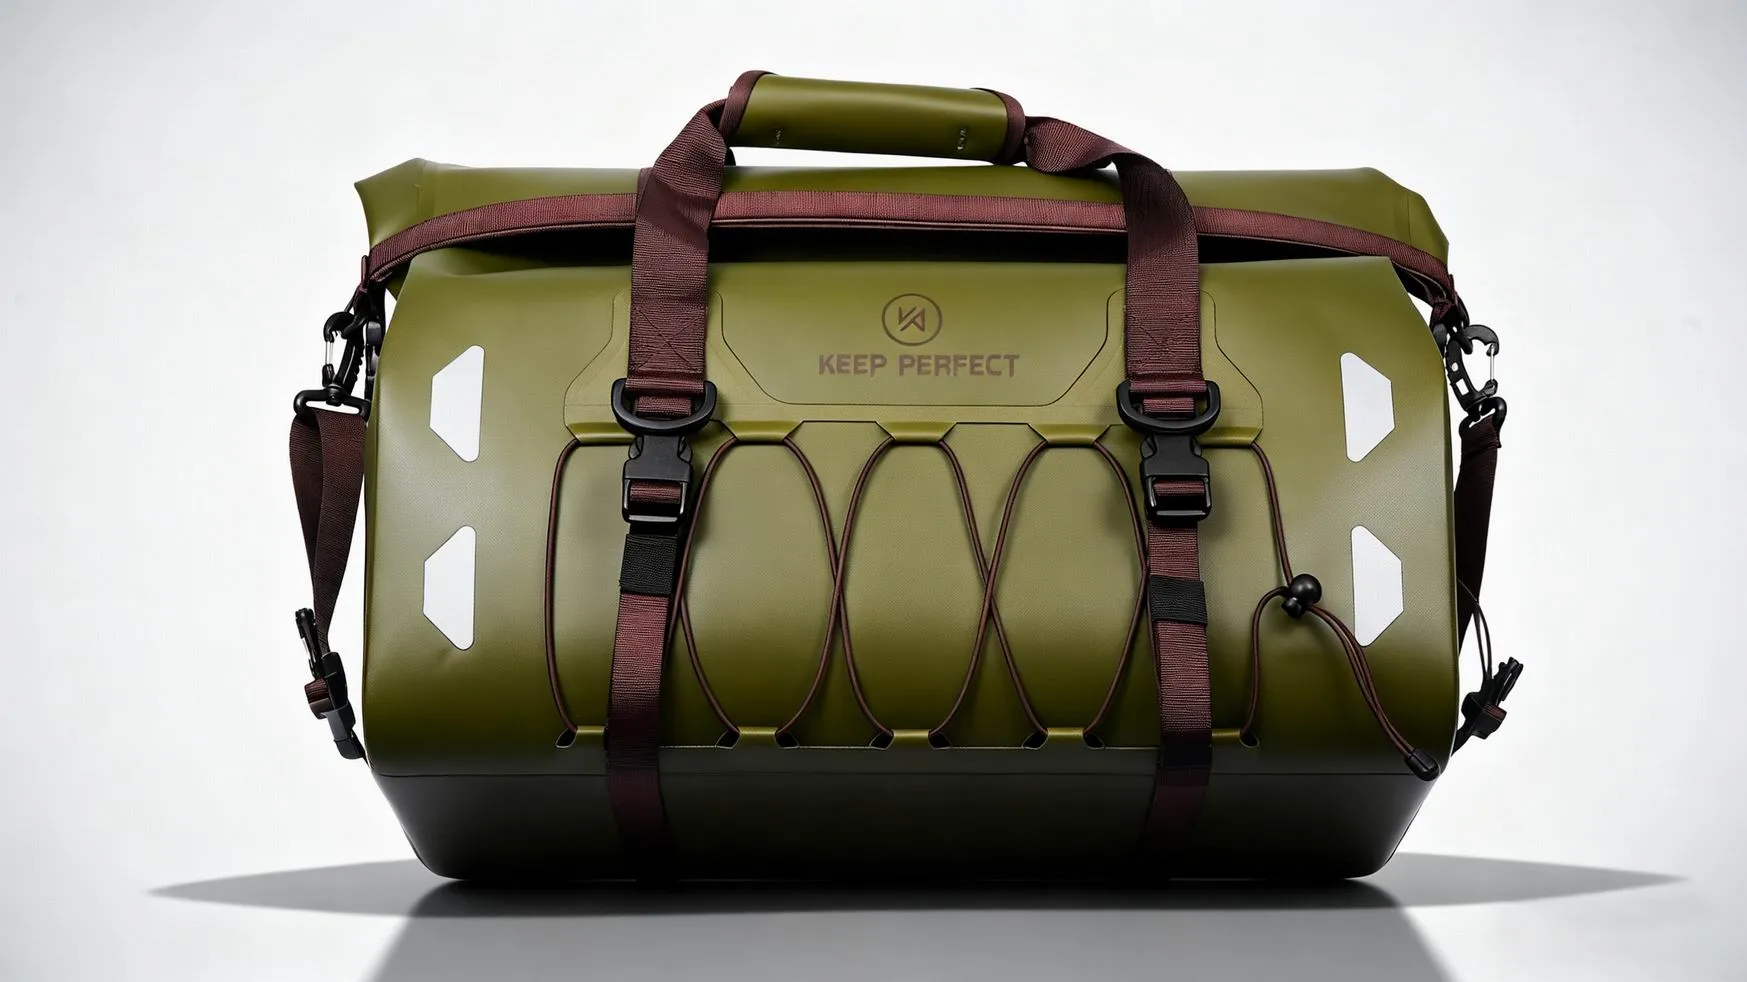
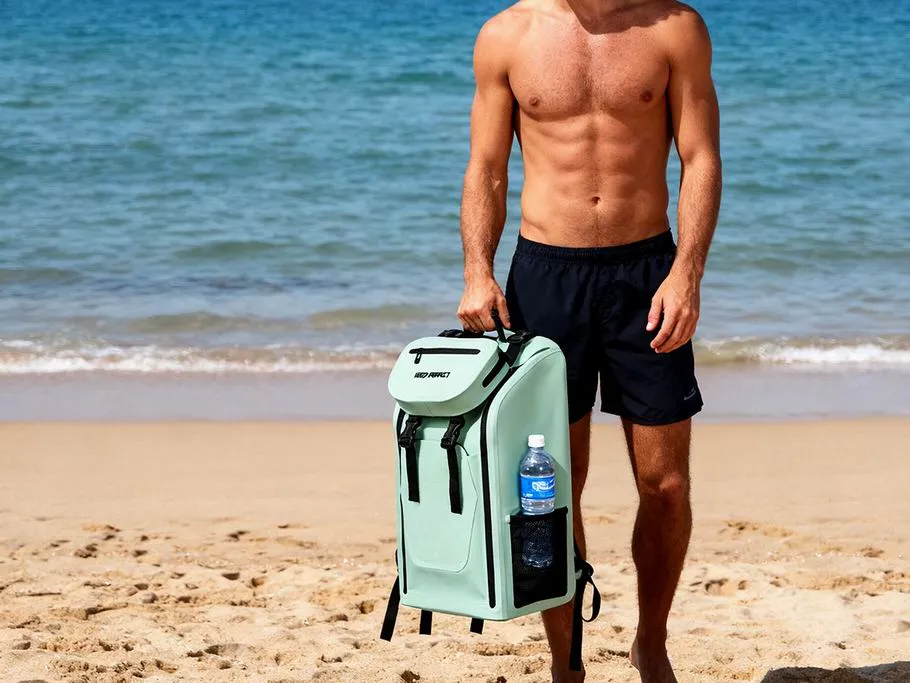
Duration changes the failure model
The single adjustment that separates a weekend list from an expedition list is this: on a long trip, something will get wet, and the plan has to specify in advance which thing. Most expedition packing systems fail because they try to keep everything dry rather than deciding what is allowed to be wet. Good multi-day waterproof bags are therefore not simply bigger dry bags; they are a hierarchy in which each layer has a stated tolerance for failure, and the loss of any single layer is survivable by design rather than by luck.
Consider what actually happens over ten days in a wet range. The outer fabric is saturated within hours and stays saturated. Condensation forms inside every sealed space each night as temperature drops. A crossing or a soaking rain gets past one closure at some point. Kit that got wet on day three is still wet on day five because there has been no dry window. None of those events is catastrophic alone; together they produce a slow degradation that ends trips through cold, through skin breakdown and through equipment failure rather than through a single dramatic leak.
So the design question becomes: rank every item by consequence if wet, and give the top rank the most robust protection available, accepting weight and cost for it, while deliberately giving the bottom rank no protection at all and carrying it outside. That ranking, done honestly, is the whole system, and it usually surprises people by how short the protected list is.
The three-layer model and what each layer is allowed to do
Three layers is the right number. Two layers forces the protected and the damp items to share a boundary, which is where most systems leak in practice; four layers adds a boundary nobody can remember in the dark. Each layer has a job, a construction, and a stated failure tolerance.
| Layer | Job | Construction | Tolerated failure |
|---|---|---|---|
| Dry core | Keep a small, non-negotiable set dry for the entire trip | Welded or roll-top dry bags, individually sealed, nested inside the pack | None tolerated; this is why it is over-specified and redundant |
| Compression middle | Manage bulk; hold clothing and food that can tolerate damp | Compression sacks or uncoated stuff sacks, closed but not sealed | Damp is acceptable; saturation is not, so it sits inside the pack liner |
| Sacrificial outer | Carry what is already wet or cannot be damaged by water | External straps, daisy chains, open-top pockets, mesh | Expected to be wet; the layer is designed to drain and dry |
| Pack liner (system-wide) | Second line of defence behind the pack fabric | Light coated liner or a heavy plastic sack | Replaced or patched; cheap and disposable by design |
Two details make this model work in the field. The dry core is redundant rather than single: two smaller sealed bags instead of one large one, because a single closure failure then costs a fraction of the critical kit rather than all of it. And the pack liner matters more than most people expect — a pack fabric is water-resistant at best, and the liner is what converts a soaking pack into a dry interior for the middle and core layers.
The trade-off for that redundancy is weight and volume, quantified in the weight budget section below. On a supported trek with porterage or a vehicle, the redundancy is nearly free. On a self-supported carry above 4,000 metres, every hundred grams is argued for, and the correct answer is usually to shrink the dry core rather than to remove the redundancy.
Sizing the dry core by consequence, not by pack volume
The common error is buying a dry bag to match the pack: a 65 litre expedition pack gets a 60 litre liner and everything goes inside it. That is a single point of failure with the wrong contents, and it also means the largest, heaviest item in the system is the one with the most closure length to fail. Size the core from the list instead, and the list is short.
- Sleep system: sleeping bag plus a sleeping mat or its inflatable equivalent. If this gets wet, the trip ends. Typically 12 to 20 litres compressed for a three-season bag.
- Insulation layer: one complete dry set of base layer, mid layer and shell worn only in camp or in an emergency. Typically 5 to 8 litres.
- Fire and navigation: lighter or two ignition sources, map, GPS or phone, head torch and spare batteries. One to two litres.
- Medical and repair: a compact first aid kit, plus the repair materials for the system itself. One to three litres, and it should be the most visible piece in the pack.
- Documents and money: passport, permits, cash, insurance details. Under one litre, and usually carried on the person rather than in the pack.
Everything else — food, fuel, cooking kit, spare clothing, tent components, water — is either water-tolerant or already wet, and belongs in the middle or outer layer. On a typical ten-day trip that puts the dry core at roughly 25 to 35 litres inside a 65 to 75 litre pack, which is a far smaller protected volume than most people carry and a much more robust one. The construction choices that make that volume genuinely reliable are covered in our guide to dry bags versus duffels.
Divide that core into at least two sealed bags. A 20 litre sleep-system bag and a 10 litre camp-kit bag is a materially safer arrangement than one 30 litre bag, because the closure length is shorter, the individual seals are easier to make correctly when hands are cold, and a failure costs one category instead of two.
The compression middle: bulk is the real constraint
On a multi-day trip, weight gets the attention and bulk gets the blame. A sleeping bag that weighs 900 grams but occupies 18 uncompressed litres will dictate pack size more than any other single item, and the whole point of the middle layer is to convert bulk into manageable volume without permanently damaging what is inside. This is where compression sacks earn their place, and where they are also most often misused.
The rule is compress for the carry, release at camp. Synthetic insulation and down both lose loft under sustained compression, and the effect is cumulative across a long trip: a bag compressed eighteen hours a day for twelve days will not recover fully even with airing. Compress to load the pack, then open the sack at camp and let the insulation expand overnight. It costs two minutes and preserves most of the loft that would otherwise be lost.
Valves matter here more than in any other application. A one-way valve lets air out without letting water in while the sack is being rolled and squeezed, and the difference in achievable compression between a valved and an unvalved sack on a bulky load is noticeable rather than marginal. Our separate page on air release valves covers the types and the failure modes; the practical advice is to specify a valve that can be operated with a cold, gloved hand, because that is when it is used.
The sacrificial outer layer and the discipline of carrying wet
The outer layer is where expedition packing differs most visibly from travel packing, because it requires accepting that some items will be wet for days and designing for that instead of fighting it. A wet tent fly, a used stove, muddy camp shoes and water bottles are not failures to be prevented; they are a category to be carried.
- Give wet items their own external attachment point so they never enter the pack interior: a strap pair at the base or a dedicated pocket with drainage.
- Carry water on the outside or in an external sleeve, because a bladder leak inside the pack is the fastest way to destroy a dry core.
- Keep fuel and any strong-smelling item outside entirely; a fuel leak inside a pack contaminates food and insulation irreversibly.
- Accept that the outer pockets are a wet zone and put only water-tolerant items in them — the same logic as a travel bag, applied more strictly.
- Use the outer layer for drying: items that need airflow travel strapped outside during any dry window, however short.
The attachment hardware carries real load here and is a common failure point. Straps and their anchors are stressed continuously by a shifting load over days, and the specification question is not whether the strap is strong but whether the anchor survives repeated shock loading; that is the subject of our page on strap and handle load testing. Carry one spare strap and two spare buckles in the repair kit: they weigh under sixty grams and they convert a pack failure into a ten-minute fix.
The plastic bag reality: where twenty grams beats ninety
Every experienced expedition packer uses plastic bags, and most gear lists are too embarrassed to say so. The honest position: a heavy-duty contractor bag or a thick polyethylene liner weighs around 20 to 40 grams, costs almost nothing, is genuinely waterproof, and is replaceable at any village shop. Against a 90 to 150 gram coated liner, the plastic bag wins on weight, cost and replaceability, and loses on abrasion resistance and on how long it survives being packed against sharp objects.
| Role | Plastic liner | Coated or welded dry bag | Which wins and why |
|---|---|---|---|
| Whole-pack liner | 20 to 40 g, disposable | 90 to 180 g, durable | Plastic, usually: it is a second line of defence and gets replaced when torn |
| Sleep system | Too fragile | Welded or roll-top, 60 to 120 g | Dry bag, without argument: this layer cannot be allowed to fail |
| Clothing mid layer | Adequate | Better but heavier | Plastic for short trips; a light coated sack above a week |
| Wet and dirty items | Excellent; it can be thrown away | Needs cleaning | Plastic, because the bag becomes contaminated |
| Electronics and documents | Acceptable in an emergency | Preferred | Dry bag, plus a plastic bag as its own second line |
The durability objection to plastic is real but manageable: a liner tears where it meets a sharp corner, so pack sharp items away from it, and carry a spare. Two nested plastic liners weigh under 80 grams and give redundancy that no single expensive liner matches. The point is not that plastic is better; it is that the correct allocation of protection is by consequence, and for a whole-pack second line of defence the consequence of failure is low.
Daily access: the reach rule and the camp routine
An expedition pack is opened twice a day at predictable moments: at camp in fading light, and in the morning while breaking camp. Everything that is needed at those two moments must be reachable without unpacking the load, because unpacking a full expedition pack in bad weather is how contents end up on wet ground. The reach rule is therefore a packing rule: items are placed by access moment, not by category.
- Lid or top pocket: head torch, map, snacks, water treatment, the layer you will put on at the first stop. All reachable with the pack on.
- Upper third of the main body: the camp-kit dry bag, so sleep and insulation come out first at camp rather than last.
- Lower two thirds: food and fuel, which are needed once daily and are heavy, so low and close to the back is correct for load carriage anyway.
- External: water, wet items, and anything needed while walking.
- Never buried: the repair kit and the first aid kit, which are needed at unpredictable moments and should be identifiable by colour in seconds.
The camp routine deserves to be written down and followed, because it is what converts a good packing system into a trip that stays dry. On arrival: pitch or establish shelter, remove the dry core before opening anything else, close every opened bag immediately after use, and hang or prop the wet layer where it can drain. In the morning: pack the dry core first, while it is still dry, then the middle, then the wet layer last. Teams that follow that order stay dry in conditions that defeat better-equipped teams who do not.
The weight budget: grams per litre on a self-supported carry
Expedition packing is arithmetic with real constraints. The conventional guidance for a self-supported multi-day carry is to keep total pack weight within roughly twenty to twenty-five per cent of body weight, which for a 70 kilogram person is 14 to 17.5 kilograms before consumables. Waterproofing has to be bought inside that ceiling, and it is bought in grams per protected litre, a figure worth knowing for each component.
| Component | Grams per protected litre | Protected volume on a 10-day trip | Budget comment |
|---|---|---|---|
| Welded dry bag, medium duty | 6 to 9 g/L | 20 to 30 L | The right place to spend weight; this is the dry core |
| Roll-top dry bag, light duty | 4 to 6 g/L | 10 to 20 L | Good for the second sealed bag and for camp kit |
| Coated compression sack with valve | 3 to 5 g/L | 15 to 25 L | Pays for itself in recovered pack volume |
| Heavy plastic liner | around 1 g/L | Whole pack | Almost free; carry two |
| Coated pack liner, durable | 2 to 4 g/L | Whole pack | Worth it above a week of continuous use |
| Hard case for electronics | 20 to 40 g/L | 2 to 5 L | Only for camera or satellite devices, never for general kit |
Read across a realistic build: a full dry-core and liner system for a ten-day trip comes to roughly 300 to 500 grams, which is two to three per cent of a 17 kilogram load. That is a reasonable price for keeping the sleep system dry, and it is far cheaper than the alternative protection strategy, which is carrying a heavier tent or more fuel to compensate for wet insulation. The wider discipline of trading protection against mass is set out in our page on lightweight material optimisation.
Where people overspend is in over-protecting the middle layer. A coated compression sack for clothing is justified; a coated compression sack for food that is already in plastic packaging is not. Every layer should be asked what happens if it fails, and the answer should determine the specification.
Crossings, porterage and open transport: expedition-specific exposure
Beyond weather, expeditions expose loads to three handling environments that travel never does: river and stream crossings where the pack may be fully submerged if a foot slips; porterage or animal transport where the load is handled by others, often on a wet back or a muddy trail; and open vehicles or boats where the pack sits in standing water for hours. Each argues for a different emphasis in the system.
For crossings, the dry core must be sealed independently of the pack, because the pack will be submerged and its fabric is not a waterproof barrier. For porterage, the priority is containment and identification: everything that matters should be inside one or two clearly identifiable sealed bags, so that a load split across several carriers never separates a traveller from their sleep system. For open transport, the priority is abrasion and standing water at the base, which argues for a pack liner plus an external sacrificial layer rather than for a more waterproof outer fabric.
The system answer to all three is the same and it is reassuringly simple: the dry core is already independent, so the pack being soaked is an inconvenience rather than an emergency. That is the practical argument for redundancy, and it is worth more than any single premium component. Guidance on managing risk in remote terrain is published by organisations such as the International Climbing and Mountaineering Federation, whose safety material is worth reading alongside any packing plan.
Field repairability: match the kit to the construction
A repair kit should be specified against the materials in the system, not bought as a generic pouch. Welded thermoplastic shells cannot be sewn; they need an adhesive patch and heat or pressure. Coated woven fabrics can be temporarily stitched and then taped. Zips can sometimes be revived with a replacement slider, but rarely on a coated zip in the field. Knowing which of those applies to each of your bags determines what you carry and, more importantly, what you specify before leaving.
| Construction | Field-repairable? | What to carry | Residual risk after repair |
|---|---|---|---|
| Welded TPU or TPU-coated | Yes, with adhesive patch | Urethane patch, repair tape, a small roller or a warm spoon | Good; a patched weld holds if the surface is clean and dry |
| PU-coated woven fabric | Partly | Needle and thread plus tape | Fair; stitching reopens the water path unless taped over |
| Coated waterproof zip | Rarely in the field | Spare slider only if the model is known | Poor; plan redundancy rather than repair |
| Roll-top closure | Yes, usually | Nothing; the closure degrades gracefully | Low; losing one roll still sheds most water |
| Buckle or strap | Yes | Two spare buckles, one strap, a length of cord | Low; cord substitutes for most hardware |
The planning conclusion is uncomfortable but useful: choose constructions whose failure is graceful over constructions whose performance is marginally better. A roll-top dry bag that loses one roll still works; a coated zip that delaminates does not, and it cannot be fixed at camp. That asymmetry is why experienced expedition packers accept a slightly less convenient closure on the critical pieces. Where a supplier conversation needs a common reference, standard abrasion and seam test methods are published by ASTM International and are worth naming rather than paraphrasing. The underlying construction trade-offs are covered in our comparison of stitched, welded and bonded construction.
Condensation and the six-day wet cycle
On a long trip in a wet range, the enemy is often water you brought with you rather than water that came in. Every night, as temperature falls, moisture inside a sealed bag condenses on its coolest surface; every sealed bag therefore slowly manufactures water internally. Over six days with no drying window, that internal water accumulates, and it accumulates in exactly the places where it does damage: against insulation and against electronics.
Three mitigations, in order of value. Keep wet and dry strictly separated so the source term is small in the first place. Open every sealed bag during any dry window, even a twenty-minute one, because a sealed bag never dries and an open one does. And avoid sealing electronics inside the sleep-system bag, where they are both a condensation surface and a heat source that drives the cycle.
The design countermeasure, for anyone specifying equipment, is a ventilated or semi-permeable layer for items that are merely damp rather than wet, which is the territory covered in our page on anti-condensation design. It is also the reason the middle layer in the three-layer model is deliberately not sealed: a layer that breathes cannot accumulate condensation, and clothing that is slightly damp can be worn dry by body heat in a way a soaked sleeping bag cannot.
The forty-eight hour shakedown before you leave
No packing system should meet a mountain for the first time on day one. A shakedown is a two-day test that costs nothing and finds almost everything. Pack the system completely, including consumables at full weight, then live out of it for two days: pitch and break camp twice, simulate a wet day by hosing the pack exterior for ten minutes, and run the full access routine in the dark with a head torch.
- Check that the dry core still seals when the pack is fully loaded; overfilling is the most common discovery.
- Time the camp routine end to end. If pitching and getting the sleep system out takes more than fifteen minutes in the dark, the access order is wrong.
- Confirm that every strap and attachment point is reachable and adjustable while wearing gloves.
- Hose the exterior, then open the pack and inspect: water should be on the liner, not on the core.
- Weigh the finished pack and compare against the twenty to twenty-five per cent of body weight ceiling; adjust the consumable plan rather than the protection plan.
What the shakedown usually reveals is not a product defect but a sizing or ordering mistake: a dry bag that only seals when half full, a lid pocket that cannot hold what the routine requires, or a total weight that nobody calculated. All three are fixable at home and expensive at the trailhead.
What brands should specify when building an expedition range
Expedition packing products are bought by a small, demanding, highly vocal customer base, and they are specified differently from travel products in three respects: the closure must work with cold hands, the construction must be field-repairable, and the size ladder must be built around sleep-system volumes rather than clothing volumes. Get those three right and the rest of the range follows.
- Build the size ladder around real dry-core volumes: 5, 10, 20 and 35 litres covers sleep systems, camp kit and clothing far better than an evenly spaced ladder.
- Specify roll-top closures with a stiffening strip so the roll can be made with cold, wet hands; this is the single most commented-on feature in expedition reviews.
- Offer a repair patch as a supplied accessory rather than an afterthought; it costs cents and it is the detail that gets photographed.
- Choose materials that can be patched: welded thermoplastic with a compatible adhesive patch, or a coated woven fabric that takes tape. Avoid constructions that are unrepairable and unsupported.
- Plan the range as a system with one colour logic across sizes, so a customer buying the second bag buys the same family; see logo options for waterproof bags for what adheres to coated shells.
Commercially, the range works when the dry-core pieces are the hero products and the liners and compression sacks are the repeat purchases. Minimum order quantity is 500 pieces per style, so a four-size dry bag ladder plus two liner sizes is a six-style programme and should be planned that way from the start rather than added to one at a time. If you want that ladder quoted against your own specification, send the size ladder, closure specification, material tier and target volumes. Sampling takes 6–10 working days and bulk production runs 35–50 days, FOB Xiamen.
Frequently Asked Questions
Q1. How much of an expedition pack should be in waterproof dry bags?
Usually 25 to 35 litres inside a 65 to 75 litre pack. Size the protected volume by what must never get wet — sleep system, insulation, fire, navigation, medical — rather than by pack capacity.
Q2. Should I use one large dry bag or several smaller ones for the core?
Several smaller ones. Two sealed bags give redundancy, shorter closure length and easier handling with cold hands, so a single failure costs one category instead of the whole core.
Q3. Are plastic bags acceptable in an expedition packing system?
Yes, and they are standard practice. A heavy plastic liner weighs 20 to 40 grams and costs almost nothing as a second line of defence; carry two, and reserve your welded dry bags for the sleep system.
Q4. Does compressing a sleeping bag for days damage it?
Yes. Sustained compression reduces loft and recovery is incomplete. Compress for the carry and release the sack at camp, particularly on trips longer than a week.
Q5. What is a realistic weight ceiling for a self-supported multi-day carry?
Commonly twenty to twenty-five per cent of body weight before consumables, so roughly 14 to 17.5 kilograms for a 70 kilogram person. A full dry-core and liner system costs 300 to 500 grams of that.
Q6. How do I keep electronics dry without sealing them with my sleeping bag?
Keep them in their own small sealed bag outside the sleep-system bag. Sealing warm devices with insulation drives the condensation cycle and puts water exactly where it does most damage.
Q7. What should a river crossing change about my packing?
Nothing, if the dry core is independent of the pack. The pack will be submerged and its fabric is not a barrier, so the core must be sealed in its own bag before you step in.
Q8. Can a welded dry bag be repaired in the field?
Yes, with a urethane adhesive patch and repair tape, provided the surface is clean and dry. That is why welded construction is preferable to a coated zip on critical pieces.
Q9. Why do coated waterproof zips fail on expeditions?
They fail at a bend or at the slider, and they cannot be repaired at camp. A roll-top degrades gracefully by comparison, which is why experienced packers accept slower access on critical bags.
Q10. What belongs in the sacrificial outer layer?
Wet tent components, used stove, muddy camp shoes, water and fuel. All of it is either already wet or undamaged by water, and carrying it outside keeps the source term out of the pack.
Q11. How do I stop condensation building up inside sealed bags over a week?
Separate wet from dry so the moisture source is small, open every sealed bag during any dry window, and never seal electronics inside the sleep-system bag.
Q12. What spare parts should an expedition repair kit contain?
A urethane patch, repair tape, needle and thread, two spare buckles, one spare strap and a length of cord. Under 150 grams, and it converts most pack failures into a ten-minute fix.
Q13. How should items be ordered inside the pack?
By access moment, not category: lid pocket for what you need while walking, upper third for the camp kit, lower two thirds for food and fuel, exterior for water and wet items.
Q14. Is a heavier, more waterproof pack fabric worth it for expeditions?
Usually not. The pack fabric is a first line at best; a pack liner plus independent dry-core bags delivers more protection per gram than upgrading the shell.
Q15. What sizes should an expedition dry bag range cover?
A ladder of 5, 10, 20 and 35 litres maps to real dry-core volumes far better than evenly spaced sizes, because it matches sleep systems, camp kit and clothing volumes.
Q16. How do I plan an expedition range against minimum order quantities?
Treat each size as a style. A four-size dry bag ladder plus two liner sizes is a six-style programme at 500 pieces per style, so plan the whole ladder at once rather than adding sizes later.
Q17. How long does it take to develop custom expedition dry bags?
Sampling is 6–10 working days once the specification is agreed, and bulk production runs 35–50 days. Both assume the size ladder and closure specification are fixed before sampling begins.
People Also Ask
How much of my expedition pack should be in dry bags?
Around 25 to 35 litres for a ten-day trip. Size it by what must never get wet, starting with the sleep system and insulation.
Are plastic bags good enough for expedition packing?
For the whole-pack liner, yes. They weigh 20 to 40 grams and are replaceable. Use welded dry bags for anything you cannot afford to lose.
Does compressing a sleeping bag damage it?
Yes if left compressed for days. Compress for the carry, then open the sack at camp so the loft recovers overnight.
What should I carry on the outside of my pack?
Anything already wet or undamaged by water: tent fly, stove, camp shoes, water and fuel. Never water bottles inside the pack.
Can I repair a welded dry bag on the trail?
Yes with an adhesive patch and repair tape, as long as you can clean and dry the area. Carry both in the repair kit.
What is a safe pack weight for a multi-day self-supported trip?
Roughly twenty to twenty-five per cent of body weight before consumables, so about 14 to 17.5 kilograms for a 70 kilogram person.