A first aid bag is the only bag whose failure is measured in minutes rather than dollars, and that changes the specification completely. Waterproofing still matters, but it matters for a specific reason: the contents are chemically fragile. Sterile dressings lose their barrier once the packaging wets through, adhesive tape stops sticking to damp skin, tablets and powders lose potency far faster in a humid sealed cavity than in a dry one, and a metal instrument left in a wet pouch begins to corrode within a day. The dominant design failure in this category is not leakage, though; it is access. A kit that keeps everything bone dry but requires two minutes of digging to find a pressure dressing has failed at the only task that counts, because the decisions that determine outcome in a serious bleed or a hypothermic patient are made in the first minute.
This guide stays with the object rather than with the medicine. It covers what the bag has to do in the first sixty seconds, how moisture damages each category of content and how differently each one fails, whether to waterproof the bag or seal the contents, the colour and marking conflict between visibility and discretion, how to layer trauma against medicines against tools, the capacity-versus-carry contradiction and how to size a kit to a group, expiry rotation systems real users will follow, closures tested with cold gloved hands, construction and cleanability where body fluids are involved, where the kit rides on a body or a pack, the failure modes specific to emergency kits, how to test before production, and how a brand should build a first-aid line. QUANZHOU JUNYUAN BAGS: custom waterproof bag production since 2014, 4,950 m² SGS-verified facility, MOQ 500 pieces per style, sampling in 6–10 working days and bulk in 35–50 days, FOB Xiamen.
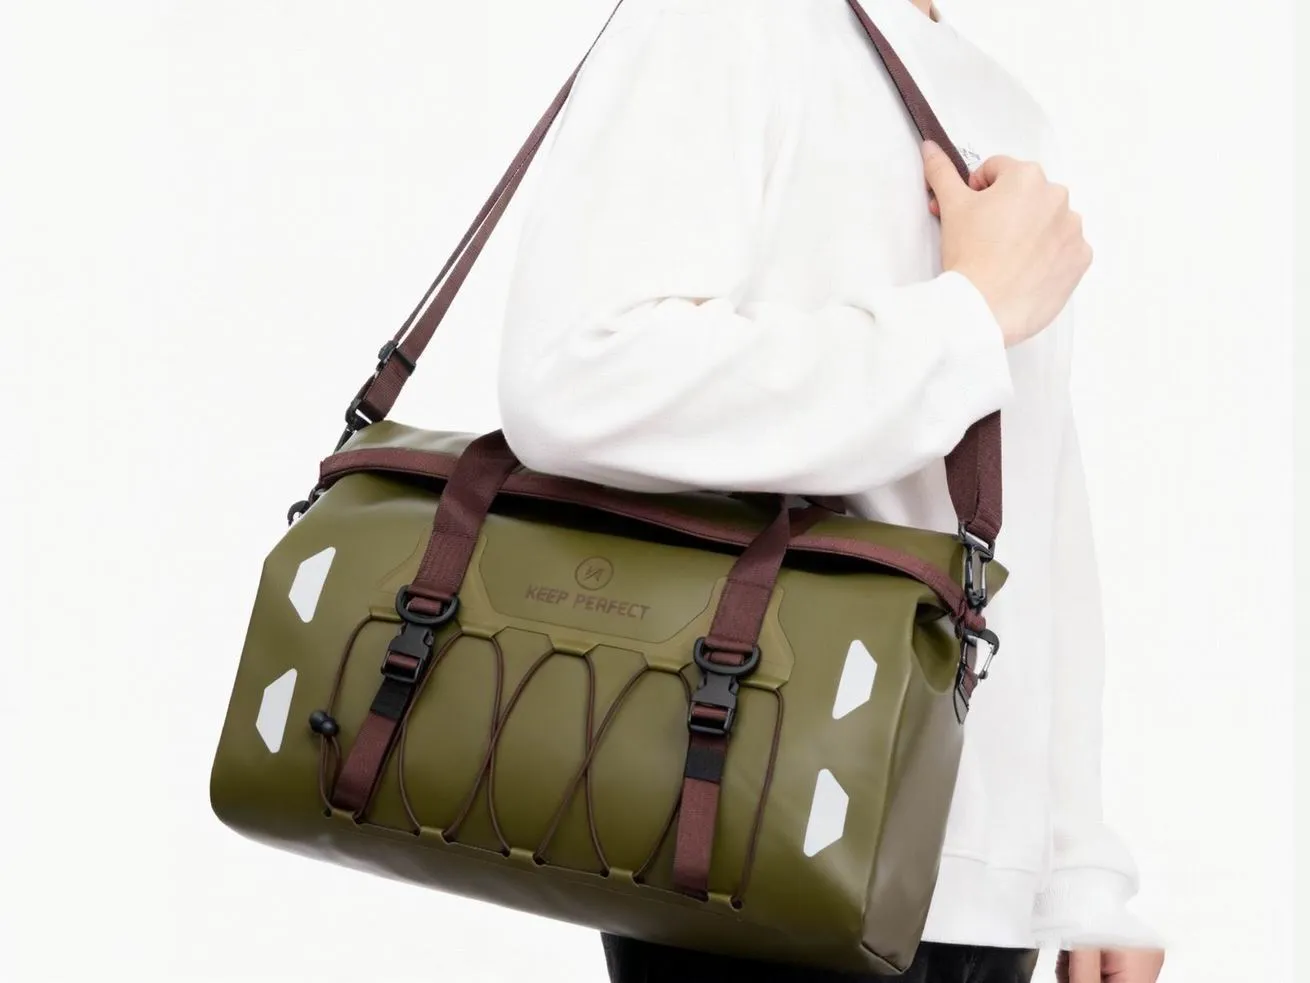
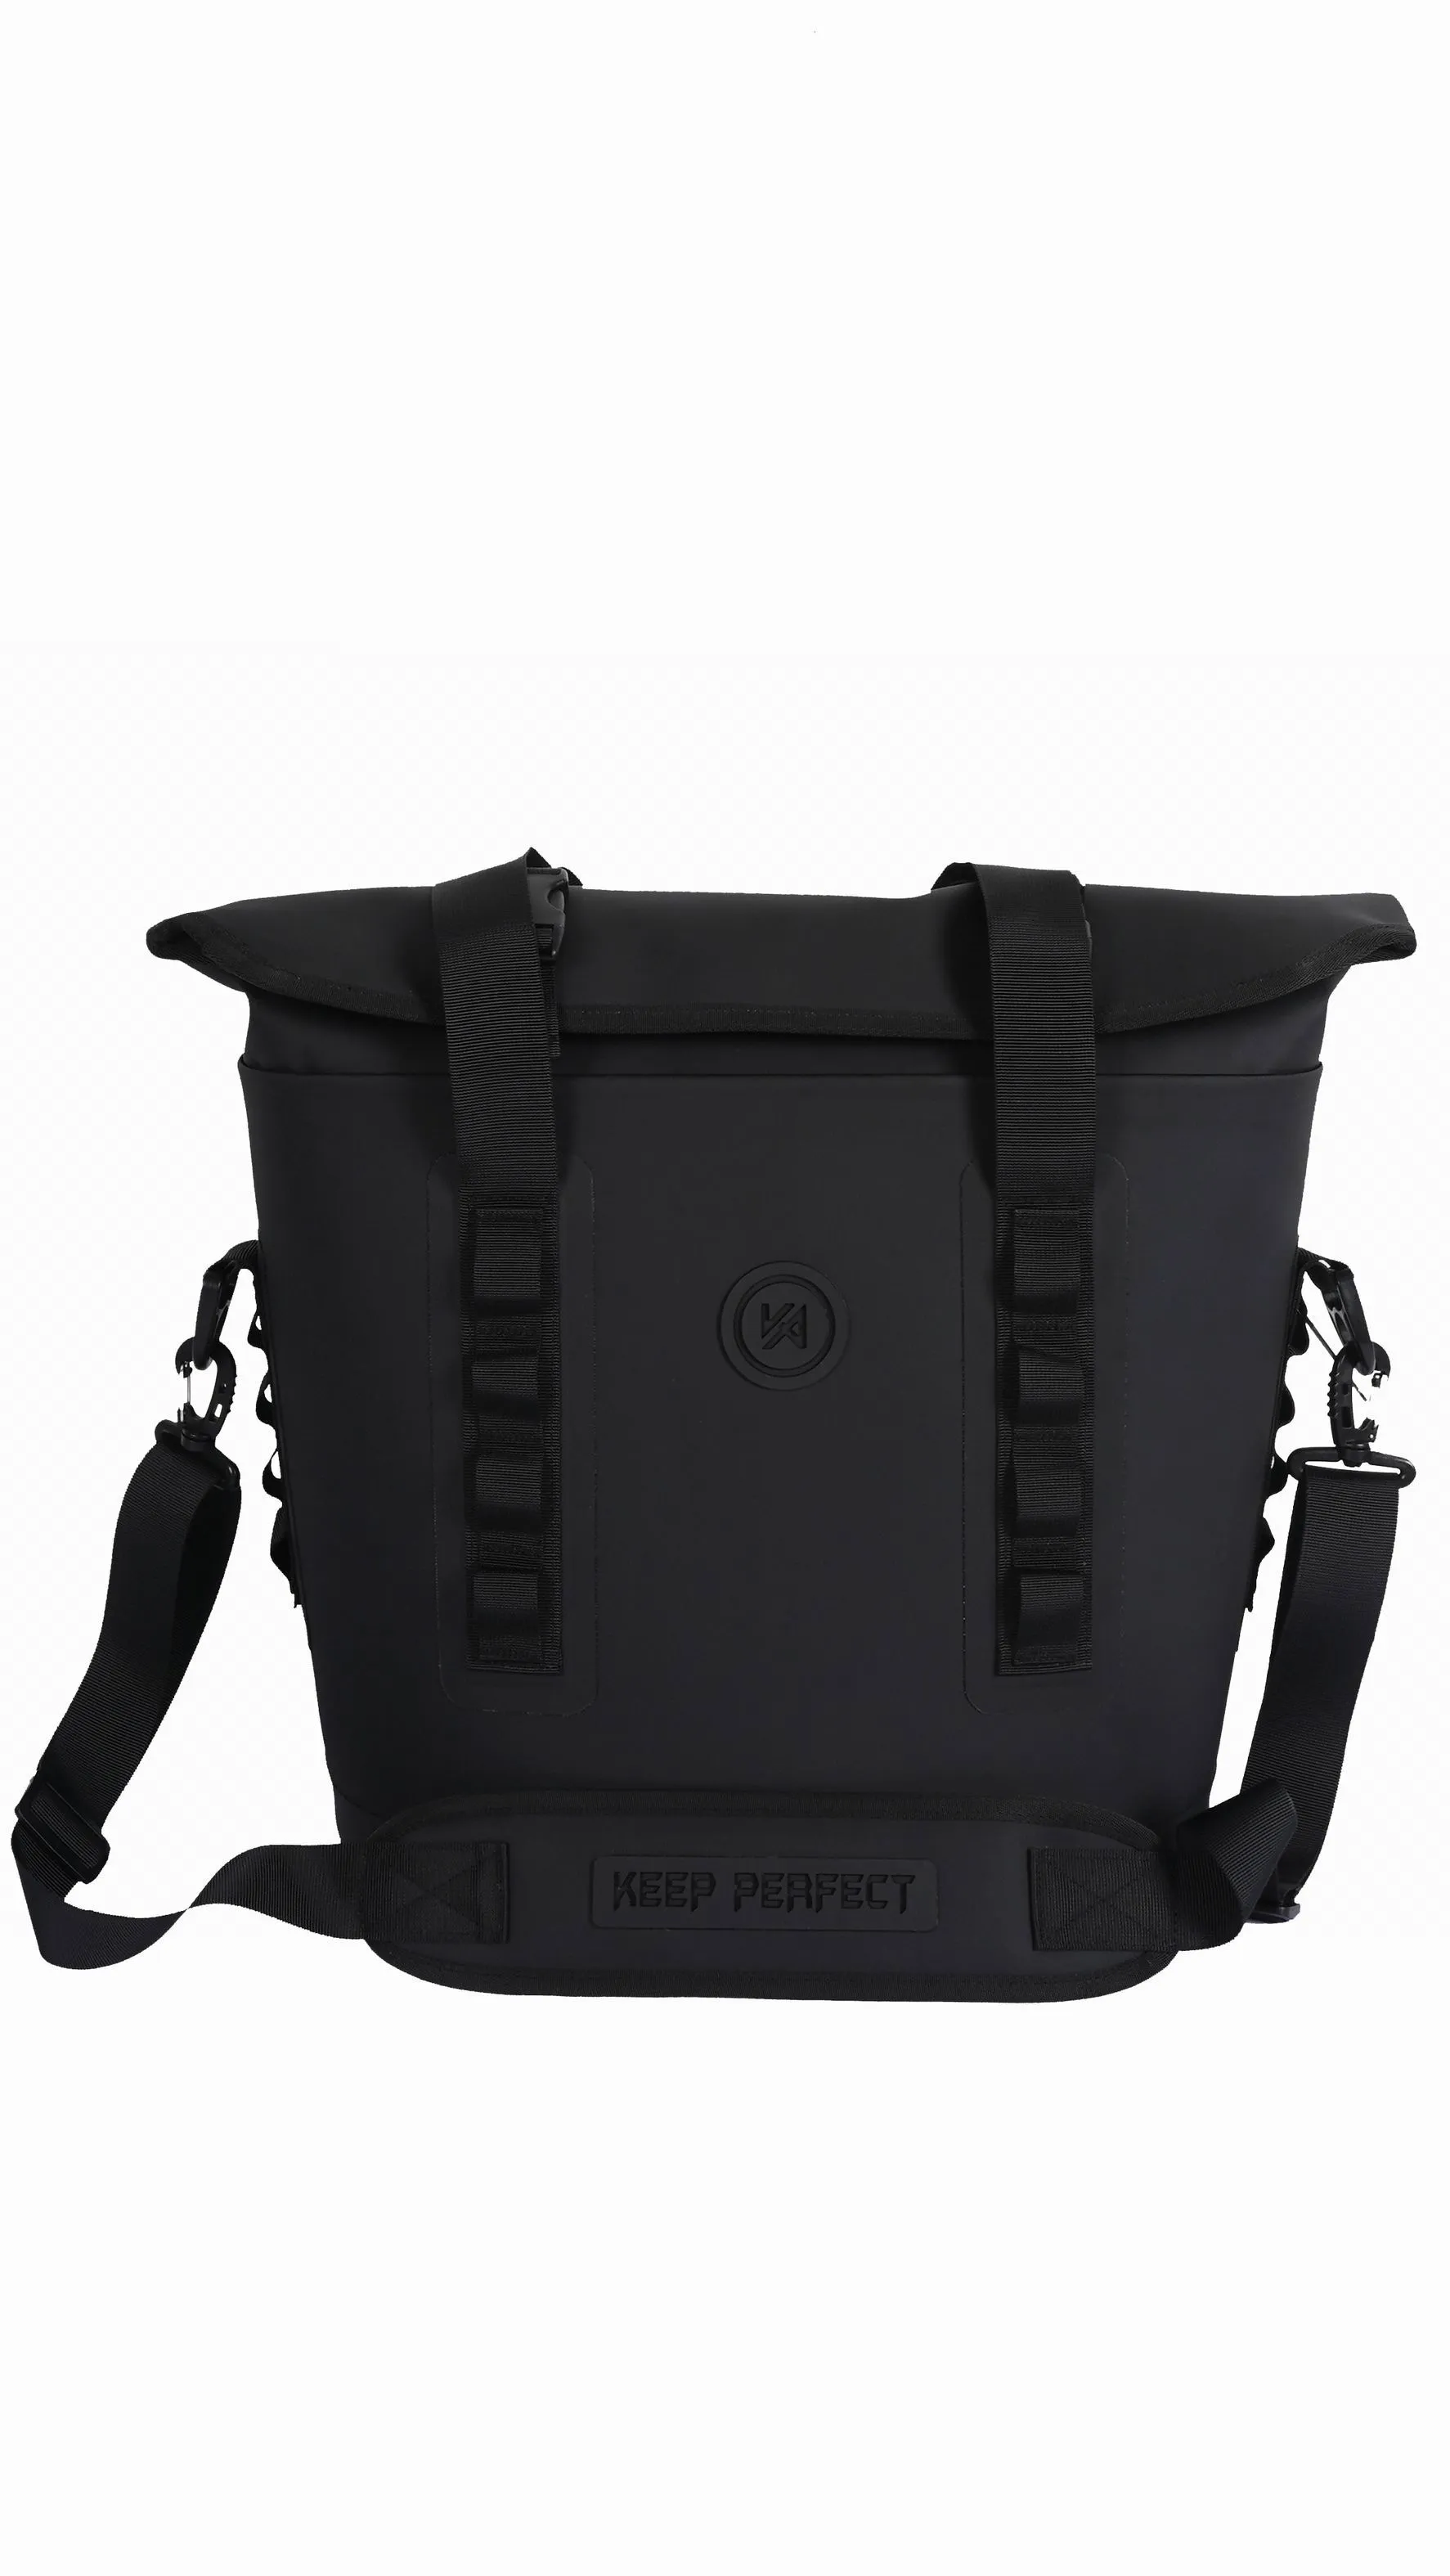
What an outdoor first-aid bag has to do in the first sixty seconds
Most waterproof first aid bags are designed as dry bags with a cross printed on them, and most outdoor emergency kit failures are then blamed on the user. The real brief is narrower and harder: a person who is cold, wet, possibly gloved, probably stressed and possibly treating someone else has to locate and open one specific item without emptying the bag. That is an access problem and a layout problem, and it is largely independent of how waterproof the shell is. A bag with an outstanding IP rating and a single undifferentiated cavity is a worse emergency tool than a moderately water-resistant bag with three clearly separated, clearly labelled modules.
The practical target used by most serious outdoor programmes is a thirty-second rule for the critical items: haemostatic dressing, tourniquet, gloves, thermal blanket, and the airway or breathing items appropriate to the training level. Anything that cannot be reached in that window should not be in the same bag, because it will not be reached at all. This is why the layout decisions below come before the material decisions, and why the first question in a development brief should be "what is the first thing out of this bag" rather than "what rating does it need".
The second requirement is that the bag has to work when it is being used, which is the condition almost never simulated in development. In a real incident the bag is on the ground in the wet, unzipped, with rain falling into it, and the contents that come out are the contents that get wet. Waterproof construction protects the kit in storage and in transit; during the incident, protection comes from how quickly the bag can be closed again. That argues for a closure that can be operated one-handed and that seals by being dropped rather than by being carefully folded.
Training level sets the ceiling on what the bag should hold, and it is worth saying plainly in product copy. A kit stocked with items the carrier is not trained to use is a liability and, in several jurisdictions, a regulatory question. Our companion piece on transporting medical equipment in waterproof bags covers the professional and clinical end of the category; the recreational kit discussed here should be scoped to the training the buyer actually expects its users to hold.
Moisture damage: what each category of content does when it gets wet
Water does not damage everything in a kit the same way, and treating the contents as one undifferentiated "medical supplies" mass is what produces badly specified bags. Sterile items fail by losing sterility. Pharmaceuticals fail chemically, and they do so invisibly. Adhesives fail mechanically. Metal fails by corrosion. Textiles fail by growing mould. Each category therefore needs a different protection strategy, and the cheapest competent kit protects each category at the level it actually needs rather than protecting the whole bag to the highest standard.
| Content category | What water or humidity does | Time to functional failure | Protection that actually works |
|---|---|---|---|
| Sterile dressings and gauze in paper or film packs | Wicking through the pack edge; once the pack is wet the barrier is gone | Immediate on wetting; sterility cannot be re-established | Individually sealed packs plus a welded outer pouch; inspect pack integrity, not just dryness |
| Adhesive tape, plasters, blister dressings | Loses adhesion to damp or cold skin; rolls and curls | Immediate in the wet; the item still looks fine | Foil or film sachet per item; store flat, not rolled |
| Tablets and capsules | Humidity drives hydrolysis; potency falls well before the printed expiry if stored hot and damp | Months in a humid cavity; faster above 30 °C | Individual blister strips rather than a loose bottle; desiccant in the medicine module |
| Powders, effervescent and soluble formulations | Caking and premature reaction on contact with moisture | Days once humidity enters | Foil sachets, never a tub; silica gel in the same module |
| Metal instruments: scissors, forceps, tick removers | Surface corrosion, then staining, then stiff joints | 24 to 72 hours in a wet pouch | Dry and separate from any damp item; stainless grade matters more than coating |
| Elastic bandages, slings, triangular bandages | Loses elasticity when stored compressed and damp; grows mould | Weeks, and mould appears before the user notices | Store loose and dry; never compressed under weight |
| Thermal blankets and foil sheets | Foil delaminates from scrim when flexed wet; crumples permanently | Irrelevant to function, but the item becomes unusable | Keep flat in a rigid sleeve; do not roll |
| Paper: cards, protocols, checklists | Illegible on wetting, and a wet card cannot be read in the dark | Immediate | Synthetic paper or laminated card; both cost very little |
The commercial implication of that table is that content-level sealing beats bag-level sealing for most of the kit. A welded outer shell is worth specifying, but the item-level decision — blister strips instead of a bottle, foil sachets instead of a tub, laminated card instead of paper — is what actually determines whether the kit works after six months in a humid climate. Brands that supply the bag but not the contents should still specify the contents’ packaging, because the bag will be blamed when a bottle of tablets turns to paste inside it.
Temperature belongs in the same conversation as humidity, because a kit stored in a vehicle or a boat locker routinely exceeds 40 °C in summer and that accelerates every chemical failure path above. The general guidance published by the US Centers for Disease Control and Prevention on medicine storage stresses cool and dry for a reason: heat and moisture together are far more damaging than either alone. A reflective or light-coloured outer shell is therefore a functional choice for a kit bag rather than a styling one.
Waterproofing the bag or waterproofing the contents
This is the fork that decides the whole architecture, and the two options are not equivalent. Waterproofing the bag means one barrier around everything: a welded or coated shell with a rated closure. Waterproofing the contents means several small barriers, one per module, inside a bag whose own water resistance may be modest. The first is cheaper and more marketable. The second is more reliable in use, for a reason worth stating precisely: when an incident happens, the bag is open, and a single barrier protects nothing at the moment of maximum exposure.
The strongest construction combines both, with an asymmetry. The bag provides splash and rain resistance and a cleanable, structured shell. The critical modules — trauma, medicines, tools — are individually sealed in welded pouches inside it. During an incident the outer bag can be open and raining into, and the modules still protect their contents for the minutes that matter. That is the argument for module-level sealing, and it is the single most valuable design idea in this category.
There is a cost trap here. Individually sealing every item in a welded pouch makes a kit expensive, bulky and, crucially, slower to search, because the user now opens two barriers instead of one. The resolution is to seal at module level rather than at item level: one welded pouch for the trauma module, one for medicines, one for tools. Three barriers to find your way past, not thirty, and each one is labelled on the outside so the search happens before anything is opened.
For brands deciding how far to push the outer shell, the level-of-protection decision is set out in our guide to choosing the right waterproof level. The brief answer for a first-aid kit is that rain and splash resistance with a welded, wipe-clean base covers most of the benefit, and that paying for genuine submersion on the outer bag is usually money better spent on module sealing and on labelling.
Colour and markings: the visibility conflict
A first-aid bag has to be findable by a stranger, and that requirement collides with two others. Retail buyers often want a dark or branded colourway because it sells; and a growing group of users — backcountry travellers, hunters, some expedition operators — actively do not want a bag advertising that they are carrying medical supplies. Both pressures are legitimate and neither should be ignored, but the functional requirement wins at the point of use: if a bystander cannot identify the kit, the kit is not doing its job.
- Keep the marking large and on two faces, not one. A bag lying on its side in long grass with the cross on the top panel is invisible to someone approaching from the other direction.
- Use a reflective or retroreflective element on the marking rather than relying on colour alone; a red bag in failing light is just a dark bag, and most incidents happen as light goes.
- Specify the marking as a welded or heat-transferred patch on coated fabric rather than a print that sits on top of a textured surface, because abraded markings are the most common reason an old kit is unrecognisable.
- Where discretion is required, offer a reversible or two-colour solution: a subdued outer shell with a high-visibility pull-out panel, rather than removing the marking entirely.
- Do not mark the bag with a brand logo at the same visual weight as the medical marking. The hierarchy of information is a safety feature, and it is also the thing reviewers notice first.
Colour choice also has a thermal consequence that is rarely considered. A dark bag left in direct sun on a boat deck or in a vehicle reaches temperatures well above ambient, and the medicines inside degrade accordingly. A mid-tone or light shell in a warm-climate programme measurably extends the usable life of the pharmaceutical contents. The interaction of marking method and substrate is covered in more detail in our notes on integrating reflective materials into bag design, which is the relevant reference for making a marking that survives abrasion and still reads at dusk.
Layering the kit: trauma, medicines, tools
Three layers, in a fixed order, is the layout that survives contact with real users. The first layer is the catastrophic-bleed module: a tourniquet, a haemostatic or pressure dressing, and gloves, reaching without moving anything else. The second is the medicines module: analgesics, antihistamines, anti-diarrhoeals, rehydration salts, any prescribed items. The third is the tools and general-wound module: shears, tweezers, tape, plasters, blister care, and the thermal items. That order is not arbitrary; it is the order in which a trained responder reaches for things, and a kit packed in a different order gets repacked by experienced users within a week of purchase.
The physical arrangement follows from the order. Trauma goes in an external or top-access pocket that can be opened without opening the main cavity, because the item is needed before anything else and possibly by someone other than the bag owner. Medicines go in a clearly separated, sealed, opaque pouch with a desiccant, because their failure mode is chemical and their risk of confusion with wound care items is real. Tools and dressings go in the main cavity, where bulk is acceptable and where the user will take the time to look.
Identification within the layers should be by colour and by text, not by colour alone. Roughly one user in twelve has some form of colour vision deficiency, and a kit that relies on a red module meaning one thing and a green module another is a kit that will be misread under exactly the conditions where it is needed. Printed text on the outside of each module costs nothing and removes the ambiguity entirely.
See-through panels have a genuine role here and they are worth specifying deliberately. A transparent window on a module lets the user confirm contents without opening it, which preserves the seal and shortens the search. Our review of transparent TPU constructions covers what holds up in a welded panel; for a kit, a transparent front on the medicines module with a printed contents card behind it is the combination that works, because the card is read through the window rather than being a loose item that goes missing.
Capacity versus carry: matching the kit to group size
The governing contradiction in this category is that the medically correct kit is always bigger than the kit people will carry. A solo day hiker will accept roughly 0.5 to 1 litre; a group of eight on a multi-day trip needs something closer to 4 to 6 litres and nobody wants to carry it. Solving that by building one huge kit produces a kit that stays in the vehicle, which is the worst of all outcomes: the bag is present, the contents are unavailable, and the group believes it is covered.
| Group and activity | Kit tier | Recommended capacity | Contents emphasis |
|---|---|---|---|
| Solo day hike or trail run | Personal minimum | 0.5–1 L | Blister care, tape, a small pressure dressing, antihistamine, emergency thermal sheet |
| Pair or family, day outing | Compact group | 1–2 L | Adds wound closure, a proper bandage set, children’s dosing, rehydration salts |
| Group of 6–10, day activity | Group day kit | 2–3 L | Adds a tourniquet, shears, a thermal blanket, burn care and a protocol card |
| Multi-day expedition, 4–8 people | Expedition | 4–6 L | Adds splinting material, eye care, a broader pharmacy, spare gloves and a second thermal item |
| Guide, instructor or expedition leader | Professional | 6–9 L | Adds airway and breathing items to training level, documentation, and a resupply log |
| Static base camp or vehicle kit | Base | 10 L and above | Bulk consumables, irrigation, a refilled pharmacy, and the resupply stock for the carry kits |
The pattern that works commercially is a tiered range rather than one product: a personal kit, a group kit, and a replaceable refill set. The refill set is the commercial insight that most brands miss. Consumables are used, expired and lost; the bag lasts for years. Selling a sealed refill module that drops into the existing bag produces repeat purchase at a lower price point and keeps the kit functional, and it turns the expiry problem from a reason for complaint into a revenue line.
Weight matters more than volume in the carry decision, and it has a number attached: a day kit should be under roughly 500 grams including contents, because above that it starts being left behind on short outings. The bag itself should therefore be as light as the protection allows, which argues against heavy PVC and moulded trays and in favour of a coated ripstop shell with a welded liner in the damp-prone modules. Our guidance on weight optimisation in lightweight waterproof bags sets out where grams come from; for a kit, the shell is the only place worth taking them out of.
Expiry and rotation: a system users will actually follow
Every first-aid kit fails eventually by expiry rather than by damage, and the failure is invisible: the kit looks complete and the contents are no longer potent or sterile. The design answer is to make the expiry state visible, because a user who cannot see a problem will not act on it. Three cheap interventions do most of the work: an external inspection card with a written date, a contents list inside the lid with a column for expiry, and a single annual rotation date rather than per-item tracking.
- Put the inspection card on the outside of the bag or on the handle, where it is seen every time the kit is picked up, rather than inside where it is found only when someone is looking for it.
- Print the contents list with an expiry column so that rotation is a five-minute annual task rather than a research project.
- Standardise on one rotation date per year for the whole kit. Per-item tracking is more accurate and is never done; a single date is done.
- Sell the refill module pre-dated, so that rotation is a purchase rather than an administration task.
- Specify medicines in blister strips with a printed expiry on each strip, because a loose bottle in a kit has no expiry the user can see.
The regulatory framing is worth understanding before writing copy. In most markets a first-aid kit sold empty is a bag; the moment it contains medicines it is a different kind of product and attracts labelling, and in some cases licensing, requirements. Guidance from bodies such as the World Health Organization on essential medicines and labelling is the reference frame for anything sold with contents across borders. Practically, this is why most bag brands sell the bag and partner for contents, or sell the refill as a separate SKU under a different compliance path.
Desiccant deserves a specific line because it is the cheapest effective intervention in the whole kit and is usually omitted. A sachet of silica gel sized to the module volume, in the medicines pouch, keeps internal humidity low enough to preserve potency for months longer in a tropical climate. It costs cents, it needs replacing annually alongside the rotation, and printing that instruction on the sachet pocket turns it into part of the rotation routine rather than a loose object nobody understands.
Closures, cold hands and one-handed access
Closure selection for a kit bag should be tested in the condition of use rather than in the showroom. The test that matters is simple: can a person wearing cold, wet gloves, in poor light, open this bag and get to the trauma module in under thirty seconds, and can they reclose it one-handed while treating someone? Most closures marketed as heavy duty fail that test, and roll-tops in particular fail it badly despite being the most reliable seal available.
| Closure | Time to open, gloved | Seal reliability | Verdict for a first-aid kit |
|---|---|---|---|
| Roll-top with side buckle | 8–15 seconds, two hands | Highest; genuinely submersible | Wrong for the main access point. Acceptable for a base-camp or vehicle kit opened rarely |
| Coated reverse-coil zip with a storm guard | 2–4 seconds, one hand | Good; rain and splash, not submersion | Default choice for the main cavity and for module pouches |
| Long zip pull with a glove-friendly grip | 1–3 seconds, one hand | Good, depends on the tape and guard | Best option for the trauma module specifically; the pull is as important as the zip |
| Hook-and-loop flap | 2–4 seconds, noisy | Poor in rain; collects grit and fibre | Only for internal organisation, never as the primary closure |
| Magnetic or snap flap | 1–2 seconds | Poor; opens under load | Not suitable for a kit carried externally |
| Drawcord with a toggle | 4–8 seconds, two hands | Moderate | Acceptable as a secondary closure over a zip, not alone |
Two details decide whether a zip closure works in this application. The pull must be long enough to be grabbed with a gloved hand, meaning a substantial moulded or cord pull rather than a small metal slider; and the storm guard behind the zip must be a channel, not a flat flap, so water that passes the teeth lands somewhere and leaves. Our analysis of roll-top closure design explains why the roll-top remains the most reliable seal and why it is still the wrong choice here; the closure comparison in our notes on rated waterproof zipper technology covers the tape and coating specifications that separate a working closure from a leaking one.
One operational point closes this section. Whatever closure is specified, the kit should open fully flat or fully clamshell. A bag that opens into a narrow mouth makes the user tip contents out to search, and contents tipped onto wet ground are contents that are now wet, dirty and, in the case of a sterile dressing, unusable. Flat opening is a structural requirement, achieved by panel geometry rather than by hardware, and it is the difference between a kit that is searched and a kit that is emptied.
Construction: seams, cleanability and body fluids
A first-aid bag will get body fluids on it. That is not an edge case; it is the ordinary condition after one serious use, and it sets a material requirement that most consumer-oriented bags never meet. The interior has to be wipeable with a disinfectant without degrading, and the seams must not be the place where residue is retained. A sewn seam with a taped backing fails both requirements: the needle perforations carry fluid into the sandwich, and the tape lifts when it is wiped repeatedly with a solvent-based disinfectant.
The specification that follows is straightforward. Welded seams in the lower and internal surfaces, a smooth film or tightly coated interior rather than a textured textile, interior corner radii generous enough to be wiped in one motion, and no fabric-covered foam or padding inside the cavity at all. Padding is appropriate for protecting instruments on the outside of the modules; inside the cavity it is a sponge for whatever happens.
Colour of the interior is a genuine decision with a functional answer. A light interior makes contamination visible and the cavity searchable, both of which matter, and it shows staining, which is why brands avoid it. The compromise used by serious products is a mid-tone liner that is neither white nor black, which reads as clean when clean and still shows blood and residue clearly enough to be noticed.
Construction method across the rest of the bag is a cost decision with a clear default: sewn and taped for the outer shell where abrasion and structure dominate, welded for the base, the internal trays and the module pouches where cleanliness and liquid containment dominate. Our comparison of stitched, welded and bonded construction sets out where each method earns its cost, and for a kit the answer is unusually clear because the cleanability requirement is not negotiable.
Straps, attachment and where the kit rides
Where a kit lives determines whether it is available, and it is a design question because the attachment hardware has to be specified. The three realistic positions are inside the top of a pack, strapped externally to a pack or harness, and carried on the body as a waist or chest kit. Each has a clear constituency: internal for group kits on multi-day trips, external for guides and leaders who need it reachable while wearing a pack, and body-worn for solo users and for anyone whose pack may be separated from them — paddlers, climbers, riders.
For externally carried kits, the attachment has to survive being dragged through scrub and being caught on rock. That means webbing loops bar-tacked into a reinforced panel rather than a fabric tab, a gate-compatible buckle or a double-bar ladderlock that cannot slip under load, and preferably a secondary retention so a caught buckle does not separate the kit from the wearer. Hardware rating should be specified well above the weight of the kit, because the loads in a snag event are multiples of it.
For body-worn kits, the strap system is the product. A waist kit that rotates around the body under load is a waist kit that ends up at the back, and the fix is a wide, non-slip strap with a stabilising secondary point rather than a narrow webbing belt. A chest kit needs a different geometry entirely, because the load path is vertical and the strap has to clear the arms. If a brand intends to serve both, they are two distinct products with distinct patterns, and pretending otherwise produces one product that does neither well.
Grab handles are worth a line because they are used constantly and specified loosely. A loaded kit of three kilograms is lifted by a single grab handle dozens of times per trip, and a webbing loop sewn to a single panel will eventually tear out. The handle should be a continuous webbing that runs under the bag or into a reinforced band, not a loop tacked onto a face, and for kits carried externally it should be positioned so the bag can be pulled off a pack one-handed.
Failure modes specific to emergency kits
Reading warranty narratives and incident debriefs in this category produces a short, stable list, and the striking feature is how few entries are about water getting in. Each entry maps to a specification decision that is cheap to make at sampling and expensive to compensate for afterwards.
| Symptom | Mechanism | Where it was decided | Prevention |
|---|---|---|---|
| Kit opened, nothing found in time | Single undifferentiated cavity; no external trauma module | Layout | Three labelled modules; trauma accessible without opening the main cavity |
| Tablets crumbled or caked | Loose bottle in a humid cavity | Contents packaging decision | Blister strips plus a desiccant in a welded medicines pouch |
| Dressings unusable, looked dry | Pack edge wicked; sterility lost without visible wetness | Item-level sealing | Individually sealed packs; inspect pack integrity at rotation |
| Tape and plasters will not stick | Stored damp or compressed; adhesive degraded | Storage conditions in the module | Foil sachets; store flat; keep away from the damp module |
| Scissors rusted stiff | Metal stored against a damp item | Separation inside the kit | Dry tool module separated from any damp item; stainless specified |
| Marking worn off, kit unidentifiable | Surface print abraded | Marking method | Welded or heat-transferred patch with a reflective element |
| Zip jammed with grit at the critical moment | Uncovered teeth in a dusty environment | Closure specification | Reverse-coil zip with a storm guard and a large glove-friendly pull |
| Bag left in the vehicle | Too heavy and too bulky for the stated activity | Capacity and weight | Tiered range; keep the day kit under 500 grams loaded |
The entry worth dwelling on is the second. Potency loss is invisible, progressive and entirely preventable by packaging, and it is the one failure a user cannot detect before they need the item. It is also the failure that generates the angriest reviews, because from the user’s point of view the kit was sealed, dry and useless.
The category-wide view of construction defects and the process controls that prevent them across a run is set out in our guide to common waterproof bag defects, and the survival-context version is covered in our piece on wilderness survival kits and bags. Read together they cover both halves: which specification prevents the failure, and which control keeps that specification honest in bulk.
Testing a first-aid bag before production
Three tests predict almost everything that will be said about a kit in the field, and all three are cheap enough to run on every sampling round. None of them is a water test, which is deliberate: water resistance is the easiest property to achieve and the least predictive of whether the kit works.
- Timed access test: with the tester wearing wet gloves and working from a fixed scenario prompt, measure the time to produce each of the five critical items. Record the failures, and treat anything over thirty seconds as a layout defect rather than a user issue.
- Humidity hold: seal the kit with a humidity indicator strip inside, hold at 40 °C and 85 per cent relative humidity for 72 hours, then read the strip and inspect the pharmaceutical packaging. This is the test that predicts expiry complaints.
- Contamination clean: soil the interior with a standardised test soil, wipe with a common disinfectant, and inspect the seams and corners under good light for retained residue.
- Drop and snag: drop the loaded kit from one metre onto a hard surface at four orientations, and separately test the attachment system against a snag load rather than a straight pull.
- Marking abrasion: abrade the marking to a stated cycle count and confirm it is still legible at three metres in low light.
Two of those should be repeated on bulk lots rather than only at sampling: the timed access test, because pocket geometry drifts if a pattern is altered, and the humidity hold, because a substituted film or a changed weld parameter will show up there first. Both are minutes of work and both catch the quiet substitution that turns a good kit into an unusable one.
One further check belongs at sampling because it is a judgement call rather than a pass or fail: open the finished kit in the rain, leave it open for two minutes, close it, and inspect the modules an hour later. That reproduces the actual incident condition more closely than any rating test, and it is the check that reveals whether specifying module-level sealing was worth the cost.
Building a first-aid line: materials, capacity matrix and logo
The commercial structure of this category is kind to brands that think in tiers. One shell construction, one hardware suite and one marking treatment can serve three capacities, with differentiation carried by internal module layout, contents and colourway. At a minimum order quantity of 500 pieces per style, that sharing is usually what makes a three-size launch defensible, and the refill module is the fourth SKU that turns a one-off purchase into a repeat one.
Material pairing should be decided as a set. A coated ripstop or 420D nylon shell for weight and packability, a welded TPU or PE liner in the module pouches for sealing and cleanability, and a heavier coated base panel if the kit is ever set down in the wet. Substituting a coated fabric pouch for a welded film pouch to save cost reintroduces exactly the wicking failure the whole category exists to prevent, and it is the most common false economy in first-aid development.
Hardware is the other place not to economise. Buckles, sliders and any attachment fitting on a kit are exposed to water, sweat, salt and disinfectant, and a corroded slider on a trauma module is a serious failure rather than a cosmetic one. Specify stainless or a coated zamak with a stated salt spray result, and specify the pull geometry as carefully as the rating, because a small slider is a functional defect regardless of what it is made of. Our review of hardware selection for buckles and straps covers the rating logic; the additional requirement here is glove-operable size.
Logo treatment in this category is constrained by information hierarchy as well as by substrate. The brand mark should be clearly subordinate to the medical marking, which rules out large chest prints and dominant patches, and the method has to survive abrasion and disinfectant wiping. Screen print with a compatible ink system or a heat transfer within the coating temperature limit are the safe options on a coated shell; embroidery perforates the shell and should be avoided where water resistance is claimed. Our detailed review of logo printing and embroidery options sets out the constraints method by method.
Timing and commercial terms follow the standard shape — sampling in 6–10 working days per round, bulk production in 35–50 days, quoted FOB Xiamen — and the planning discipline is to work backwards from the outdoor season rather than forwards from sample approval; our guide to lead times on custom orders covers the sequence. If you want the architecture above turned into a costed specification, send the intended training level, the group sizes you serve and the climate the kit will live in. Minimum order quantity is 500 pieces per style, samples take 6–10 working days, bulk production runs 35–50 days, and quotations are issued FOB Xiamen.
Frequently Asked Questions
Q1. How waterproof does a first aid bag need to be?
Rain and splash resistance on the shell is usually sufficient. The critical protection belongs at module level, because the bag is open during an incident and a shell rating protects nothing at that moment.
Q2. Should the bag be waterproof or should the contents be sealed?
Both, with the emphasis on the contents. A welded outer shell protects the kit in storage; individually sealed modules protect it during use, which is when exposure actually happens.
Q3. What is the correct order of layers inside a kit?
Trauma first and externally accessible, then medicines in a sealed opaque pouch with desiccant, then tools and general wound care in the main cavity. That order matches how trained responders reach for items.
Q4. Why do sterile dressings fail even when the bag stays dry?
Pack edges wick. Once moisture crosses the pack seal, sterility is lost and cannot be restored, and the pack can look completely dry while having failed.
Q5. Do tablets really expire faster in a humid bag?
Yes. Humidity drives hydrolysis and potency falls well before the printed date if the kit is stored warm and damp. Blister strips and a desiccant are the cheapest effective controls.
Q6. What capacity should a day-hike first aid kit be?
Around 0.5 to 1 litre for a solo user, holding blister care, tape, a small pressure dressing and an emergency thermal sheet. Above roughly 500 grams loaded, short-outing users leave it behind.
Q7. How do I size a kit for a group of eight?
Two to three litres for a day activity, four to six litres for a multi-day trip. The better answer is often two smaller kits in different packs rather than one large one nobody volunteers to carry.
Q8. What closure is best for a first aid bag?
A coated reverse-coil zip with a storm guard and a large glove-friendly pull. Roll-tops seal better but take two hands and too long, which disqualifies them from the main access point.
Q9. Should a kit open flat or from a narrow mouth?
Flat. A narrow mouth makes users tip the contents out to search, and contents tipped onto wet ground are wet, dirty and, for a sterile dressing, unusable.
Q10. Does the interior colour of a kit matter?
Yes, on both counts. A light interior makes contamination visible and the cavity searchable; a black interior is unsearchable in poor light and hides residue that should be noticed.
Q11. How often should a first aid kit be rotated?
Annually, on a single fixed date for the whole kit. Per-item tracking is more accurate and is never done; one date gets done, and a pre-dated refill module makes it a purchase rather than an administration task.
Q12. What is a desiccant doing in a medical kit?
Keeping module humidity low so medicines survive. A silica sachet sized to the module, replaced at the annual rotation, extends usable life by months in a tropical climate and costs cents.
Q13. Should the marking be printed or welded on?
Welded or heat-transferred. Surface prints abrade, and an abraded marking is the most common reason an older kit cannot be identified by a bystander who needs to find it.
Q14. Can a kit be discreet and still findable?
Yes, with a subdued shell and a high-visibility pull-out panel. Removing the marking entirely removes the function, which is why a reversible approach is the right compromise.
Q15. Is selling a kit with medicines included a regulatory problem?
Frequently, yes. An empty bag is a bag; add medicines and labelling or licensing requirements can attach. Many brands sell the bag and the refill module under separate SKUs for this reason.
Q16. Why do metal instruments rust inside a sealed kit?
Because they were stored against something damp. Metal corrodes within one to three days in a wet pouch, so tools need their own dry module rather than sharing a cavity with damp items.
Q17. What is the single most valuable feature to add to a kit bag?
An externally accessible, clearly labelled trauma module. It is the difference between a kit that is searched and a kit that is emptied, and it costs very little to engineer.
People Also Ask
What makes a first aid bag different from a dry bag?
Access speed and content protection. A kit is graded on whether the right item reaches a hand in thirty seconds, not on how well the shell sealed.
Should first aid contents be sealed individually?
At module level, yes. Individually sealed trauma, medicine and tool pouches keep working while the bag is open in the rain.
How big should an outdoor first aid kit be?
Half to one litre solo, two to three litres for a group day out, four to six litres for a multi-day expedition. Weight matters more than volume.
Do medicines expire faster in a waterproof bag?
Yes if the bag traps humidity and heat. Blister strips and a desiccant sachet in a welded pouch are the cheap fix.
What colour should a first aid bag be?
High visibility with a reflective marking, on two faces. A dark bag in failing light is unidentifiable, which defeats the point of carrying it.
Why is a roll-top wrong for a first aid kit?
It needs two hands and too long to open. A kit that cannot be opened one-handed with wet gloves will not be opened in time.