Double-layer waterproof construction means a bag with two separate barriers between the contents and the outside world: typically an inner welded liner or bladder and an outer protective shell, joined only at the closure and at a few discrete points. Done properly it is the most robust construction available, because a puncture or a failed seam in one layer does not reach the contents. Done casually — two fabric layers laminated or quilted together — it is not redundancy at all, it is one thick layer described in flattering language, and it fails exactly the way a single layer fails.
This guide separates the three designs that get called double-layer, explains why independence rather than count is what creates protection, covers the interstitial problem that every double-layer build creates and almost none of them solve, sets out where the construction genuinely earns its cost and where a single heavier layer is simply better, examines why closures are the hardest part, explains how two layers complicate every weld and seam, describes what testing has to cover that single-layer testing misses, and finishes with cost, repairability and the specification lines. Production reference for this guide — QUANZHOU JUNYUAN BAGS, custom waterproof bags since 2014, 4,950 m² SGS-verified facility, MOQ 500 pieces per style, sampling in 6–10 working days, bulk in 35–50 days, FOB Xiamen.
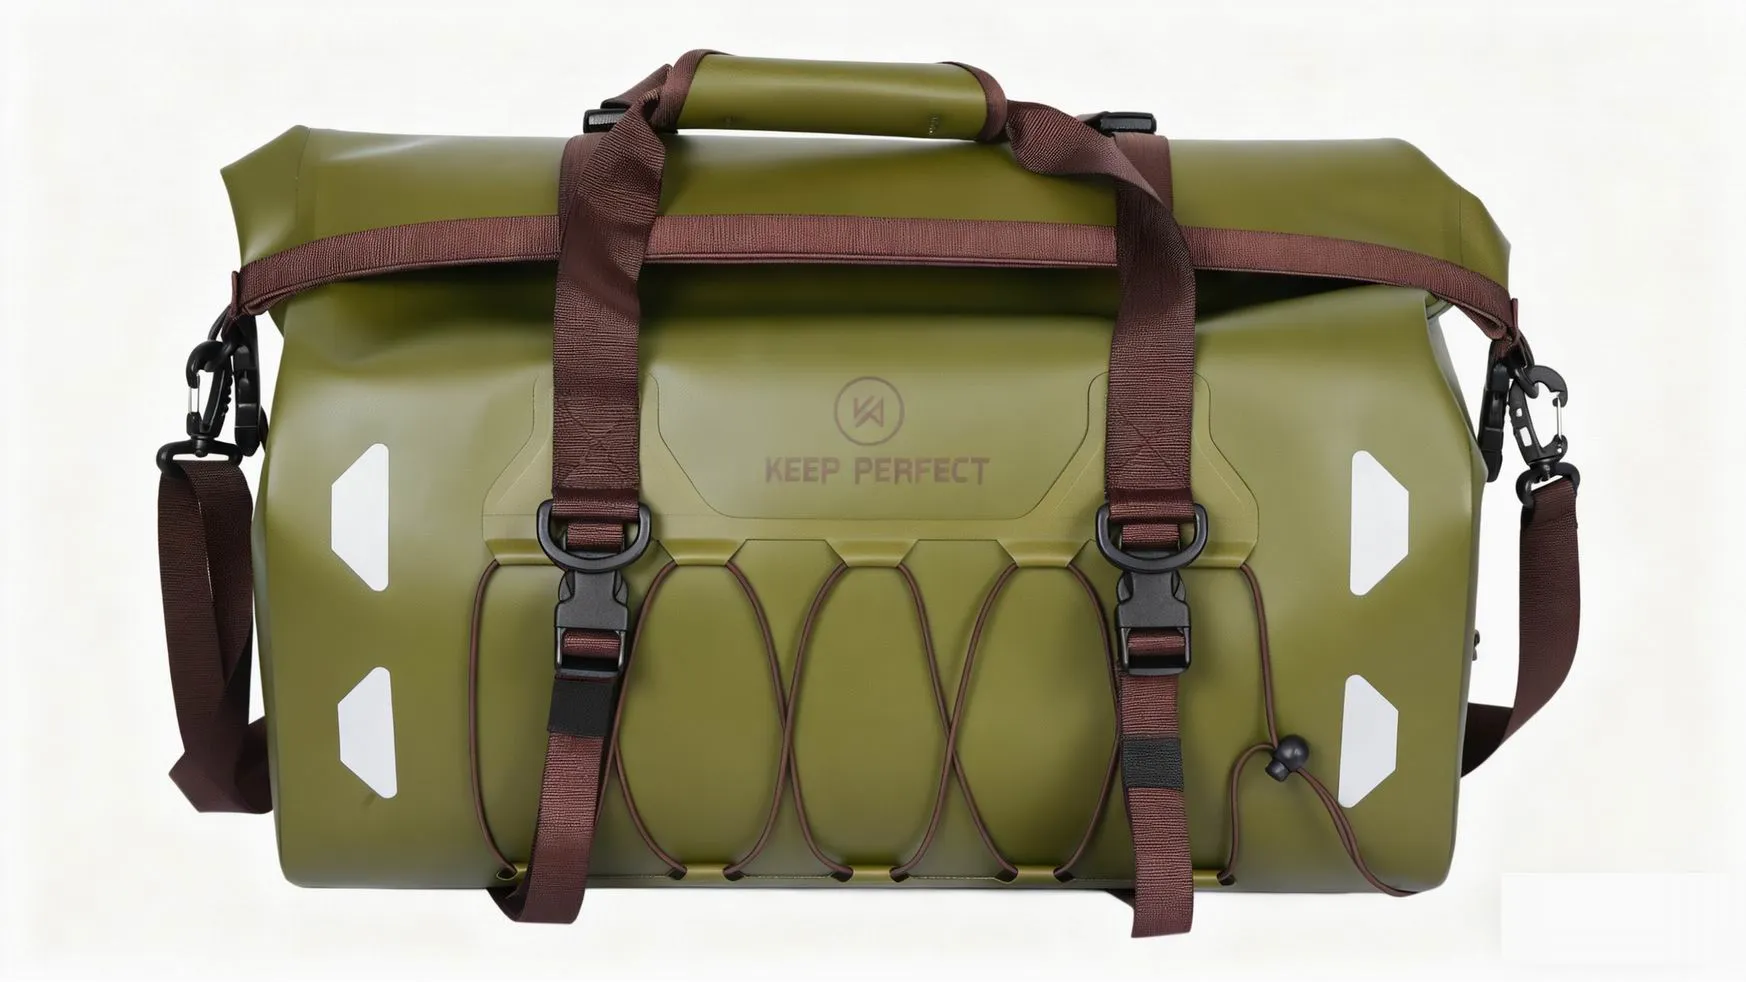
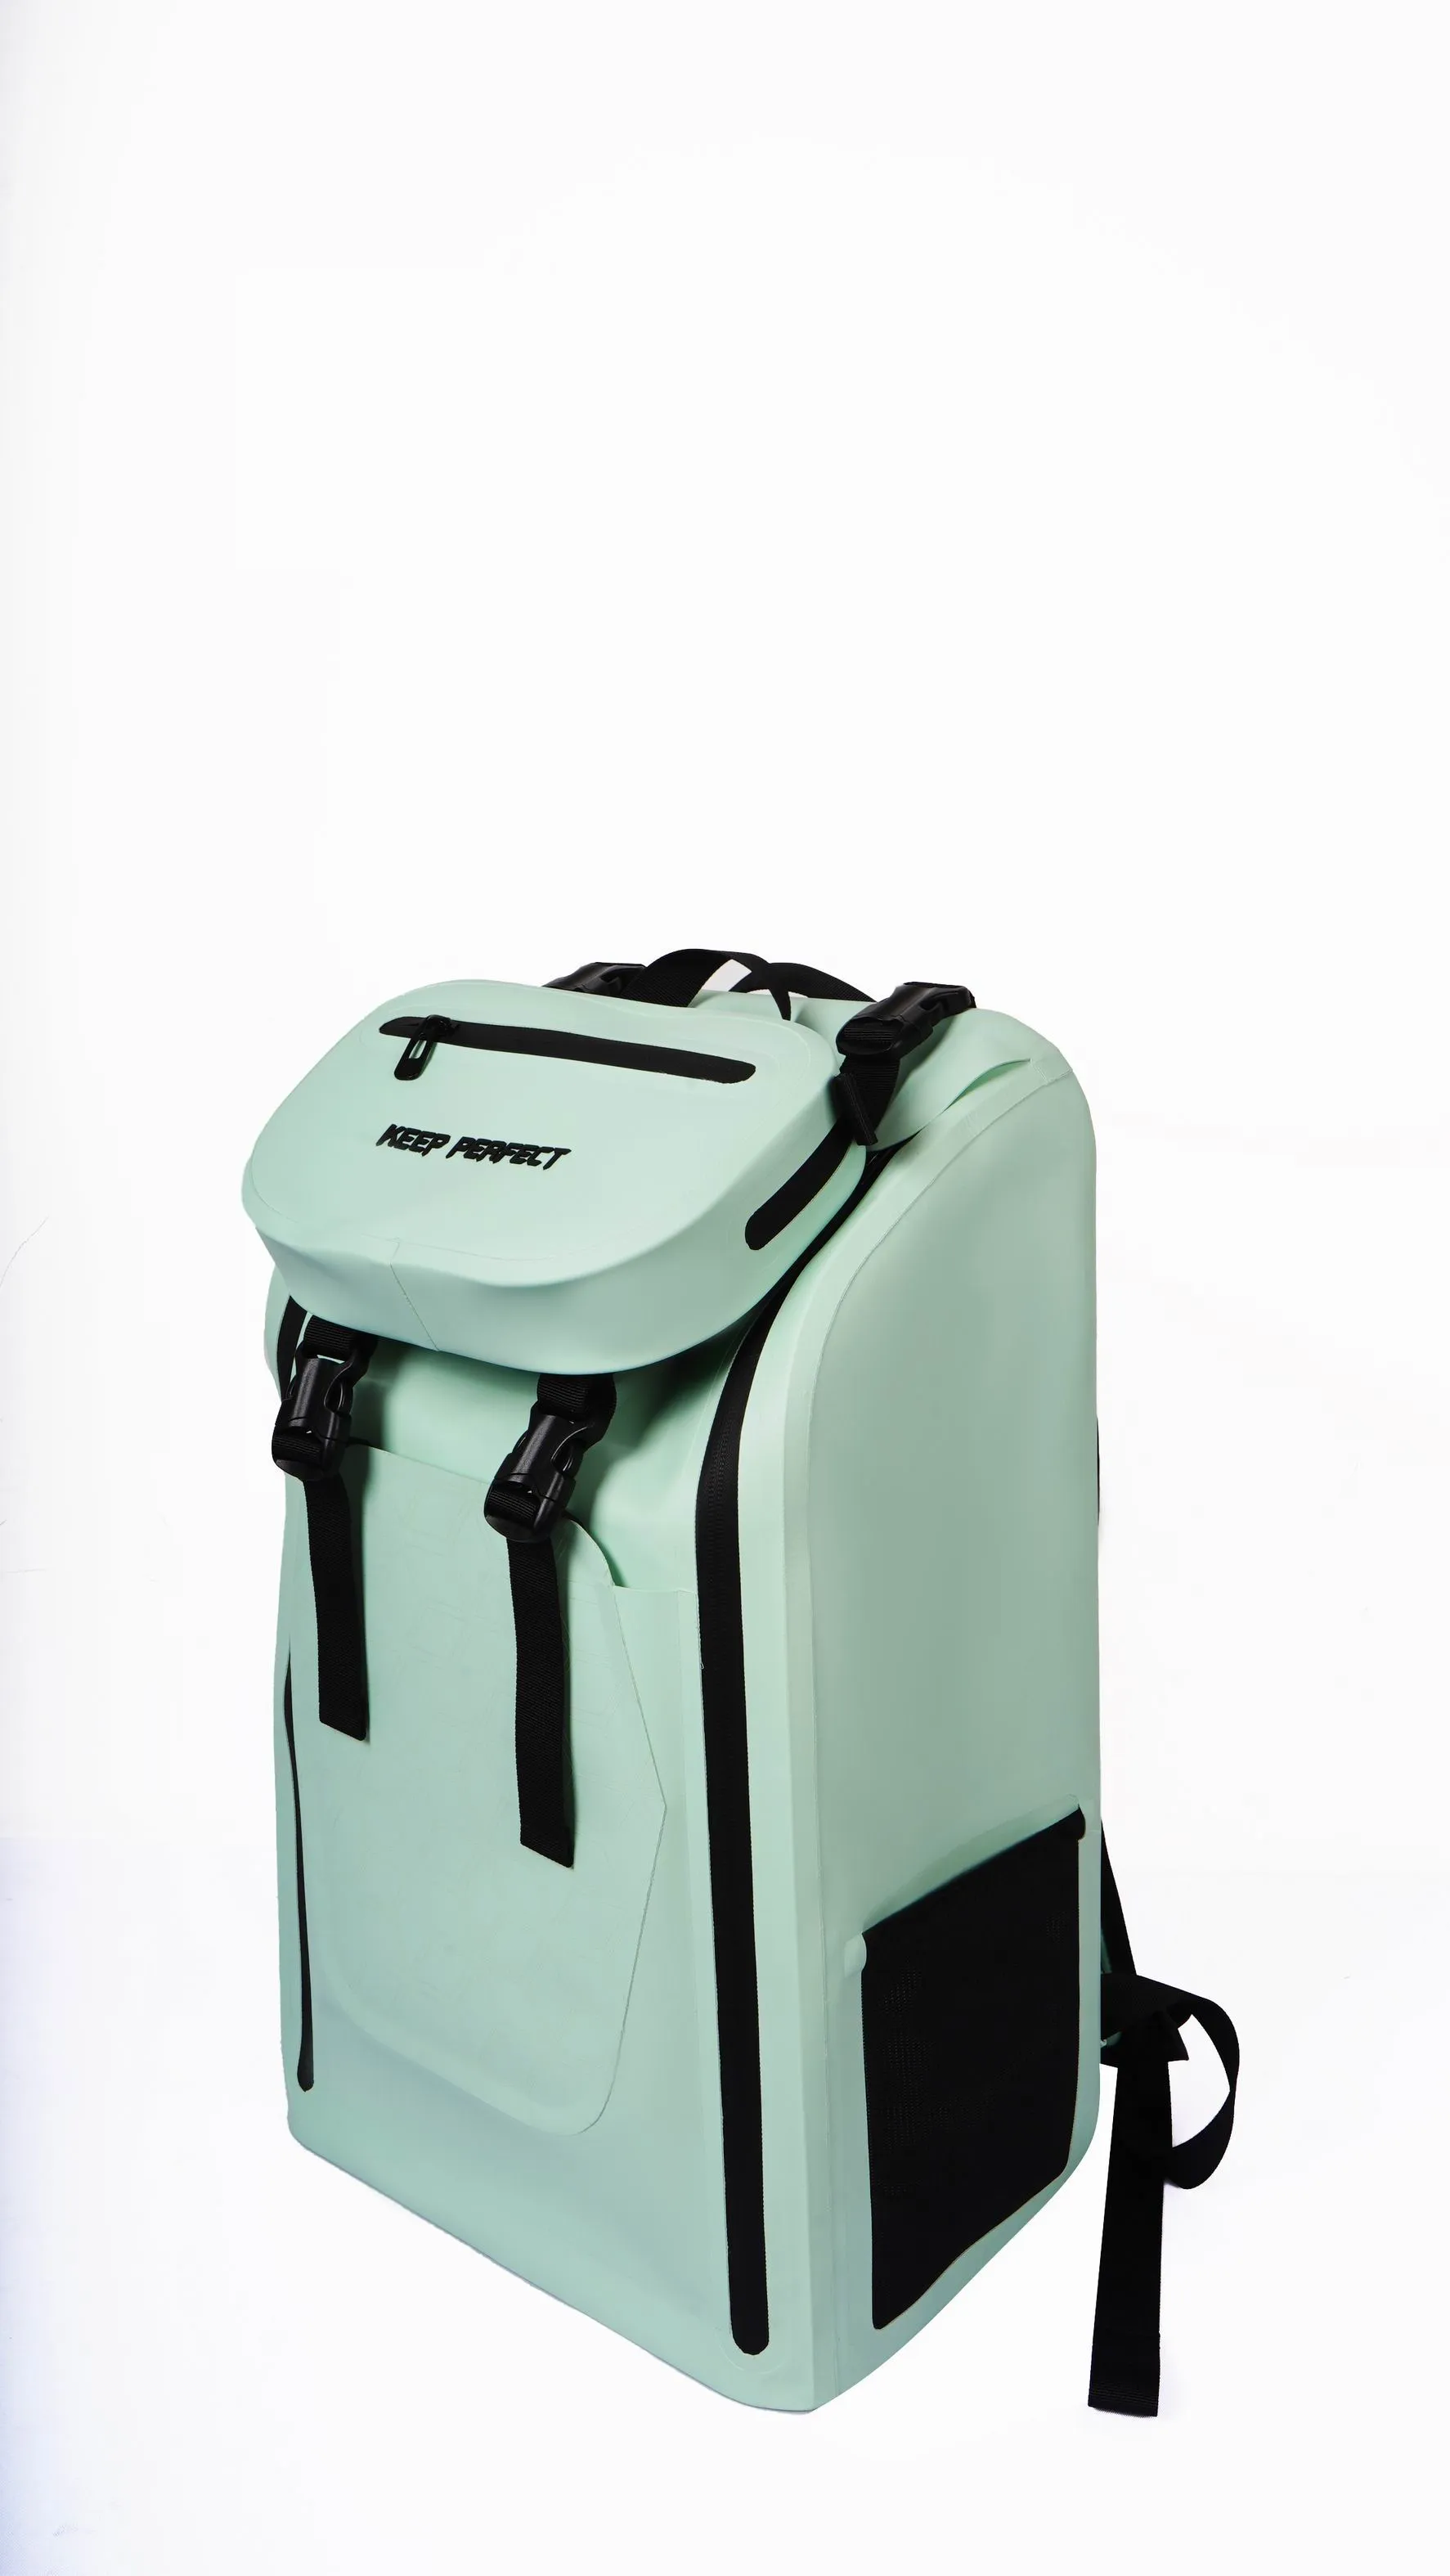
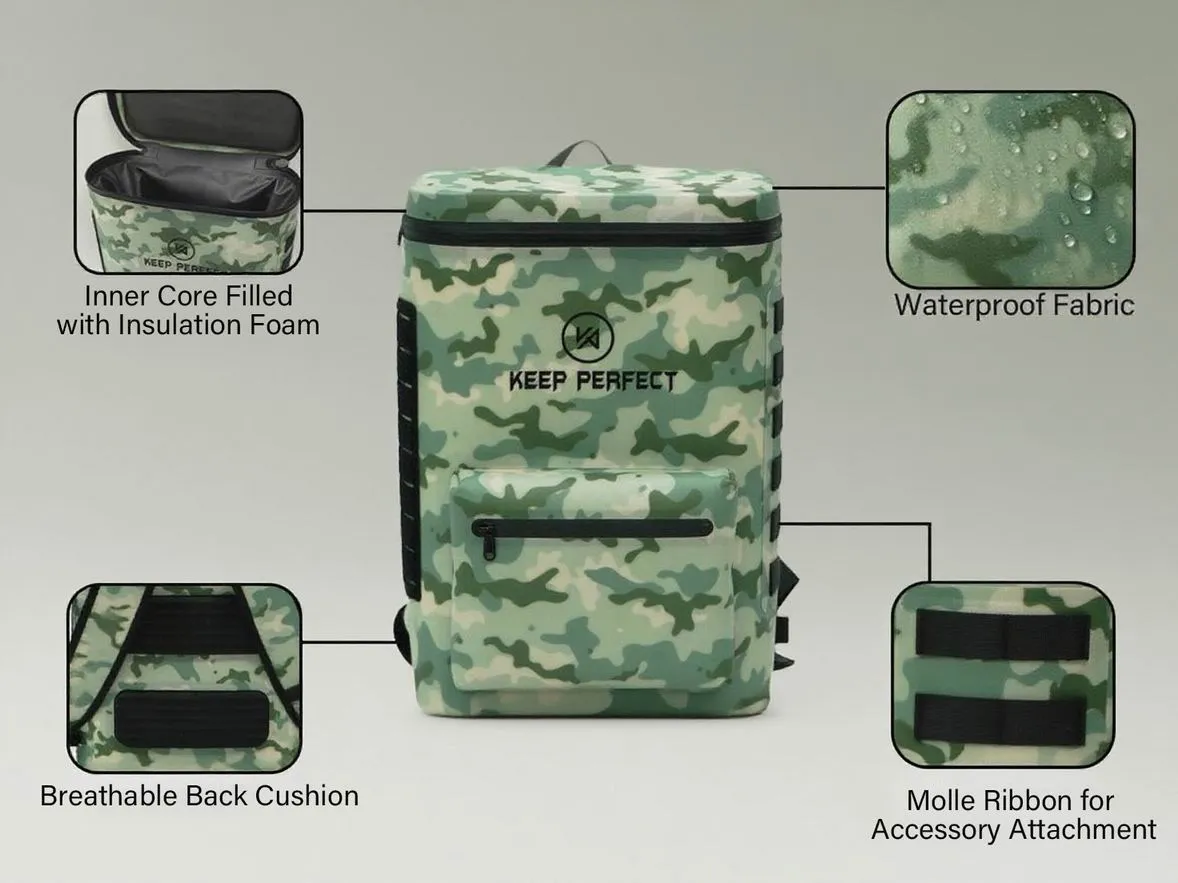
Three designs get called double-layer, and only one is redundant
The phrase is used loosely across the industry, and the looseness costs buyers money because the three designs have very different failure behaviour and very different prices. Distinguishing them takes one question: if the outer layer is punctured, does water reach the contents? Double-layer waterproof construction earns its name only when the answer is no, and that is a statement about independence rather than about thickness or about maximum protection marketing language.
The first design is a laminated or bonded double face: two layers joined continuously by adhesive, flame lamination or a hot-melt film. It is stiffer and stronger than either layer alone and it is frequently described as double-layer, but the two layers cannot move or fail separately. A puncture goes through both. The second is a local reinforcement: a second panel bonded onto a high-wear region such as the base, which is genuinely useful and genuinely local, protecting the area where punctures actually occur but leaving the rest of the bag single-walled.
The third is true redundancy: an inner welded liner or bladder that is mechanically independent of the outer shell, attached at the closure and at a few discrete tacks or at no fixed points at all. Puncture the shell and the liner holds. Fail a seam on the liner and the shell keeps the water out until you notice. This is the only design that delivers what the phrase implies, and it is the one this guide is mostly about.
| Design | Are the barriers independent? | Puncture behaviour | Cost impact | Honest description |
|---|---|---|---|---|
| Laminated or bonded double face | No — joined continuously | A puncture passes through both layers | Moderate; mostly material and process | A stronger single wall, not redundancy |
| Local reinforcement panel | No, but the area is not critical to sealing | Puncture in the reinforced zone is stopped; elsewhere it is not | Low; applied only where needed | Zoned single-layer protection |
| Independent welded liner plus shell | Yes — separate barriers with an air gap | Outer damage does not reach the contents | High; extra material, welding and assembly time | True double-layer construction |
| Removable inner dry bag in a shell | Yes, and the liner can be taken out to dry | Outer damage irrelevant; liner is serviceable | Highest; two finished products plus assembly | Modular protection, the most maintainable option |
The last row is worth noting because it is underrated. A removable inner dry bag inside a structured outer shell gives full redundancy, allows the liner to be dried and replaced, and lets the outer bag be designed for carrying comfort rather than for sealing. It costs more, and for professional programmes where downtime matters it frequently costs less over the service life than a bonded construction that has to be discarded when the liner fails.
Redundancy is independence, not count
The engineering idea behind two barriers is that failures are independent events. If each layer has a small probability of failing and the failures are unrelated, the probability of both failing together is roughly the product of the two — dramatically smaller. That arithmetic only holds if the failures really are unrelated, and in most bonded constructions they are not: the same puncture, the same abrading rock, the same fold, the same UV exposure acts on both layers at once, in the same place, at the same time.
True independence requires physical separation. There must be an air gap or a slip layer between the barriers so that damage to one does not transmit to the other, and the two layers must be joined at as few points as possible. Every point where the liner is tacked to the shell is a point where a tear can propagate from one to the other, and it is also a point where stress concentrates during packing. The best-executed designs attach the liner at the closure and nowhere else.
There is a second kind of dependence that catches buyers out: shared failure mechanisms. If both layers are the same polymer with the same hydrolysis behaviour, they age together, and the redundancy decays in parallel rather than independently. Specifying different chemistries for the two barriers — a welded TPU liner inside a coated polyester shell, for example — produces genuine diversity, and it costs nothing extra. This is the cheapest improvement available in double-layer design and it is almost never taken.
- Independent barriers need an air gap or a slip layer, not a continuous bond.
- Every tacking point is both a stress concentrator and a tear propagation path.
- Different polymer chemistries in the two layers age differently, which preserves redundancy over time.
- A shared closure is unavoidable and is therefore the joint that deserves the most development time.
The interstitial problem: the space nobody designs
Every true double-layer bag has a gap between the barriers, and that gap is the least designed space in the product. Water that gets past the outer shell has to go somewhere, and in a well-sealed double-layer build it goes into the gap and stays there. The bag gets heavier, it develops a smell, the liner sits in standing water, and if the temperature drops the trapped water can freeze and stiffen the whole structure. Owners report this as "the bag is leaking" when in fact the liner is intact and doing its job.
The solutions are unglamorous and effective. A drain path at the lowest point of the gap, sized so that it does not admit water in normal use, lets interstitial water leave. A breathable or open outer shell lets it evaporate. A removable liner lets the owner empty and dry it. What does not work is pretending the gap does not exist, which is the default in most designs and the reason double-layer bags have a reputation for becoming mysteriously heavy.
There is also a condensation version of the same problem. The gap is a trapped air volume, and if the bag moves between temperatures the inner surface of the shell is the coldest surface available, so condensation forms there. Over repeated cycles this produces the same accumulated water with no external leak at all. Diagnosing it is simple once you know the mechanism: dry the outside, open the bag, find water in the gap and a dry liner, and you are looking at condensation rather than failure. The wider context is set out in our article on condensation in waterproof bag design.
The specification consequence is straightforward and rarely written down: state what happens to water that enters the gap. A drain, an evaporation route or a removable liner. A double-layer bag without an answer to that question will generate complaints that no amount of seam testing will prevent.
Where double-layer construction genuinely earns its cost
The construction is expensive — typically adding several US dollars per bag and meaningful weight — so it has to be justified by a duty where consequence of failure is high enough to matter. Four situations meet that test consistently, and they are worth naming precisely because they are the ones where the money is well spent.
Submersion and immersion duty comes first. Anything that will be dunked, capsized or dropped in water, where a single seam failure means a soaked sleeping bag or a ruined camera, justifies a second barrier. Professional and rescue use comes second: emergency and disaster response, medical transport and military applications where the contents are mission-critical and the bag cannot be replaced mid-operation. Abrasive contact comes third: bags dragged over rock, concrete or a boat deck, where the outer shell is expected to be sacrificed and the liner is what actually protects.
The fourth is the one most often missed: sharp or irregular contents. Tool bags, camera bags with tripod feet, and bags carrying equipment with edges puncture from the inside as often as from the outside. A liner on the inside of the load is a different design from a liner under the shell, and programmes with sharp contents should think about which direction the threat comes from before specifying where the second barrier goes.
- Submersion: a single seam failure must not mean soaked contents.
- Professional and rescue use: replacement is not available when it fails.
- Abrasive duty: the shell is expected to be consumed; the liner does the work.
- Sharp contents: the puncture risk comes from inside the bag, not outside it.
Where one heavy layer beats two light ones
It is equally important to know when not to double up, because the construction has real penalties and they fall on every unit. For most programmes the honest answer is that a single well-specified layer is better value, and there is a specific argument behind that rather than mere conservatism.
The first argument is weight and bulk. Two barriers plus an air gap plus the assembly that holds them apart is heavier and stiffer than one barrier of equivalent protection, and stiffness is felt every time the bag is packed. On a product sold partly on weight, or on a small bag where bulk is obvious, that penalty is paid daily in exchange for protection that may never be needed. Our article on weight optimisation for lightweight waterproof bags covers how this trade is usually resolved.
The second argument is that a single heavier layer has no interstitial space, which removes an entire category of complaint. If the duty is rain and splashes rather than submersion, a robust single-wall welded construction at a sensible film thickness — see our TPU film thickness guide — will keep the contents dry, weigh less, pack softer and avoid the trapped-water problem completely.
The third is cost and complexity. Double-layer construction roughly doubles the sealing work, adds an assembly operation, increases the number of welds that can fail, and complicates inspection. For a promotional or mid-market product that penalty buys protection nobody will use. The decision rule that comes out of all three: specify double-layer when the consequence of a single failure is unacceptable, and specify a heavier single layer when it merely is inconvenient.
Closures are the hardest part of a double-layer build
A double-layer bag has two barriers and, normally, one closure. That is the design problem in a sentence: the weakest joint in the construction is the one place where redundancy is structurally impossible, because the mouth of the bag has to open. Most double-layer products that fail in the field fail at the closure, not through either barrier.
The roll-top is the most robust answer and the reason is mechanical rather than clever. Rolling two independent layers together and folding the result down creates a seal that does not depend on either layer being bonded to the other, and it fails gracefully: a partial closure reduces protection rather than eliminating it. The trade-off is access speed and the fact that a roll-top on two layers is bulkier and stiffer to operate than on one. Our detailed treatment of roll-top closure design covers the geometry that makes this work.
Zippered double-layer construction is where programmes get into trouble. A waterproof zipper is itself a single barrier, so fitting one to a double-layer bag means the closure is the weak link and the second layer buys nothing at that point. The workable version uses a waterproof zipper on the outer shell and a separate roll-top or sealed flap on the liner, which preserves independence at the cost of a two-step opening. It is slower to use and it is the honest answer; the alternative is marketing a double-layer bag whose closure is single-layer, which is a real and common misrepresentation.
- Two barriers with one closure is one barrier at the closure. Design for it explicitly.
- Roll-top closures preserve independence and fail gracefully; they are also slower and bulkier on two layers.
- A waterproof zipper on the shell plus a sealed flap on the liner is the workable zippered approach.
- Test the closure separately from the body; body pass rates hide closure failures.
Seams and welds: why two layers complicate every joint
Adding a second barrier roughly doubles the amount of sealing work and, more importantly, changes what each joint has to do. A single-layer weld must be watertight. A double-layer weld must be watertight, must not bridge the gap in a way that lets water track between the layers, and must survive the fact that the two layers move relative to each other when the bag is packed.
That relative movement is the mechanism behind a large share of double-layer failures. The shell and the liner are independent, so they strain differently under load, and any point where they are joined sees differential strain every time the bag is filled or carried. Tack welds placed for assembly convenience rather than for strain management become crack initiation sites, and the crack then propagates into whichever layer is thinner. Placing tacks away from high-strain regions, or replacing them with a floating attachment at the closure only, removes the mechanism entirely.
The other consequence is inspection. A single-layer welded seam can be visually checked and pressure tested. A double-layer seam has an inner weld that becomes inaccessible once the bag is assembled, which means any defect in the liner weld is discovered by the customer rather than by the factory. The mitigation is procedural: test the liner as a finished sub-assembly before it goes into the shell, and record the result against the unit. This is a process requirement rather than a design one, and it is the single highest-value control in double-layer manufacturing. Seam evaluation methods are set out in our guide to waterproof seam integrity testing.
Finally, note where the two layers meet the closure, because that junction sees the highest strain in the whole product and it is the place where three materials — shell, liner and closure component — have to seal to each other. It deserves its own development cycle and its own test, and it is routinely the last thing anyone thinks about.
Testing a double-layer build: what single-layer tests miss
Most waterproof testing is designed for one barrier, and applying it unchanged to a double-layer product produces a pass result that hides the failure modes specific to the construction. Three additions are needed, and none of them is expensive.
| Test | What it catches | Why single-layer testing misses it | Acceptance guidance |
|---|---|---|---|
| Liner sub-assembly leak test | Pinholes and weak welds in the inner barrier | The liner is inaccessible after assembly, so a defect is never seen again | Test and record every liner before it enters the shell |
| Interstitial water check | Water accumulating in the gap | A body test measures whether contents stayed dry, which they did | Weigh the bag before and after; limit the gain |
| Closure-only submersion | Leakage at the mouth rather than the body | Body tests often clamp the closure or exclude it | Submerge to the specified depth with the closure in the as-used condition |
| Differential strain cycling | Cracks at tack points from relative layer movement | Static tests do not move the layers against each other | Fill, carry load and cycle before the leak test |
| Drain function test | Whether interstitial water can actually leave | No equivalent exists in single-layer products | Introduce a measured volume into the gap and confirm it drains |
The interstitial water check deserves particular emphasis because it converts the most common double-layer complaint from a mystery into a number. Weigh the dry bag, run the submersion or spray protocol, drain the exterior, reweigh, and specify the maximum permissible gain. A bag that has taken on two hundred grams of water in the gap has not failed in the conventional sense, and it is still the bag that will generate the return.
Standard reference methods for water resistance and seam evaluation are published by ISO and ASTM International, and independent laboratories such as SATRA can build the interstitial and strain-cycling protocols as custom work. The broader validation philosophy, from laboratory result to field behaviour, is covered in our article on waterproof testing from laboratory to real world.
Failure modes that only exist in double-layer bags
Beyond the interstitial water problem, the construction has a characteristic set of failure modes, and recognising them from a returned sample is faster than any test programme.
- Mysterious weight gain: water in the gap with an intact liner. Diagnosed by weighing, not by leak testing.
- Persistent odour from the gap: standing water that never dries because the outer shell is fully sealed.
- Cracks radiating from tacking points: differential strain between layers under load.
- Delamination of a bonded "double-layer" face: the adhesive failed, which reveals it was never redundant.
- Closure leak on a body that tests perfectly: the one joint where redundancy was never possible.
- Inner liner puncture from sharp contents: the threat came from inside and the second barrier was on the wrong side.
The fourth item is the one that should worry buyers most, because it indicates they paid for redundancy and received a laminate. It is also the easiest to detect at sampling: pull the two layers apart at a corner. If they separate cleanly over a wide area, it was a laminate; if they are independent with a visible gap, it was a genuine double-layer build. That test takes ten seconds and should be performed on every first article.
A related check belongs in the same ten seconds: confirm that the liner can be removed or at least partly inverted for drying. A liner that cannot be dried is a liner that will smell, and no seam specification fixes that. Where the design allows it, a removable liner also converts a product-ending failure into a replaceable-part failure, which is the single largest service-life lever in this construction.
Cost and the manufacturing sequence
Double-layer construction costs more than the sum of its materials, because the sequence is longer and every additional step is an opportunity for a defect. Understanding the sequence explains where the money goes and where the risk sits.
The order is roughly: cut both layers, weld the liner as a complete sub-assembly, leak test the liner and record the result, weld or sew the shell, assemble the liner into the shell with whatever attachment the design uses, join both layers to the closure, close out the shell, and test the finished product. Each step after the liner test is performed on a unit whose most critical barrier can no longer be inspected, which is precisely why the liner test belongs before assembly rather than after.
In unit-cost terms, a genuine double-layer build typically adds several US dollars per bag on a mid-sized style compared with a single-layer welded construction, and it adds material weight and assembly labour in roughly equal measure. Modular designs with a removable liner cost more again, because the liner is effectively a second finished product. Against that, the construction supports a higher price point and a stronger product claim, which is why it persists in professional and technical ranges despite the cost.
On ordering mechanics, the usual pattern applies: both materials are bought in roll lots with their own minimums, and the assembly sequence is longer, which shows up in lead time as well as in price. Programmes should expect bulk production to sit at the upper end of the normal window for this construction. The commercial breakdown is set out in our article on custom waterproof bag cost, and the defect-prevention angle is covered in common waterproof bag defects and how to prevent them.
Repairability and service life
Service life is where double-layer construction either justifies itself or disappoints, and the difference is almost entirely determined by whether the liner can be reached. A bonded double-layer bag is repaired like a single-layer bag, which means a liner failure ends the product. A modular bag with a removable liner converts that same failure into a parts replacement.
For professional programmes this arithmetic dominates the decision. A rescue team, a delivery fleet or a rental operation that can replace a liner for a fraction of the cost of a bag will choose the modular design even when its unit price is higher, because the total cost of ownership over three years is lower. Consumer programmes rarely perform this calculation, which is why modular construction remains concentrated in professional ranges.
Field repairability of the outer shell is a separate and simpler question. A welded TPU liner inside a coated shell can often be patched on the shell without touching the sealing layer, which is a genuine advantage over single-layer welded construction where any patch has to be watertight. Programmes that expect field repair should specify the patch material and the method, because a repair kit that is incompatible with the shell polymer creates a worse failure than the original damage.
End of life is the honest downside. Two layers of different polymers bonded or assembled together are harder to recycle than a single-material construction, and a bonded laminate is effectively unrecyclable in most streams. Programmes with circularity commitments should prefer the modular design, where the liner and shell can be separated and processed independently, and should say so in the specification rather than discovering it at end of life.
The double-layer purchase order: eight lines
Written into a tech pack, everything above reduces to eight lines. These are the items that distinguish a genuine redundant construction from a laminate with an ambitious name, and they are the items an auditor or a professional buyer will look for.
- Define the construction explicitly: independent liner plus shell with an air gap, not a bonded or laminated double face.
- State the attachment points, and require that they be located away from high-strain regions.
- Specify different polymer chemistries for the two barriers so that ageing is not correlated.
- State what happens to interstitial water: drain path, evaporation route or removable liner.
- Require a leak test on the liner as a finished sub-assembly, with the result recorded, before assembly.
- Specify the closure arrangement and require closure-only submersion testing separate from the body.
- Set an interstitial water gain limit in grams after the submersion protocol.
- State the differential strain cycling requirement: fill, load, cycle, then leak test.
The third line is the cheapest and most often skipped. Asking the two barriers to be made of different polymers costs nothing, adds no weight, and removes the correlated-ageing mechanism that quietly destroys redundancy over a few seasons. It is the best value line on the list.
If you want this applied to a specific style, send the duty description, the consequence of failure and the target price, and the construction can be proposed against those rather than assumed. Every style starts at 500 pieces minimum, with samples in 6–10 working days and bulk production in 35–50 days, quoted FOB Xiamen.
Frequently Asked Questions
Q1. What is double-layer waterproof construction?
A bag with two independent barriers between the contents and the outside: usually an inner welded liner and an outer shell, separated by an air gap. The two layers are joined at the closure and at few or no other points.
Q2. Is a bag with two layers of fabric laminated together double-layer?
No. If the layers are bonded continuously they fail together, so a puncture passes through both. That is a stronger single wall rather than redundancy, and it should not be priced or marketed as double-layer.
Q3. How can I tell if a double-layer bag is genuinely redundant?
Pull the two layers apart at a corner. Independent layers separate with a visible gap between them; a laminate resists and separates only with adhesive failure. It takes ten seconds on a first article.
Q4. Why does my double-layer bag get heavier over time?
Water is entering the gap between the layers and staying there. The liner is intact and doing its job, which is why the contents stay dry while the bag gains weight. Weigh before and after to confirm it.
Q5. Can water between the layers be drained?
Yes, if the design provides a drain path, an evaporation route or a removable liner. Without one of those three, interstitial water has nowhere to go and the gap becomes a permanent water reservoir.
Q6. Is double-layer construction always better than a single heavy layer?
No. It adds cost, weight, bulk and a trapped-water problem. A heavier single welded layer is better value whenever the consequence of failure is inconvenient rather than unacceptable.
Q7. What is the weakest part of a double-layer bag?
The closure. Two barriers normally share one mouth, so that joint is single-layer by definition. Most field failures in this construction occur there rather than through either barrier.
Q8. Can a double-layer bag use a waterproof zipper?
Yes, but the zipper is a single barrier, so independence is lost at that point. The workable arrangement is a waterproof zipper on the shell plus a separate roll-top or sealed flap on the liner.
Q9. Why do two layers need different polymers?
So they do not age together. If both layers share the same hydrolysis and UV behaviour, they degrade in parallel and the redundancy decays. Different chemistries cost nothing and preserve independence over time.
Q10. How much does double-layer construction add per bag?
Typically several US dollars on a mid-sized style, split roughly equally between material and assembly labour, plus additional weight. Modular designs with a removable liner cost more again.
Q11. Should the inner liner be tested before assembly?
Yes, always. Once the liner is inside the shell its welds become inaccessible, so any defect is discovered by the customer. Test every liner as a finished sub-assembly and record the result.
Q12. What is differential strain and why does it matter?
The two layers move differently under load because they are independent, so any point joining them sees repeated strain. Tacking points placed for assembly convenience become crack initiation sites.
Q13. Is a removable liner worth the extra cost?
For professional and fleet programmes, usually yes. A liner failure becomes a parts replacement rather than a product write-off, which lowers total cost of ownership despite the higher unit price.
Q14. How should a double-layer bag be leak tested?
Test the liner before assembly, test the closure separately from the body, cycle the bag under load before the body test, and weigh it before and after to measure interstitial water gain.
Q15. Does double-layer construction make a bag harder to recycle?
Yes, particularly bonded laminates, which are effectively unrecyclable in most streams. Modular designs with separable layers are the better choice where circularity matters.
Q16. Where does the second layer matter most?
Against the direction of the threat. Abrasion and puncture from outside argue for a shell sacrificed over a liner; sharp or irregular contents argue for protection on the inside surface instead.
Q17. Can a double-layer bag be repaired in the field?
The outer shell often can, with a patch compatible with the shell polymer. A bonded liner generally cannot, which is another argument for the modular construction where the liner can be replaced.
People Also Ask
What is double-layer waterproof construction?
Two independent barriers with an air gap between them, typically a welded inner liner inside an outer shell. Independence is what creates the protection.
Are two bonded layers the same as double-layer?
No. Bonded layers fail together and cannot provide redundancy. It is a stronger single wall, and it should not carry a double-layer claim or price.
Why does my waterproof bag feel heavier after use?
Water has entered the gap between the layers and cannot escape. The liner is still working; the design simply has no drain path or drying route.
What is the weakest point of a double-layer bag?
The closure. Two barriers usually share one mouth, so that joint is single-layer no matter how redundant the body is.
Is double-layer worth the extra cost?
Only when a single failure would be unacceptable, such as submersion, rescue use or sharp contents. Otherwise a heavier single welded layer is better value.
How do I check a double-layer sample quickly?
Separate the two layers at a corner. A visible gap means true redundancy; resistance with adhesive failure means a laminate was supplied instead.