Night hiking does not usually go wrong because a bag leaked. It goes wrong because someone could not find the thing they needed, in the dark, with cold hands, while standing on uneven ground. The head torch is either in the wrong pocket or its battery is flat, the spare layer is at the bottom of the pack under the water, the map is in a compartment that takes two hands to open, and by the time the item is found the group has stopped, cooled down, and lost its rhythm. Waterproofing is a solved problem in this category; retrieval is not. That is why the single design goal worth writing on the specification is that the critical items must be reachable with your eyes closed.
This guide is written to that goal. It covers why retrieval beats ingress as a failure mode at night, what a headlamp beam actually illuminates and why that beam does not help you see into your own pack, how to build a tactile index so items are found by feel, why closure gauge and puller geometry decide whether a cold gloved hand can open anything at all, where reflective material has to sit to be seen, why dew wets a pack more often than rain does on many night routes, how to plan the night load including batteries and hot liquid, what cold does to battery chemistry, the layout patterns and drills that make retrieval automatic, how to stop losing small objects on the ground, how navigation load changes after dark, and what a brand should specify for a night line. QUANZHOU JUNYUAN BAGS: custom waterproof bag production since 2014, 4,950 m² SGS-verified facility, MOQ 500 pieces per style, sampling in 6–10 working days and bulk in 35–50 days, FOB Xiamen.
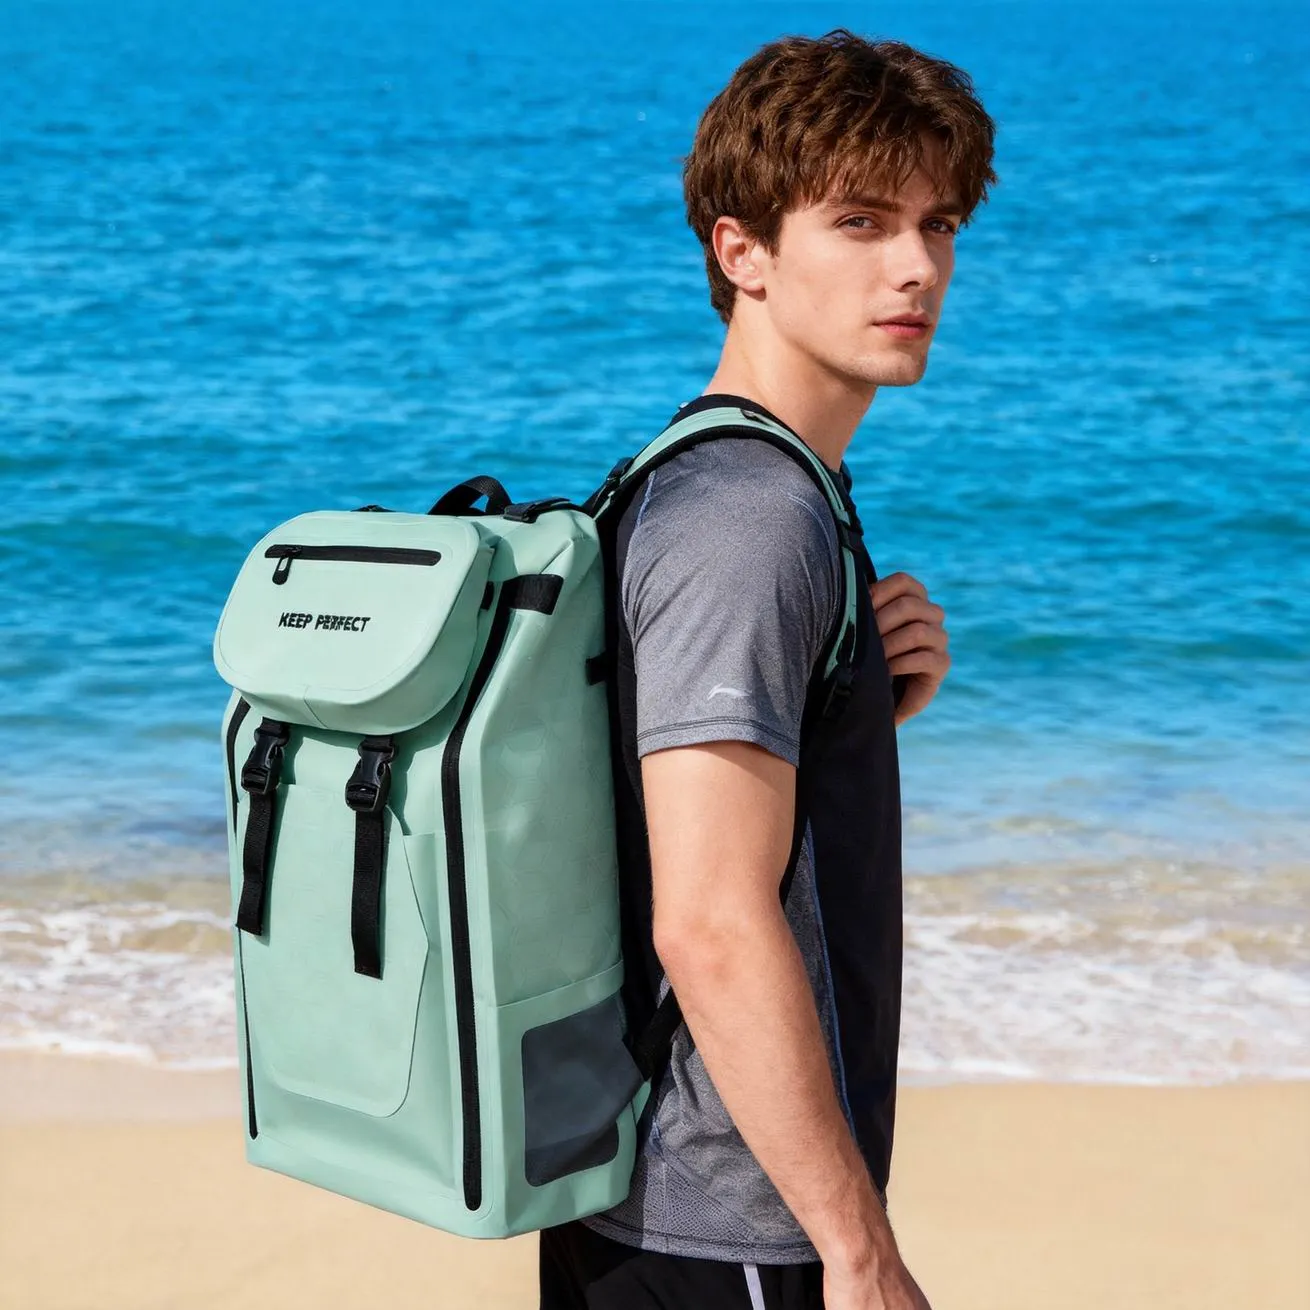
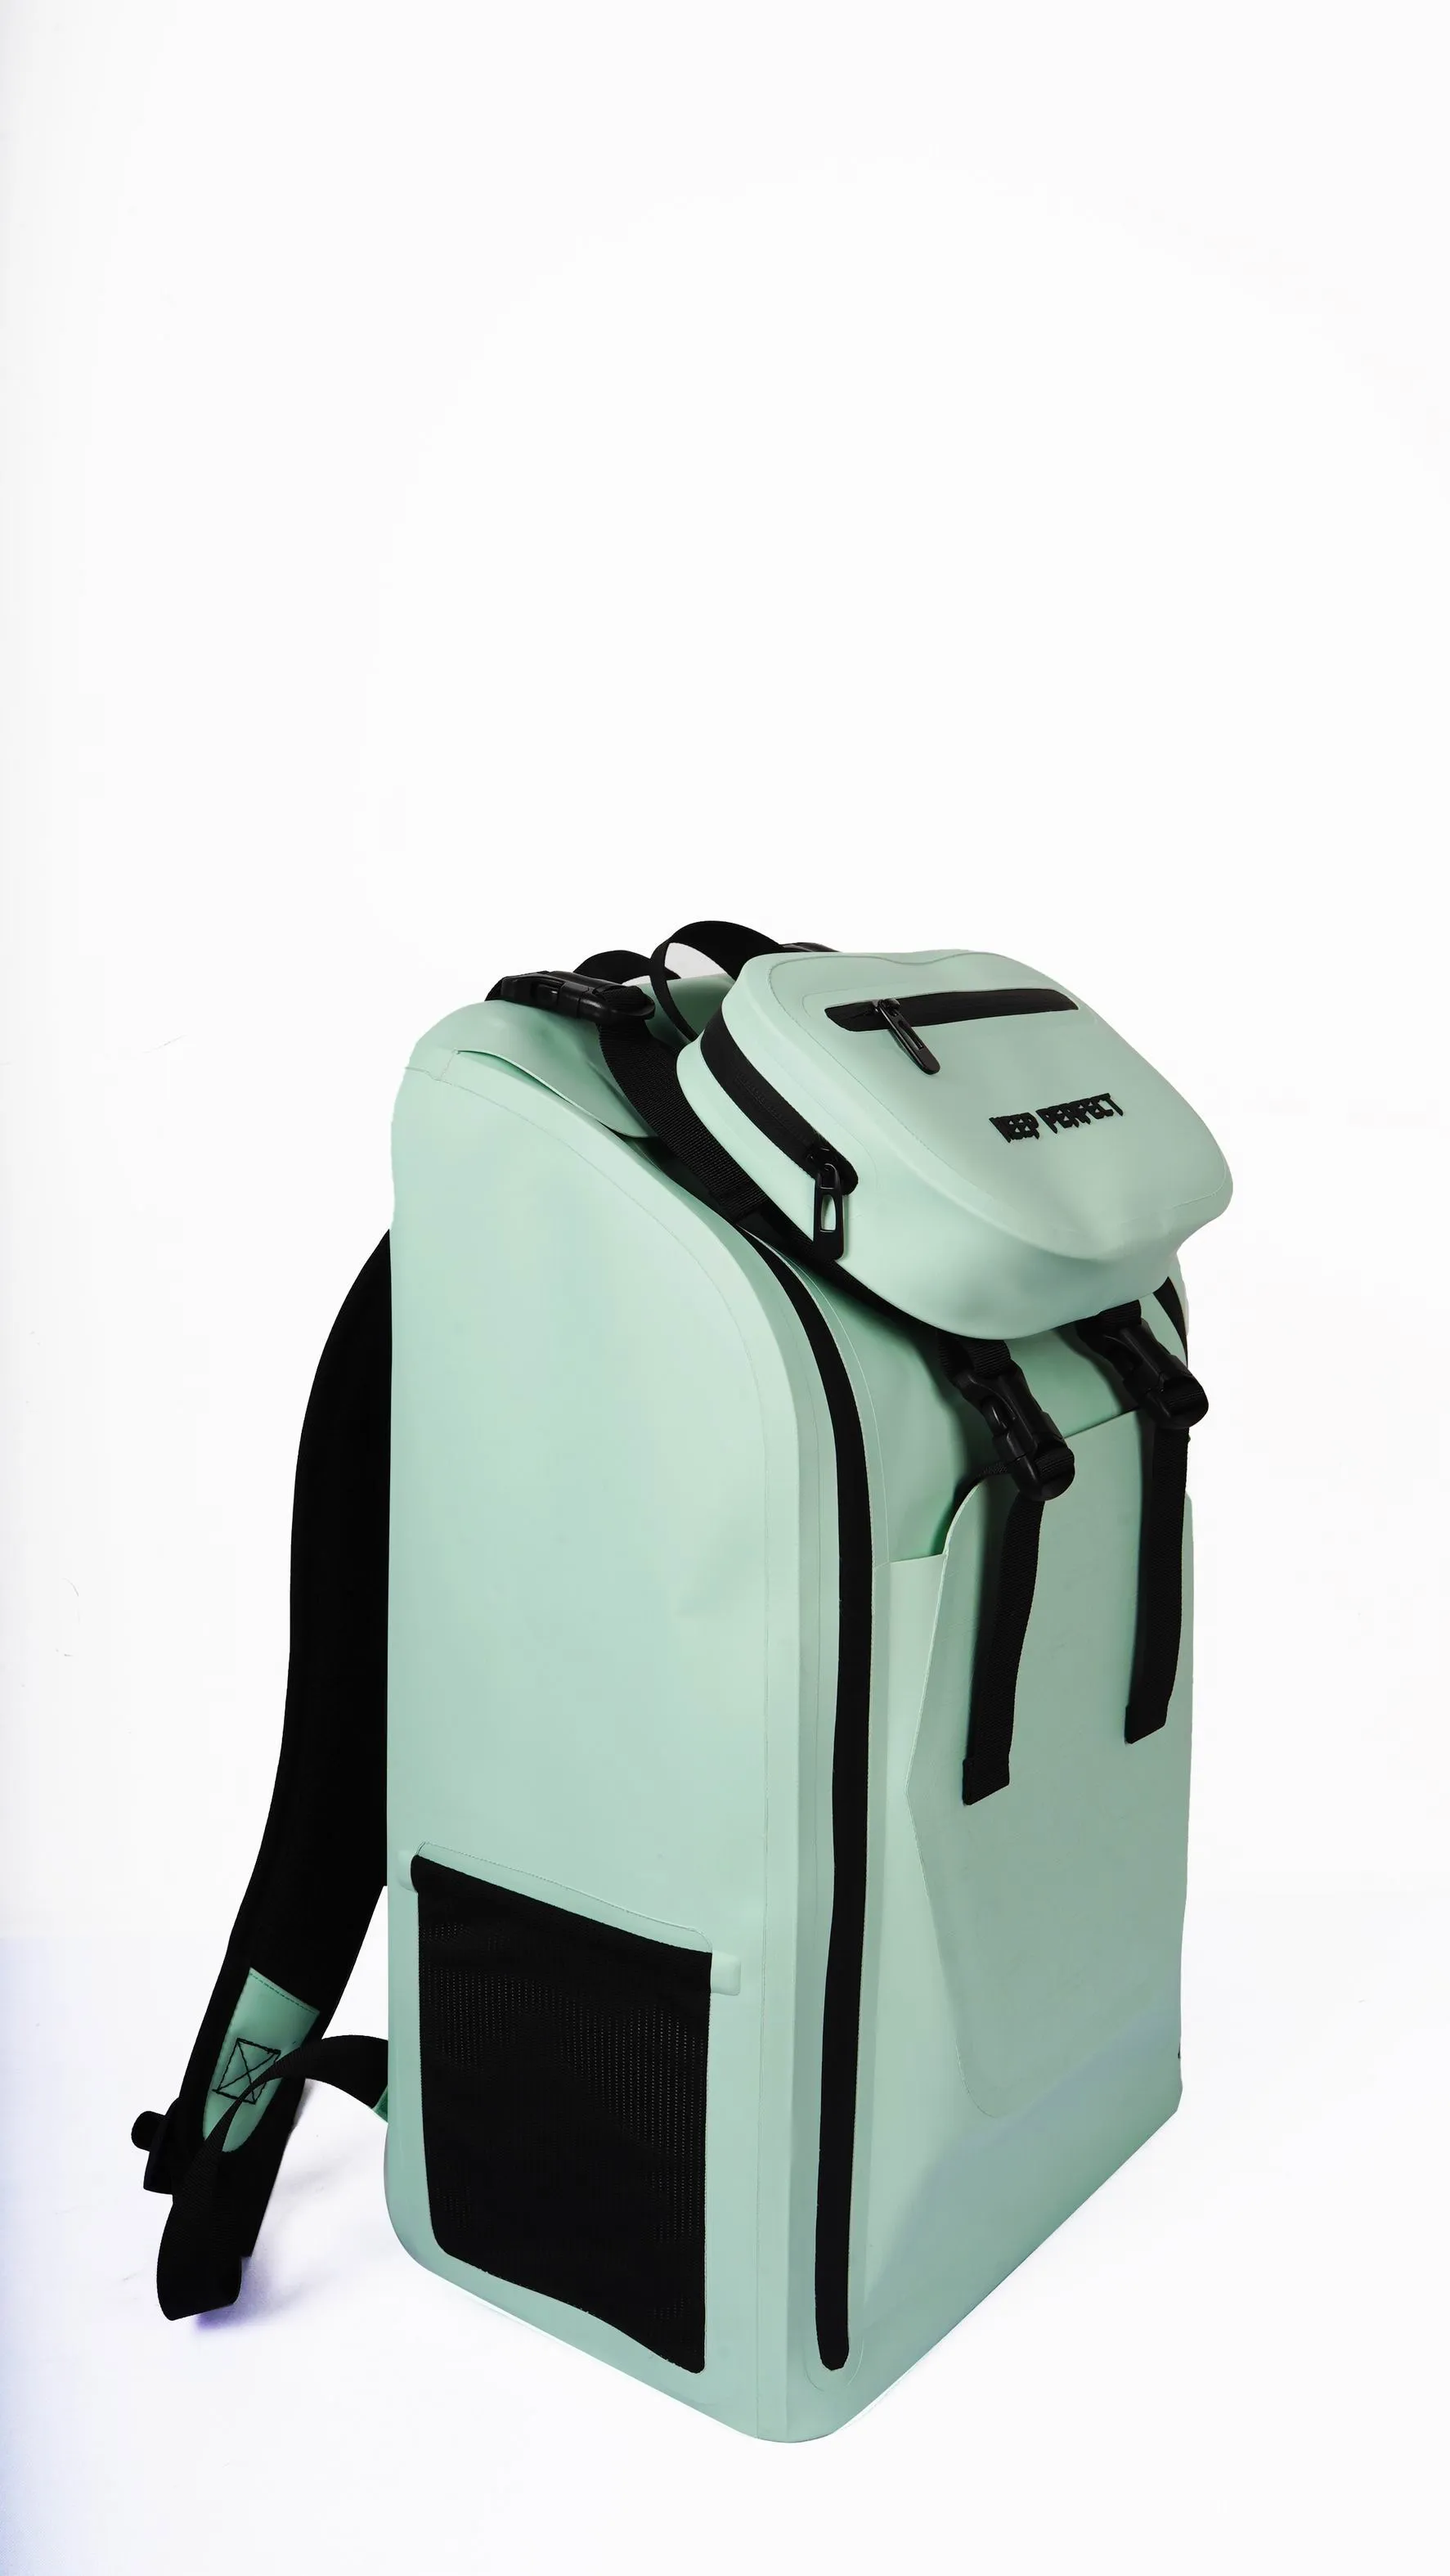
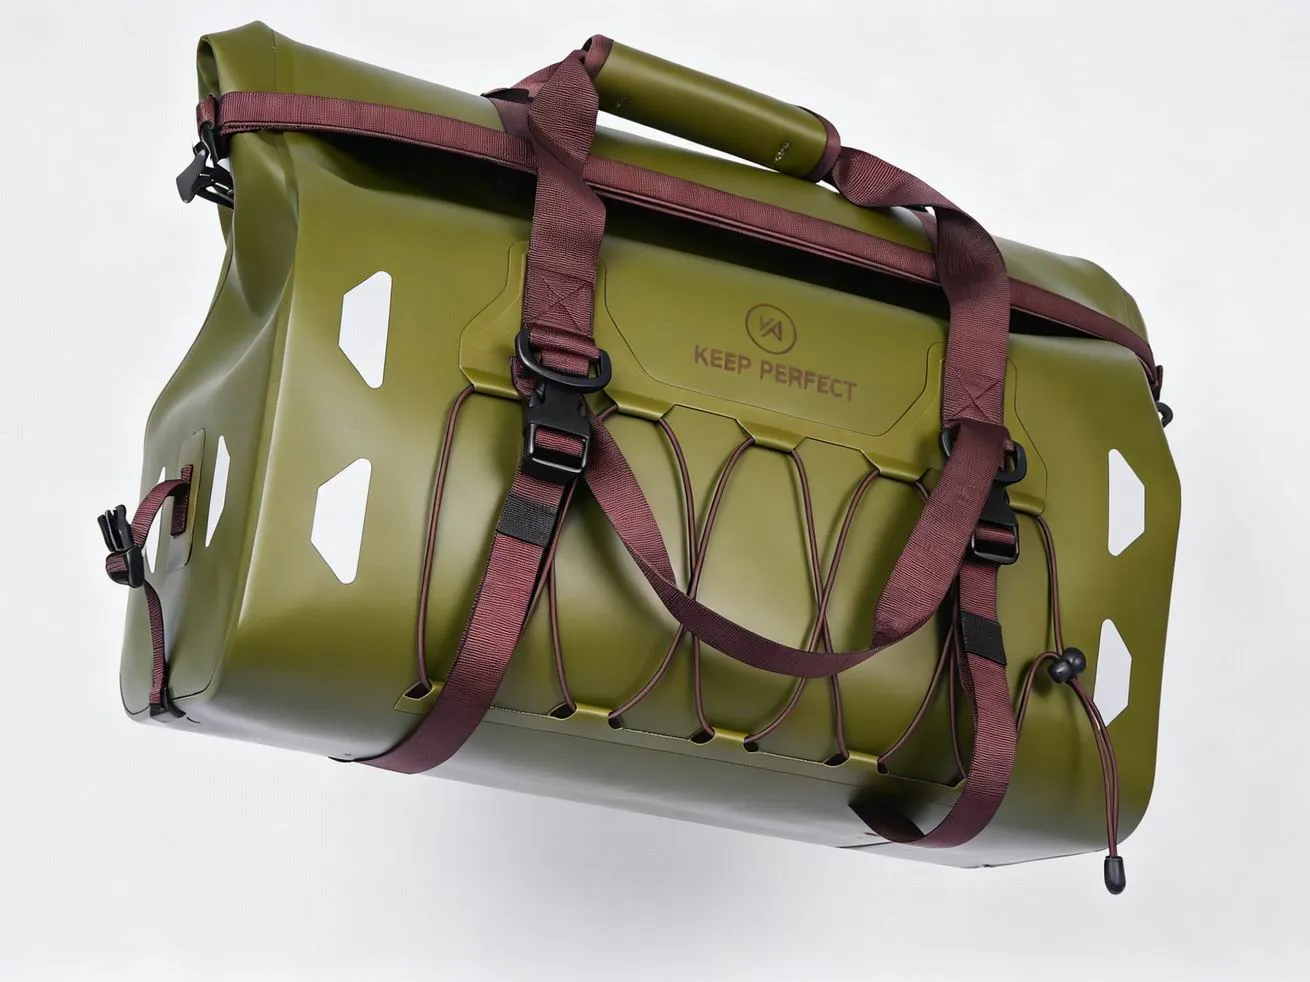
Why night hiking is a retrieval problem before it is a waterproofing problem
Ask anyone who walks regularly after dark what has actually gone wrong on a trip, and the answers are almost never about water ingress. They are about a head torch that could not be found at the moment it was needed, a snack buried under a wet jacket, a spare battery discovered too late, a glove dropped and never recovered, and a group standing still in the cold for eight minutes unpacking a bag to reach one item. Good waterproof night hiking bags are therefore specified on access architecture first and coating second, and headlamp gear access is the single feature that separates a night pack from a day pack with a lamp clipped to it.
The reason is arithmetic rather than philosophy. A night walk of four hours in cool conditions might involve twenty or thirty retrieval events — lamp, map, phone, water, layer, snack, gloves, battery, first aid. If each one costs an extra forty seconds because the pack has to be searched, the group loses fifteen to twenty minutes of standing still, and standing still is when people get cold, when morale drops and when minor problems become decisions to turn back. Cutting retrieval time is a safety intervention, not a convenience.
- Every minute spent searching in the dark is a minute not moving, and heat production stops the moment walking stops.
- Searching usually means unpacking, which means laying items on wet ground or handing them to someone, which is how things get lost.
- A search almost always happens at the worst moment: on a steep section, in wind, or when someone is already cold.
- Cold hands degrade fine motor control measurably, so a task that takes ten seconds in daylight takes thirty at night in gloves.
- Water ingress, by contrast, is rare on most night routes because walkers do not choose to go out in heavy rain after dark.
None of this means waterproofing is irrelevant. It means the order of specification changes. A night pack should still have a welded or taped shell, protected closures and a dry zone for electronics, because dew and drizzle are common and because a soaked spare layer is a genuine hypothermia risk. But once a baseline of water protection is met, further investment is better spent on pockets, pullers, indexing and reflectivity. The baseline itself is defined in our page on choosing the right waterproof level.
What a headlamp actually illuminates, and why it does not light your bag
There is a specific contradiction at the heart of night packing that catches everyone once. A headlamp is designed to project light forward and downward along the path, typically giving a useful beam of 60 to 120 metres on a modern unit with a few hundred lumens, and a narrow bright centre that reaches further. That beam is exactly wrong for looking into a pack worn on your own back or held at chest height, because the cone of light passes over and past the opening, and the interior of the pack is in the shadow of your own head and torso. Pointing the lamp into the bag means breaking your stance and often removing the lamp from your head, which is when it gets dropped.
| Lighting task at night | What the beam does | Why it fails for that task | Design or habit that fixes it |
|---|---|---|---|
| Seeing the trail 20 to 100 metres ahead | The intended job; works well | Not applicable | Choose a beam with both a spot and a flood component |
| Looking into a pack worn on the back | Beam passes above the opening | The pack sits in your own shadow | Take the pack off and place it on the ground, or use a chest-mounted secondary lamp |
| Reading a map or phone at chest height | Flood mode is needed; spot mode gives a hot dot | A narrow beam shows one small area | Use a flood setting of 20 to 50 lumens and keep a red mode for preserving dark adaptation |
| Finding a small object inside a pocket | Shadowed by hands and by the pack body | Hands block the light that would enter the pocket | Rely on tactile indexing rather than sight, and use a light-coloured liner |
| Setting up camp or cooking | Needs a wide even pool of light | A head-mounted beam moves with every head turn | Carry a second lamp with a hanging hook or a diffuser |
| Being seen by a vehicle on an approach road | Reflective material, not emitted light | A headlamp pointed away from the driver does nothing | Put retroreflective panels on the back of the pack at hip and shoulder height |
The operational conclusions are practical. Use a lamp with both spot and flood modes, because flood is what makes close work possible. Keep a red or low-output mode for anything that requires preserving dark adaptation, since a white beam at close range destroys night vision for several minutes. And accept that looking inside a pack means taking it off and setting it down on a stable surface, which in turn means the pack should open while lying on its side or back without everything sliding out. Closure behaviour in that orientation is compared in our page on zipper and roll-top closures.
Designing for eyes-closed retrieval: fixed index, tactile coding, one-hand operation
The method that actually works is an index rather than a search. Every critical item gets exactly one permanent location, and each location gets a tactile signature that can be identified by touch alone: a different puller shape, a different pocket depth, a different fabric texture, or a different closure direction. After a few outings the hand learns the index and the brain stops being involved at all. This is the same principle used in cockpits and in emergency kits, and it is the reason the goal can be stated as retrieval with the eyes closed.
- Assign one home per item and never move it, including between seasons and between bags if you own more than one pack.
- Give each pocket a distinct tactile signature: a cord pull, a moulded tab, a large loop, or a different width of webbing.
- Put the three items that must be reachable without stopping — lamp, water, spare layer — in external or hip-belt pockets rather than in the main compartment.
- Use a light-coloured interior liner so shape and contrast help on the occasions when light is available.
- Keep the most critical item, the lamp, on your person rather than in the pack, so a dropped pack does not mean darkness.
- Store items in the orientation you will grab them, because rotating an object by feel in a cold glove costs seconds and grip.
- Avoid symmetrical pockets on both sides of a pack unless you deliberately code them differently; symmetry guarantees grabbing the wrong one.
Pouch-based organisation is the cheapest way to build this index inside an existing pack, because a pouch gives an item both a fixed place and a tactile identity. A set of three pouches in different sizes with different pullers will outperform a pack with twelve identical mesh pockets. The sizing logic and the labelling approach are set out in our page on stuff sack organisation systems, and the emergency version of the same principle is covered in first aid and emergency bags.
The one-hand test is the acceptance criterion for every pocket on a night pack. Load the pack, put on gloves, close your eyes, and try to retrieve each indexed item with one hand while standing on one leg. Anything that takes more than about ten seconds or that requires setting the pack down has failed, and it will fail worse in the field than it does in a warm room.
Gloves, cold hands and the closure gauge that still works at minus five
Cold hands are the reason night closures fail, and the mechanism is not just numbness. Skin temperature below about 15 degrees Celsius reduces tactile sensitivity and grip strength, and a bulky insulated glove removes most of the precision grip that a small zip puller depends on. A slider that is easy to pinch with a bare finger becomes impossible with a glove, and the natural response — removing the glove — costs heat and takes twenty seconds. The specification answer is a larger closure gauge and a large, grabbable puller, and it is one of the few places where a heavier component is unambiguously better.
| Closure and hardware element | Usable with a bare hand | Usable in a winter glove | What to specify for night and cold |
|---|---|---|---|
| Coil zip, gauge 3 | Fine | Poor; the slider is hard to pinch | Avoid on any pocket intended for night or cold use |
| Coil zip, gauge 5 | Fine | Acceptable with a large puller | The minimum specification for external pockets on a night pack |
| Coil zip, gauge 8 or 10 | Fine | Good | Specify on the main compartment and on any pocket holding a critical item |
| Moulded or cord puller under 20 millimetres | Fine | Poor; the glove cannot hook it | Avoid; small flat pullers are the most common cold-weather failure |
| Cord loop or webbing puller over 40 millimetres | Fine | Excellent; can be hooked with a whole hand | Default for every closure on a cold-weather night pack |
| Side-release buckle, 20 millimetre | Fine | Marginal; hard to align one-handed | Acceptable on compression straps only |
| Side-release buckle, 25 to 38 millimetre | Fine | Good | Specify for any strap that must be operated in gloves |
| Roll-top with stiffened lip | Fine | Good, because there is nothing to pinch | Excellent cold-weather choice, provided it opens from the top |
Two further details matter. Slider direction should be consistent across the pack, because a hand operating by feel expects the same motion every time, and mixing directions is a reliable source of fumbling. And the closure must be operable while the pack is still on the body for hip-belt and shoulder-strap pockets, which means the puller has to sit where a gloved hand naturally reaches rather than where it looks tidiest in a photograph.
The hardware selection side of this, including pull-force testing and cold-impact behaviour of polymers, is treated in our page on custom hardware selection, and the closure-specific durability expectations in zipper durability testing. For genuinely wet night conditions, the sealing behaviour of a coated zip is described under waterproof zipper technology.
Reflective placement: put it on the bag, not only on the jacket
Reflective clothing advice is ubiquitous and partly wrong for anyone carrying a pack, because a loaded pack covers the torso and hides the very panels that were supposed to make the walker visible. A driver seeing a walker from behind sees the silhouette that is actually presented, and that silhouette is largely the pack. Retroreflective material returns light toward its source, so it is only useful where a headlight beam actually lands: on the back panel of the pack at roughly hip to shoulder height, on the sides of the pack, and on moving parts such as the back of a hip belt or a strap end where motion attracts attention.
- Place retroreflective panels on the pack body rather than relying on jacket trim that the pack will cover.
- Target the height band a car headlight reaches: roughly 500 to 1400 millimetres above the ground for a standing walker.
- Put material on both sides of the pack, because a walker crossing a road presents a side silhouette to traffic.
- Add reflective detail to moving elements; motion is detected faster than static brightness in peripheral vision.
- Do not rely on fluorescent colour at night. Fluorescence needs daylight and does nothing after dark; only retroreflection works without a light source on the walker.
- Keep reflective panels on the outside of any rain cover as well, or a deployed cover will hide the pack’s own reflectivity at exactly the moment visibility is worst.
The distinction between fluorescent and retroreflective material is the single most useful technical point here, and it is a real standards question rather than a marketing one: high-visibility material performance classes are defined by the International Organization for Standardization under its high-visibility clothing series, which separates the daylight-only fluorescent requirement from the night-time retroreflective one. Integration methods for bags, including where the material can be welded or stitched without compromising the shell, are covered in our page on reflective materials integration.
Night dew beats rain: condensation on a cold shell
Walkers prepare for rain and get wetted by dew, which is a genuinely different mechanism and more common than people assume. On a clear, calm night the ground and everything on it radiates heat away and cools below the dew point of the surrounding air, and water condenses directly onto surfaces. The result is that a pack left outside a tent, or carried through long grass and low vegetation, or set down on cold ground, becomes wet from the outside in without a single drop of rain falling. Dew deposition is heaviest in the hours before dawn and on surfaces that face the open sky.
The practical consequences are specific. A pack left outside the tent overnight will be wet by morning, so it should either go inside the vestibule or be covered. Walking through wet vegetation after midnight soaks the lower panels and the base far more effectively than light rain does, because the contact is direct and repeated. And a warm pack taken off and set on cold ground condenses on its underside. None of these are solved by a higher coating specification; they are solved by a base that wipes dry, by not setting the pack down in wet grass, and by a pack structure that lets a wet shell be dried at camp.
- A smooth welded base panel wipes dry in seconds; a fabric laminate base holds water and transfers it to anything it touches.
- Keep the pack in a vestibule or under a cover overnight rather than in the open, where radiative cooling will wet it.
- A dry bag liner for the sleeping layer is worth carrying regardless of the pack’s rating, because dew wets from outside inward over hours.
- Shake the pack out and wipe the base before bringing it into a tent, or the water comes with you into the dry space.
- Be aware that dew and condensation are worse in valleys and near water, where the local dew point is reached earlier in the night.
Condensation is also an internal problem, and the same physics applies inside a pack holding a warm drink or a worn layer. The design answers are covered in our page on anti-condensation design, and the broader behaviour of materials across temperature ranges in thermal properties of waterproof materials. Baseline data on dew point and humidity for planning an overnight route is published by the National Oceanic and Atmospheric Administration.
Load for the night: layers, batteries, hot liquid and the weight of redundancy
A night load is heavier than the equivalent day load, and the extra weight is nearly all redundancy. Two light sources rather than one, spare batteries kept warm, an additional insulating layer that will not be worn while moving, more liquid because dehydration is harder to notice in the dark and cold, and often a hot drink in an insulated container. That redundancy is not optional and it should be planned as a weight budget rather than discovered at the trailhead.
| Night-specific load item | Typical mass | Why it is carried | Consequence if it is missing |
|---|---|---|---|
| Primary headlamp, worn | 80 to 180 grams | The single item the whole trip depends on | The trip ends immediately |
| Secondary lamp, in the pack | 60 to 150 grams | Primary lamp failure, battery failure or a dropped lamp | Group stops in the dark; often a turn-back decision |
| Spare cells, kept warm | 50 to 150 grams | Cold reduces usable capacity substantially | A lamp that works for forty minutes instead of four hours |
| Additional insulating layer | 250 to 600 grams | Stops generate cold faster than walking does | Rapid chilling during any unplanned stop |
| Hot drink in an insulated flask | 400 to 800 grams | Rewarming and morale on a long stop | Longer stops, colder group, slower recovery |
| Overnight bivvy or emergency shelter | 200 to 500 grams | Injury or navigation error after dark | Exposure risk if the group is stopped for hours |
| Extra food beyond the day plan | 200 to 400 grams | Night walks run longer than planned | Energy deficit at the point where judgement matters most |
That table adds between 1.2 and 2.8 kilograms to a day load, which is why the capacity recommendation for night walking sits slightly above the day figure and why a pack with a real load-transfer system matters even on short routes. The packing method matters as much as the total: the layer and the shelter should be in the top third of the pack where they can be reached without unpacking, and the secondary lamp should be in a hip-belt or lid pocket rather than buried. Insulated carriage for the flask is covered in our page on insulated and waterproof construction.
Battery chemistry in the cold: what actually fails at altitude
Lamps rarely fail because the LED died. They fail because the cell was cold, and cold cells deliver less of their rated capacity. Alkaline cells lose usable capacity steeply below freezing and are a poor choice for winter night use. Lithium primary cells hold their voltage far better in the cold and are lighter, which is why they are the convention for cold-weather headlamps. Lithium-ion rechargeable cells sit in between: good energy density, meaningfully reduced available capacity below freezing, and a charging problem, because lithium-ion cells should not be charged while cold.
- Carry spare cells in an inside pocket close to the body, because a cell kept at 20 degrees delivers far more than one at minus 5.
- Expect a cold lithium-ion cell to deliver noticeably less than its rated capacity, and plan the lamp run-time against the reduced figure rather than the label.
- Do not charge a lithium-ion cell while it is cold; warm it to room temperature first, which is an argument for keeping a power bank in a warm pocket.
- Prefer a lamp with a regulated output so brightness does not fade gradually as the cell discharges, since a fading beam is easy to miss and hard to plan around.
- Set a conservative lamp mode for the majority of the walk; a 100 lumen setting that lasts eight hours is more useful than a 600 lumen setting that lasts ninety minutes.
- Check the lamp before leaving by running it for thirty seconds in every mode, including the red or low-output mode you may have last used months ago.
Carrying a power bank and spare cells in a dry, warm place is a bag specification question as much as an electronics one, and the pouch should be sized to the actual device plus a spare set. Options are set out in our page on battery and power bank cases. Device-level protection for a phone used as a navigation backup is covered in phone and small electronics pouches, and battery safety and transport classification is standardised by the International Electrotechnical Commission.
Layout patterns that survive the dark: pocket map and one-hand drills
A layout is only useful if it is rehearsed. The method is to draw a pocket map of the pack, assign each critical item a numbered position, then rehearse the retrieval with gloves on and eyes closed until the hand moves without thought. Groups that do this once before a season report a striking difference in how the night feels, because stopping to search is the main source of friction and cold. The drill takes fifteen minutes in a living room and it is the highest-value preparation available.
- Draw the pack from the outside, mark every pocket, and write the single item that lives in each one.
- Number the positions in the order they are likely to be needed, not in a clockwise order, so the numbering reinforces the habit.
- Rehearse the sequence: lamp, water, layer, food, map, battery, first aid, each retrieved one-handed and returned to the same place.
- Repeat the drill in gloves, then in gloves in the cold, then in the dark, and note which pockets fail at each stage.
- Re-run the drill at the start of each season, because packs get reorganised and habits decay.
- If two people share a load, rehearse together so either person can find anything in either pack.
The layout pattern that survives this test most often is a three-zone arrangement: an outer zone for anything needed while walking, a lid or top zone for anything needed at a short stop, and a deep zone for anything only needed at camp or in an emergency. Anything in the deep zone should be packed last and unpacked first, and nothing critical should ever live there. This is the same structure recommended for longer mountain days, and the alpine version is described in our page on bags for alpinism.
Losing things: tethers, light interiors and the ground-search problem
Small objects lost at night are effectively gone. A glove, a battery or a knife dropped on a rough path at night is not found by a sweep of the beam, because the search area is large, the ground is three-dimensional, and the beam only shows a small patch at a time. The prevention is embarrassingly simple and almost universally skipped: tether the small things. A short cord or a retractor on a lamp, a glove, a multi-tool and a phone costs grams and removes the most common single-item loss of the whole category.
- Tether the secondary lamp, the gloves, the knife and the phone; these four account for most night losses.
- Use a light-coloured interior liner, which is the cheapest possible aid to finding anything by eye when light is available.
- Avoid black-on-black: a black puller on a black shell in the dark is invisible, so specify a contrast colour on every functional element.
- Close every pocket immediately after use, because an open pocket on a moving pack sheds contents silently.
- Set items down on the pack itself rather than on the ground when unpacking at night, so nothing is placed where it cannot be found.
- Keep a whistle and a small spare light on your person, never in the pack, so a pack dropped on steep ground does not leave you dark and silent.
The design implications for a night pack are concrete and cheap: contrast-coloured pullers, a pale liner, tether points inside pockets, and pockets that self-close or that are visibly open. None of these add meaningful cost and all of them reduce the most-reported complaint in the category. Survival-oriented packing that treats the pack as a kit rather than a container is described in our page on survival and kit bags.
Navigation load and the pace at which night changes the problem
Navigation is the hidden cost of walking after dark, and it changes the maths of a plan more than the physical difficulty does. Night walking is typically 30 to 50 per cent slower than the same route in daylight, because the visible ground detail is reduced, depth perception is poor in a narrow beam, and route-finding decisions that are trivial by day require stopping and checking after dark. That slowdown has to be applied to the plan before departure, and it is the most common cause of a night walk overrunning its time budget.
The mitigation is partly procedural: carry the route on a device plus a paper backup, plan more escape points than a day route would need, and set a hard turnaround time rather than a target. It is partly a bag question too, because navigation means the map or device has to come out repeatedly and be put away securely, in the dark, often in wind. A flat map case that opens one-handed and clips to the body is worth more than any amount of internal organisation. Wet-weather protection for paper maps and documents is covered in our page on navigation and chart cases, and the general approach to protecting documents in wet conditions in waterproof document holders.
- Apply a night penalty of 30 to 50 per cent to daylight timings, more on rough or indistinct ground.
- Set a turnaround time and treat it as fixed; most night incidents involve a group continuing past a sensible point.
- Carry the route in two independent forms, because a phone is a battery and a battery is a consumable.
- Keep the navigation item on the body or in a shoulder-strap pocket rather than in the pack, so checking does not mean stopping and unpacking.
- Plan escape routes before leaving rather than during the walk, since route choice after dark is slower and more error-prone.
Testing a night kit before the first dark outing
Every element of a night kit can be validated at home in an evening, and doing so converts a set of intentions into a system that works. The test protocol is short: load the pack exactly as it will be loaded, put on the gloves you will actually wear, turn the lights off, and run the retrieval drill end to end. Record which pockets failed and why, fix the layout, and repeat. Two iterations is usually enough to make the index automatic.
- Run the full retrieval sequence in the dark with gloves on and time each retrieval; anything over ten seconds needs a layout change.
- Test the closures cold: leave the pack outside or in a cold space for an hour, then try every puller in gloves.
- Check the lamp before departure in every mode, and measure real run-time once at home rather than trusting the packaging.
- Verify reflectivity by having someone stand 50 metres away with a light source and confirm what they can actually see on the pack.
- Simulate dew by leaving the pack out overnight once and checking which panels are wet in the morning.
- Weigh the loaded pack and compare it against the comfort limit you can carry for the planned duration.
The reflectivity check is the one people skip and the one that most often produces a surprise, because a pack can appear to have reflective trim and return almost nothing to a viewer at a distance. Standing back and looking is a one-minute test that replaces an assumption with a fact. The wider principle of validating against the real use condition rather than the laboratory one is set out in our page on lab-to-real-world validation.
What a brand should specify for a night hiking line
For a brand entering this segment, the specification should be written around retrieval and visibility, because those are the features a night walker will actually pay for and the ones that generate reviews. The product structure that works is a main pack in the 25 to 40 litre range, a hip-belt or strap pocket system sold as an accessory, and a small indexed pouch set. All three share one material story and one hardware language, which is what makes a range read as a system rather than as three unrelated products.
- Specify gauge 5 or larger coil zips with cord or webbing pullers over 40 millimetres on every pocket intended for gloved use.
- Use contrast-coloured pullers and a pale interior liner; both are near-zero cost and both appear constantly in user feedback.
- Place retroreflective panels on the back and sides of the pack in the 500 to 1400 millimetre height band, and repeat them on any rain cover.
- Add tether points inside the lid and hip-belt pockets, and mention them in the product copy, because buyers do not discover them unaided.
- Keep the secondary-lamp pocket external and sized to a specific lamp format rather than generously vague.
- Choose a smooth welded base panel that wipes dry, because dew is the wetting mechanism most night walkers actually meet.
- Name the closure gauge and puller length on the bill of materials; if they are not specified, they will be value-engineered away.
On volume and timing, minimum order quantity is 500 pieces per style, which is reachable across a pack plus a pouch set plus a strap pocket in two colourways when planned as one programme. Reflective material and contrast trim need to be locked at sampling because both are visible-safety features that cannot change between reorders without breaking the range identity; the mechanics are set out in our page on minimum order quantities and the sequence in lead times for custom orders. Brands building a range rather than a single product should also read line planning and SKU rationalisation. To convert these specifications into dates and a quotation, review the process from first enquiry through sampling into bulk production and send the capacity ladder, closure specification and target volumes. Sampling takes 6–10 working days, bulk production runs 35–50 days, and quotations are issued FOB Xiamen.
Frequently Asked Questions
Q1. Is waterproofing or accessibility more important for a night hiking pack?
Accessibility. Water ingress is rare on most night routes, while failed retrieval happens constantly and costs time, heat and morale. Meet a sensible water baseline, then spend the remaining specification budget on access.
Q2. Why can I not see into my pack with a headlamp on?
Because the beam projects forward along the path and the pack sits in the shadow of your own head and torso. Use a flood mode, or take the pack off and set it down to look inside it.
Q3. What zip size works with winter gloves?
Gauge 5 is the practical minimum and gauge 8 is better, combined with a cord or webbing puller over 40 millimetres. Small flat pullers under 20 millimetres are the most common cold-weather failure.
Q4. How should I organise a night pack so I can find things in the dark?
Give every critical item one permanent location and a distinct tactile signature, then rehearse retrieval with gloves on and eyes closed. Pouch-based indexing outperforms packs with many identical pockets.
Q5. Should reflective material go on the jacket or on the pack?
On the pack. A loaded pack covers the torso and hides jacket trim, so the silhouette a driver sees is largely the pack. Use retroreflective panels at hip to shoulder height on the back and sides.
Q6. Does fluorescent colour help at night?
No. Fluorescence requires daylight to work and does nothing after dark. Only retroreflective material returns a headlight beam toward the driver, and the two are separate requirements in the standards.
Q7. Why does my pack get wet on a clear night with no rain?
Dew. Surfaces radiate heat and cool below the dew point, and water condenses directly onto the shell, heaviest before dawn. Keep the pack under cover and wipe the base before bringing it into a tent.
Q8. Which batteries should I use in a headlamp below freezing?
Lithium primary cells hold voltage best in the cold. Alkaline loses usable capacity steeply below freezing, and lithium-ion should be kept warm and must not be charged while cold.
Q9. How much slower is walking at night?
Typically 30 to 50 per cent slower than the same route in daylight, and more on rough ground. Apply that penalty to the plan before departure and set a hard turnaround time.
Q10. How much extra weight does night redundancy add?
Between 1.2 and 2.8 kilograms for a second lamp, spare cells, an extra insulating layer, emergency shelter, hot liquid and additional food. Plan it as a weight budget rather than discovering it at the trailhead.
Q11. What items should be tethered on a night walk?
The secondary lamp, gloves, a knife or multi-tool and a phone. These account for most night losses, and a dropped item on rough ground at night is effectively unrecoverable.
Q12. Should the headlamp be carried in the pack or on the body?
On the body. If a pack is dropped on steep ground, the wearer should still have light and a whistle rather than being left dark and silent in a bag they cannot reach.
Q13. How do I test a night kit before a trip?
Load the pack exactly as planned, put on your gloves, turn the lights off and run the full retrieval sequence, timing each item. Anything over ten seconds needs a layout change. Repeat until it is automatic.
Q14. What lamp output is best for most of a night walk?
A moderate setting of around 100 lumens that runs for hours beats a 600 lumen setting that runs for ninety minutes. Use high output briefly for route-finding, not continuously.
Q15. How do I check whether my pack is actually visible at night?
Have someone stand 50 metres away with a light source while you wear the loaded pack, and confirm what they can see. A pack can appear to have reflective trim and return almost nothing.
Q16. What should a brand specify first on a night hiking pack?
Closure gauge and puller size, contrast-coloured hardware, retroreflective placement on the pack body, a pale interior liner and tether points. All are low cost and all show up directly in user reviews.
Q17. Does a rain cover hide reflective panels?
Yes, and at the worst moment. If a cover is supplied, it must carry its own retroreflective panels positioned to match the pack beneath it, or visibility drops exactly when it is most needed.
People Also Ask
What matters most in a night hiking pack?
Retrieval, not waterproofing. Items must be reachable by feel, in gloves, with eyes closed. Meet a water baseline, then specify access and visibility.
Why can I not see inside my pack with a headlamp?
The beam projects forward and the pack sits in your own shadow. Use a flood mode, or take the pack off and look into it on the ground.
What zip size works best with gloves?
Gauge 5 minimum, gauge 8 better, with a cord or webbing puller over 40 millimetres. Small flat pullers fail in gloves.
Where should reflective material go on a pack?
On the pack body at hip to shoulder height, on both sides, and repeated on any rain cover. Jacket trim is hidden by a loaded pack.
Why is my pack wet on a clear night?
Dew. Surfaces cool below the dew point and water condenses onto the shell, heaviest before dawn. Keep the pack covered overnight.
How much slower is night walking?
About 30 to 50 per cent slower than the same route by day, more on rough ground. Plan the penalty and set a fixed turnaround time.