A waterproof tote that survives a beach morning and still looks correct in a client meeting fails for a structural reason, not a waterproofing one. Coated shells shed water easily; what breaks is geometry. A soft tote collapses the moment it is set down, so documents curl, a laptop corner takes the ground load, and the object reads as luggage rather than as an accessory. Brands that approach this category as a beach product made from better fabric tend to collect returns described as "looked cheap" rather than "leaked", which is a harder problem because no submersion test catches it. The decision that separates the two outcomes is taken before the first sample is cut.
This guide works through that decision in the order a development team meets it: why the second setting is the difficult one, what actually holds a tote upright, where handle loads travel and the two places they break, how the closure sets the social register of the whole product, how to organise an interior without making it rigid, which material combinations read as professional while still shedding water, how capacity and carry geometry interact, how much waterproofing a commuter genuinely needs, why trim dates a bag faster than fabric does, what field returns actually say, how to test before committing volume, how to structure a tote programme around materials, hardware and logo limits, and where the money is visible in each price band. QUANZHOU JUNYUAN BAGS — custom waterproof bag production since 2014, 4,950 m² SGS-verified facility — works to MOQ 500 pieces per style, with sampling in 6–10 working days and bulk in 35–50 days, FOB Xiamen.
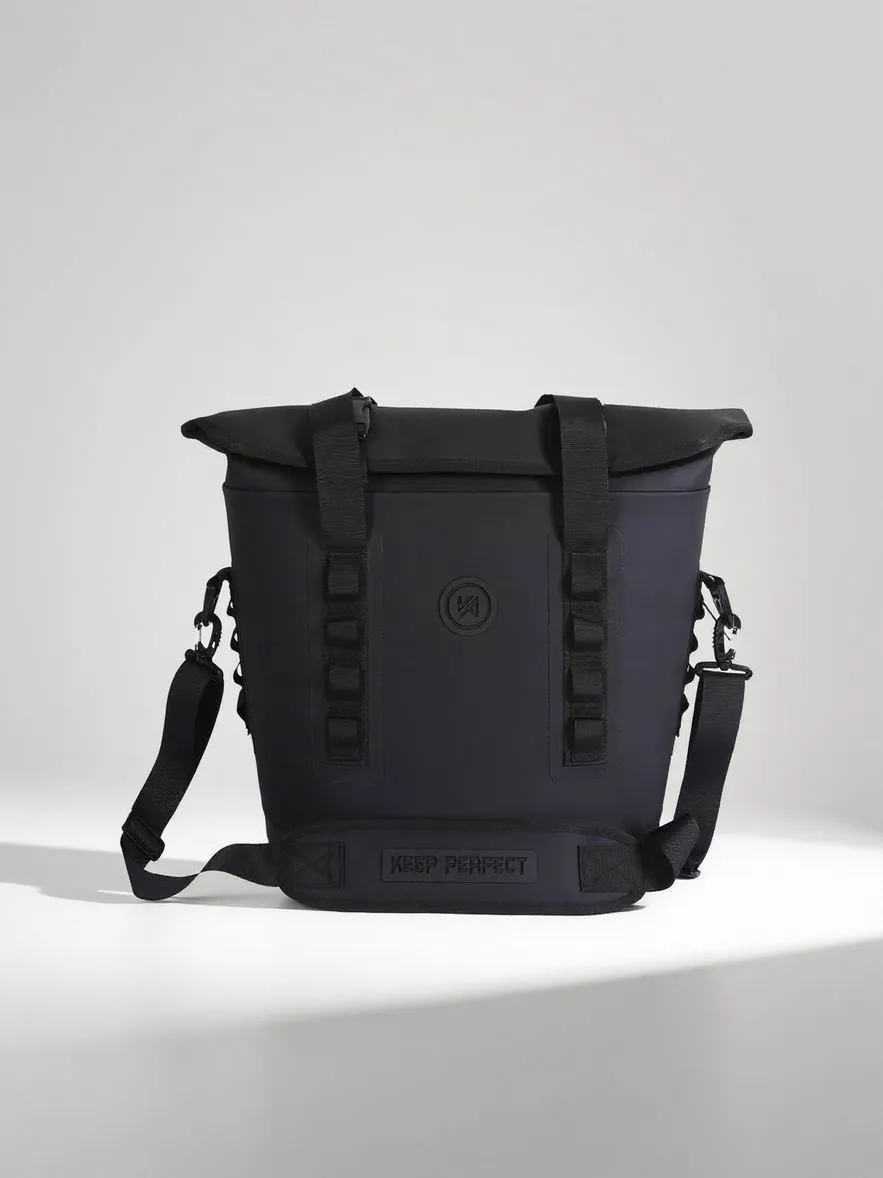
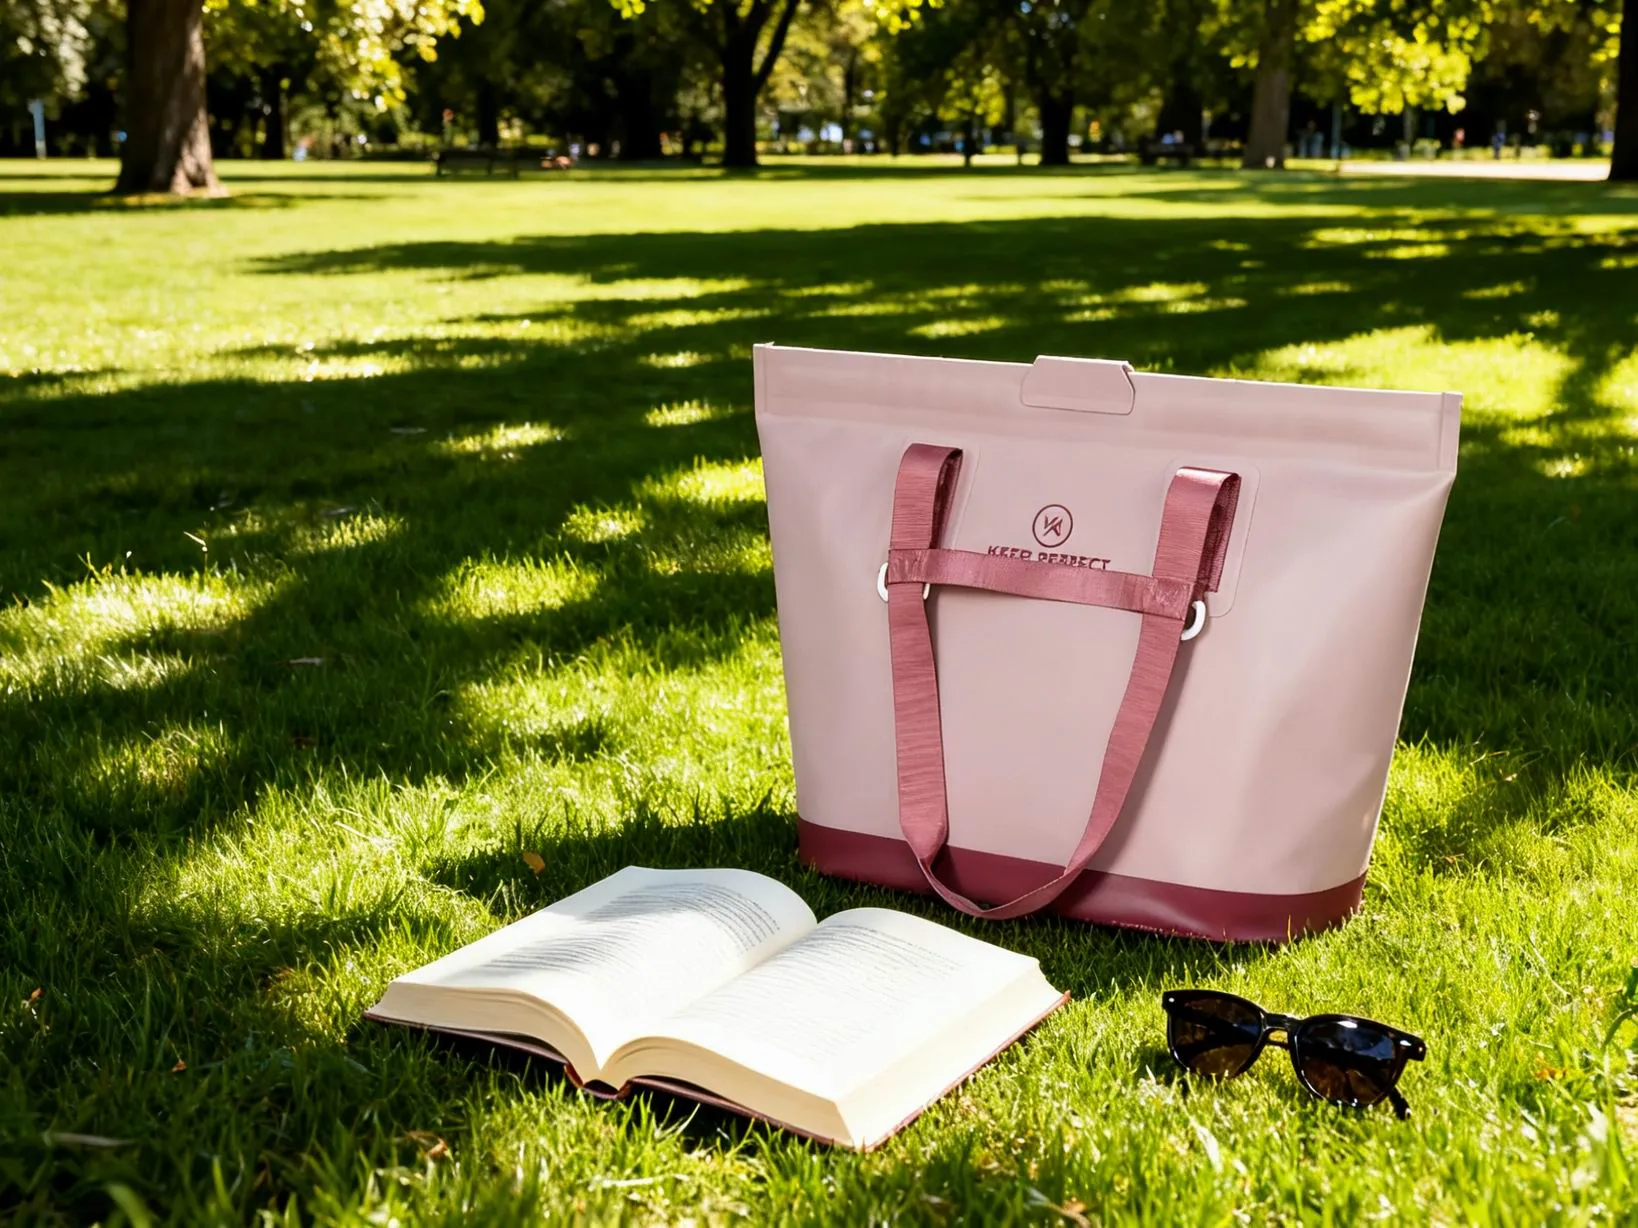
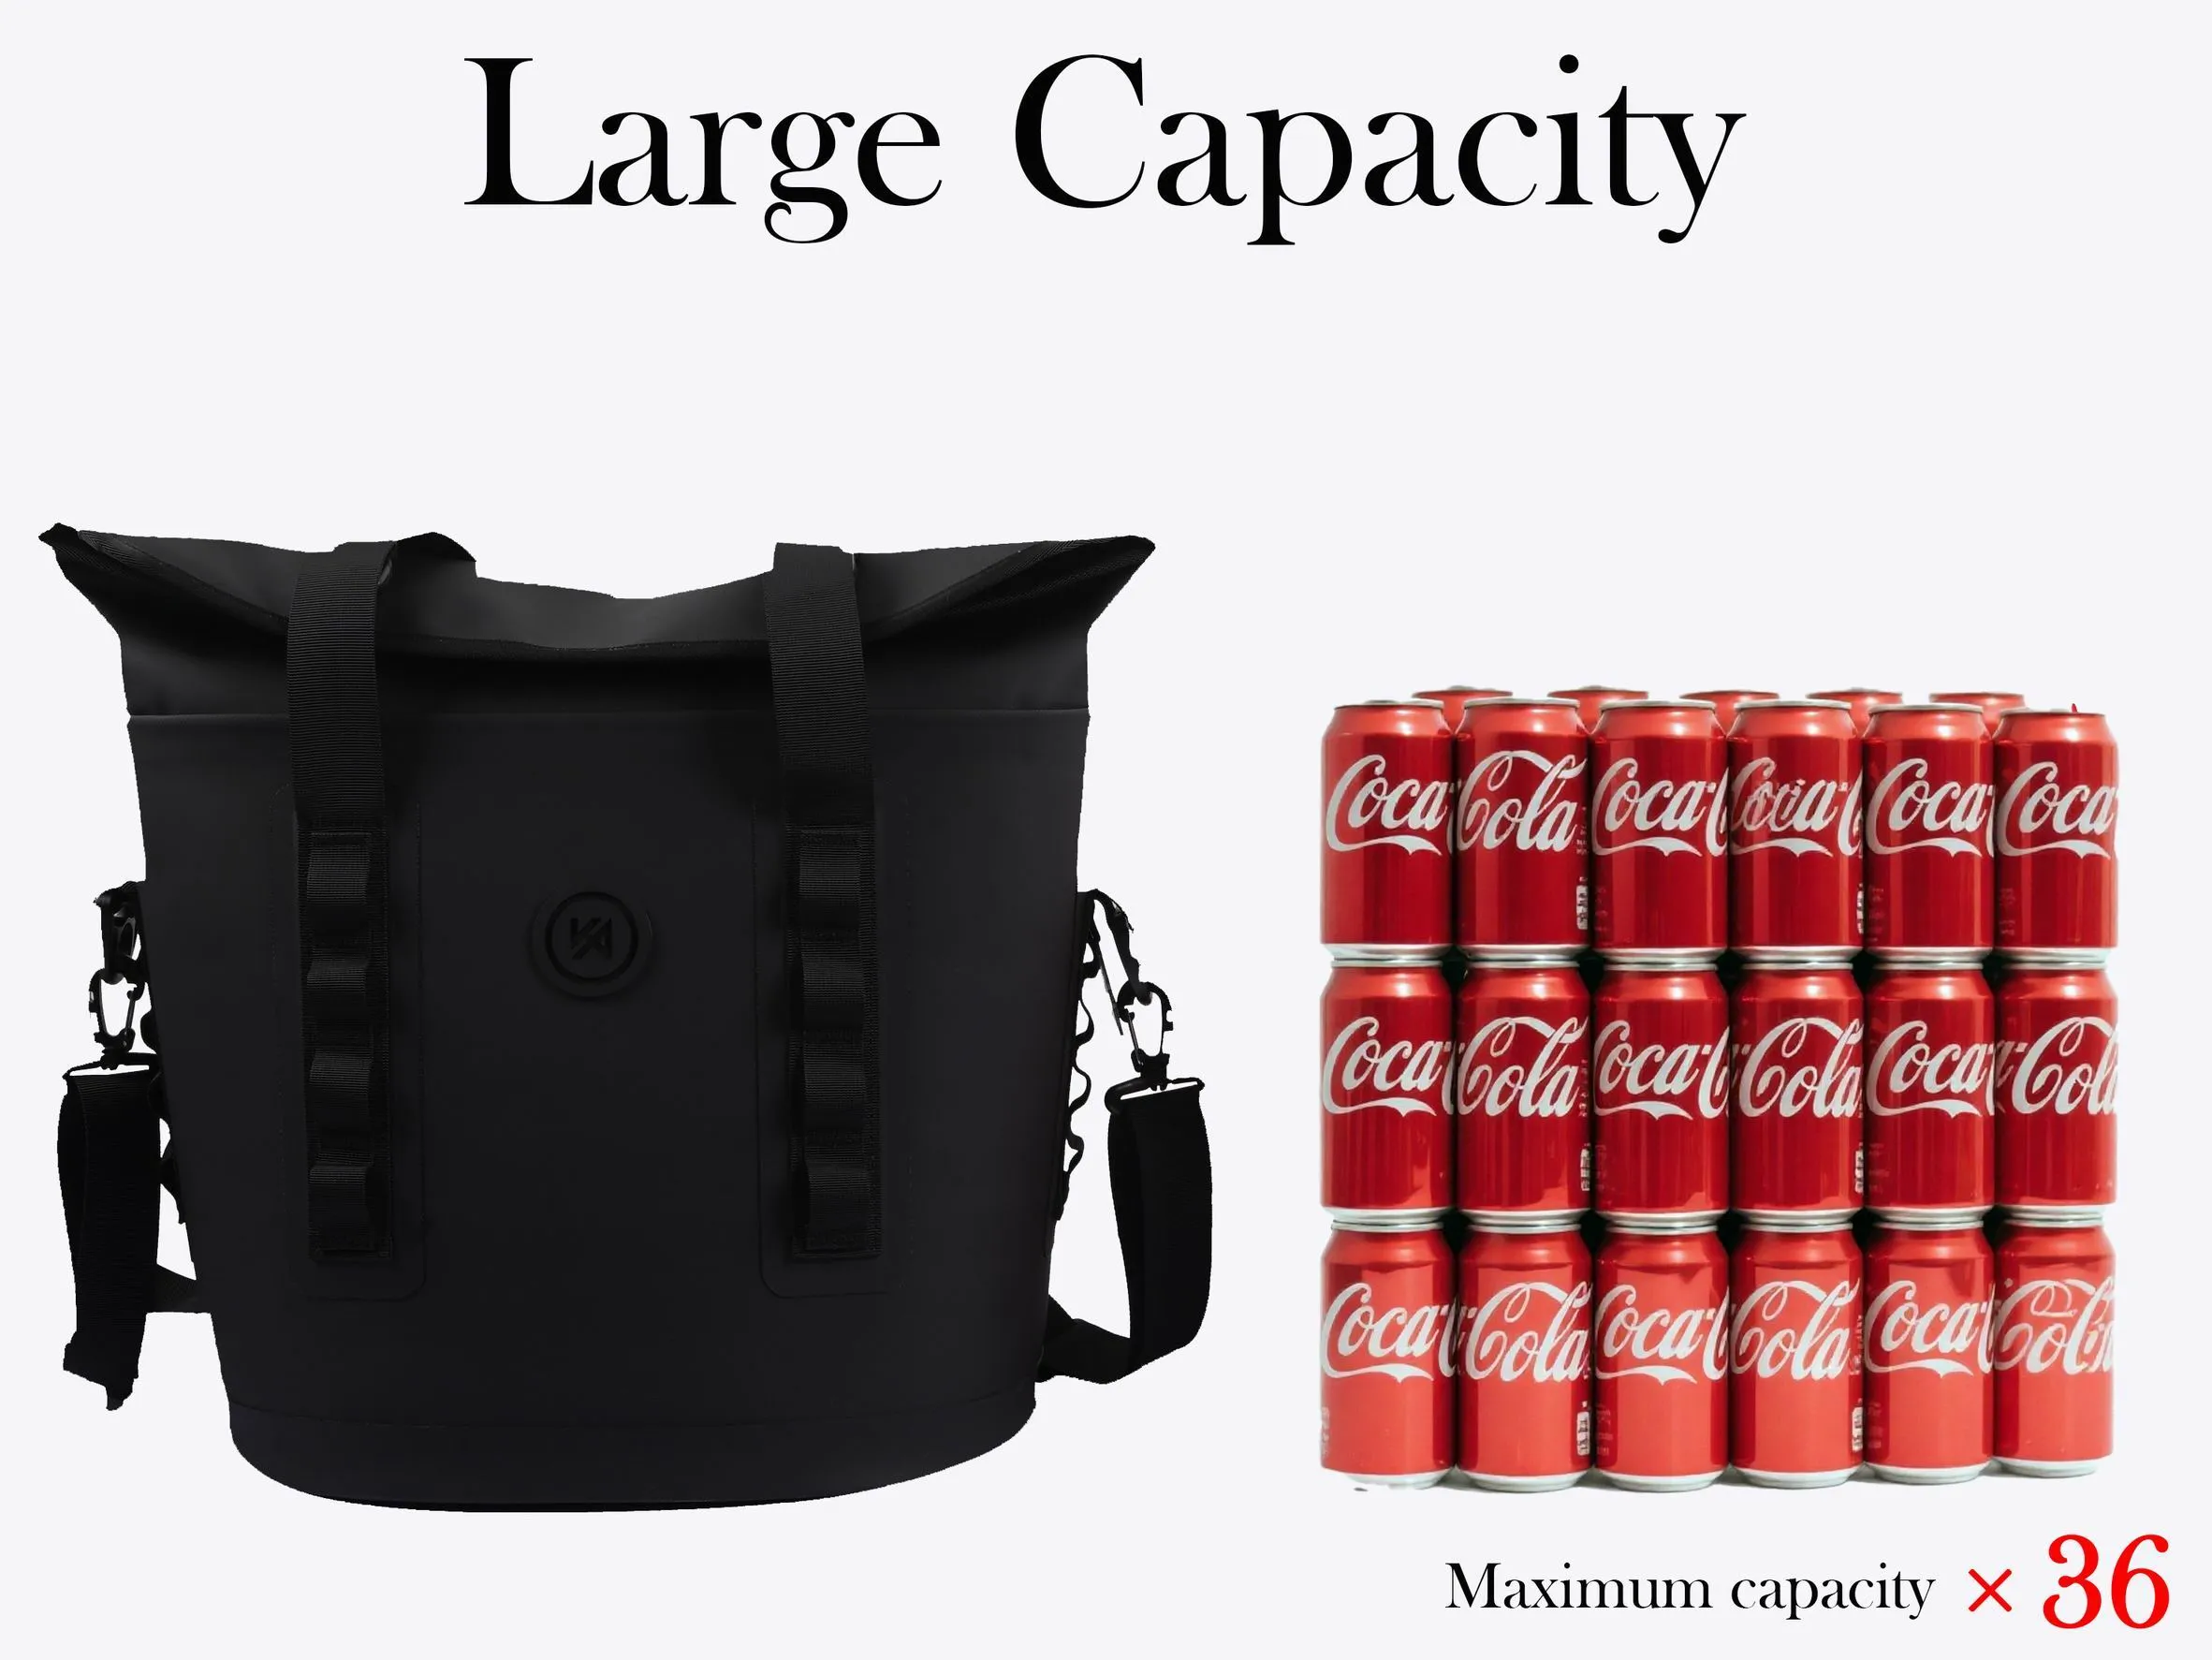
Why the second setting is the difficult one
Most brands approach waterproof tote bags as a materials problem, and a beach to boardroom bag as a styling problem. Both framings miss what actually decides the outcome: the two settings impose contradictory requirements on the same three components, and whichever setting the engineer designed for will be the setting the bag fails in. A beach tote wants a wide, open, wipe-clean mouth and soft walls that squash into a car boot. A meeting tote wants a closed top, flat panels that hold a crease, and a base that keeps documents horizontal when the bag is put down beside a chair.
Those requirements are not reconcilable by compromise; they are resolved by hierarchy. The product has to be designed for the setting where the failure is expensive, then adapted for the other. In this category the expensive failure is the professional one, because a bag that leaks at the beach produces a wet towel and a shrug, while a bag that slumps in a reception area produces a refund request and a review mentioning quality. Once that hierarchy is explicit, several design arguments resolve themselves quickly.
It also reframes the waterproof requirement, which is where most specifications go wrong. The beach use case is genuinely wet: submerged closure, wet swimwear inside, sand in every seam. The commute use case is only intermittently wet: rain during a ten-minute walk, a wet umbrella, condensation on a cold bottle. A construction built to survive the first is usually heavier, glossier and stiffer than the second needs, and those three properties are exactly what make a tote look like outdoor equipment indoors. The engineering task is to reach the level the commute needs and then close the gap to the beach with a component — a removable wet pouch, a drainage gusset — rather than with the whole shell.
The rest of this guide assumes that hierarchy. It is not the only defensible position — a surf brand should obviously design for the water first — but it is the position that produces a product sellable in both channels, and it is the one our work on everyday rain commuting solutions keeps returning to.
Self-standing structure: what actually holds a tote upright
A tote stands up for one of three reasons, and only one of them survives a full year of use. The first is fabric stiffness: a heavy coated shell or a laminated board interlayer that makes the walls self-supporting. It works on day one and degrades steadily, because coating stiffness is temperature-dependent and every fold the bag takes in transit becomes a permanent crease. The second is an inserted base panel, usually EVA or a moulded PE sheet slipped into a sleeve at the bottom. The third is a framed or welted construction where the side gussets are sewn with a defined fold so the bag has a geometric footprint rather than a draped one.
The practical answer for a dual-use tote is the second, with the third as reinforcement. A base insert of roughly 3 to 5 millimetres of closed-cell EVA, cut to leave a 10 to 15 millimetre margin from the wall seam, gives a footprint that does not collapse at realistic loads while adding maybe 60 to 110 grams. Thicker is not better: above about 6 millimetres the insert creates a visible ridge through the base fabric and the bag starts to look like a cooler. The insert also has to be removable or at least sleeved, because a bonded insert cannot be packed flat and will crack if the carton is compressed in transit.
| Approach | Stands up when empty? | Weight and cost impact | What goes wrong over time |
|---|---|---|---|
| Stiff coated shell only | Yes, in cool conditions | Low added weight, no extra part | Softens in heat, takes permanent creases, collapses by month six |
| EVA or moulded base insert | Yes, consistently | 60 to 110 g, modest unit cost | Ridge telegraphs through thin fabric; bonded versions crack in transit |
| Welted or framed gusset | Yes, and holds a crease | Minimal weight, more labour | Requires accurate sewing; sloppy welt produces a wavy top line |
| Removable stiffener sleeve | Yes, and packs flat | Slight cost, best logistics | Users remove it and never put it back, then complain the bag sags |
| No structure at all | No | Cheapest and lightest | Reads as a shopping bag; the most common cause of "looked cheap" returns |
One detail separates the competent versions from the rest: the footprint has to be defined at the base seam, not merely suggested by an insert floating inside. If the base panel is cut wider than the side panels meet it, the walls bulge outward and the silhouette becomes a barrel. If it is cut narrower, the walls pull inward and the bag looks pinched. Getting that match right is a pattern-making job measured in millimetres, and it is the single cheapest thing to correct at sampling because it costs nothing in materials.
There is a logistics consequence too, and it belongs in the same conversation. A self-standing tote does not pack flat, so a carton holds fewer units and freight per piece rises. If the retail plan depends on e-commerce fulfilment, that matters far less than if it depends on shipping to stores. Our guide to dimensional customisation sets out how packed cube is calculated before the specification is frozen, and it should be read before the base insert thickness is signed off rather than after.
Handle load paths and the two places they fail
Handles do not break in the hand. They break at the attachment, and they break in two distinct ways that require two different fixes. The first is stitch tear-out: the webbing is sewn to the outer shell, the shell is a coated woven with poor stitch-holding, and under load the stitch perforations act as a perforated tear line. The second is substrate failure: the webbing holds, the stitching holds, and the coated fabric itself tears because the load was concentrated into a patch too small to distribute it.
A realistic load case sets the specification. A beach tote carries 6 to 9 kilograms on a routine day; a commuter tote with a laptop, a charger, a water bottle and a packed lunch is typically 4 to 6 kilograms, but it is carried further and lifted more often. Drop testing and static load testing for this class of product is conventionally run well above those figures because the failure mode is dynamic — a bag set down hard on a kerb produces a momentary load several times its static weight. The practical target is a handle assembly that survives a repeated static pull of roughly four to six times the expected carried mass without visible stitch elongation.
Three specifications do most of the work. Webbing of 25 millimetres width with a reasonable weave density, rather than 20 millimetre tape chosen for looks. A reinforcement patch behind the shell that extends the load into the body panel, ideally a bar-tacked box of at least 40 by 60 millimetres, because stitch length alone never solves tear-out. And a load path that terminates in the side gusset or a continuous strap running under the base, rather than one that stops at the top edge of the front panel.
That last point is the one worth arguing about in a design review. A strap that runs continuously under the bag — the classic tote construction — converts the handle load into a tension loop around the whole body, which is why a cheap canvas tote carries an absurd amount of weight. Cutting that loop for visual reasons, so the handles land on decorative patches, removes the structural advantage entirely and is the most common single cause of handle returns in this category. The testing methods used to catch it before production are described in our piece on load stress testing for straps and handles.
Handle drop deserves a number rather than a preference. For hand carry over a winter coat, 22 to 25 centimetres of drop is comfortable. For shoulder carry with the same coat, 28 to 32 centimetres is needed before the bag sits correctly under the arm. A dual-use tote cannot serve both with one fixed strap, which is why the better products in this category either specify a drop around 26 centimetres as a deliberate compromise or offer a second detachable strap. Anything under 20 centimetres is a hand-carry-only product and should not be photographed on a shoulder.
Closure choice sets the register
Of every decision on this product, the closure does the most work socially. A roll-top closure with a side-release buckle signals kayak. A coil zip under a storm flap signals travel. A magnetic snap or a slim turned-edge flap signals handbag. None of those signals is wrong in itself, but only one of them is appropriate at a reception desk, and the choice constrains the waterproof level at the same time — so it has to be made deliberately rather than inherited from a factory’s standard pattern.
| Closure | Register it signals | Realistic water performance | Development risk |
|---|---|---|---|
| Roll-top with side buckle | Outdoor, technical | Genuinely submersible when rolled three times | High bulk at the mouth; reads sporty in every colourway |
| Water-resistant coil zip under flap | Travel, professional | Splash and sustained rain; not submersion | Tape stiffness affects drape; needs a gusseted flap to look intentional |
| Full-length metal-look zip, exposed | Urban, fashion | Rain only, and only with a coated tape | Water enters through the tape; needs a storm guard behind |
| Magnetic snap with turned-edge flap | Handbag, premium | Light rain only | Magnet housing can telegraph through thin shells; weakest water performance |
| Top zip plus magnet flap over it | Premium professional | Good rain performance, tidy appearance | Two operations to open; the most expensive to assemble |
| Open top, no closure | Utility, beach | None | Unsellable as a commuter product in most markets |
The combination in the second-to-last row is worth attention for brands in the upper bands, because it resolves the contradiction rather than compromising on it. A water-resistant coil zip provides the functional seal; a magnet flap over the top hides the zip tape entirely and supplies the visual restraint. The cost is one more assembly operation, roughly a few percent on conversion cost, and a slightly slower opening action that is entirely acceptable at a desk and mildly annoying on a beach.
Whatever is chosen, the zip specification matters more than the type. A coated or laminated tape with a reverse-coil construction keeps water out of the tape itself, while an uncoated tape wicks visibly within a minute of rain exposure even when the teeth interlock perfectly. Our comparison of zipper and roll-top closures goes through the ratings each construction realistically achieves, and the honest summary is that closure choice and closure rating are the same decision.
There is also a sound dimension that gets overlooked. A metal-look zip pulls with a rattle that reads as cheap in a quiet room; a moulded pull with a rubberised grab reads quieter and older. Tradespeople and commuters both notice this within a week of ownership and neither will articulate it in a review. It costs nothing to specify a dampened pull.
Interior organisation without stiffness
The interior is where dual-use totes most often lose. Designers respond to the beach requirement by making the lining wipe-clean and seamless, which produces a single cavern where a laptop, a charger and a phone all slide into one wet corner. Response two is opposite and equally common: a rigid organiser panel with elastic loops and a padded sleeve, which makes the bag excellent at a desk and unusable for a wet towel because the lining absorbs and cannot be rinsed.
The resolution is a welded, removable liner rather than a sewn-in one. A liner made from welded TPU or TPU-coated fabric, suspended from four or six discrete tabs rather than stitched around its whole perimeter, gives a genuinely waterproof compartment that can be pulled out, rinsed, and dried in an hour. Because it hangs rather than bonds, it does not stiffen the outer shell, so the bag keeps its drape in the office and gains its waterproofing only where water actually appears.
- Specify a laptop sleeve with a suspended base — the bottom of the sleeve should sit 10 to 15 millimetres above the bottom of the bag, so a hard set-down does not drive the corner of the device into the ground.
- Use one zip pocket and two slip pockets in the office-facing half; beyond about four interior pockets users stop remembering what is where and the organisation becomes decoration.
- Keep every interior pocket on the liner, not on the shell, so that a liner redesign does not force a shell re-pattern.
- Colour the liner a light tone rather than black — dark liners are the single most complained-about feature in this category because nothing can be found inside them.
- Add a key leash with a clip rated above the weight of a loaded keyring; a leash that tears off is reported as a broken bag, not as a minor defect.
Sand is a specific beach requirement that the office version quietly benefits from. A welded liner with no stitched seams at the base corners can be inverted and shaken clean; a sewn lining traps grit in the seam allowances permanently. That property is worth protecting in the specification even for a purely urban colourway, because it is what allows the same tooling to serve both channels.
From the sourcing side, this is where unit cost is most easily misjudged. A removable welded liner adds a part, a set of tabs and an assembly step, so it costs real money — typically a few US dollars at FOB on a mid-sized tote. But it replaces a sewn lining and its labour, and it lets one shell serve two channels. The arithmetic usually favours the liner once the alternative is counted as two separate styles, each with its own minimum quantity. Our breakdown of how custom bag cost is built up shows where those conversions sit in the total.
Material sets that read professional and still shed water
The material decision for a dual-use tote is not "which fabric is most waterproof", it is which combination gives a shell that looks right under office lighting while a separate liner does the waterproofing. Once those jobs are separated, the shell is free to be chosen on appearance and abrasion, which opens up far better-looking options than a single-material approach allows.
| Shell material | Look under office lighting | Water behaviour | Typical FOB band for the shell |
|---|---|---|---|
| TPU-coated 600D polyester | Matte, technical, slightly rubbery | Sheds rain; coating resists hydrolysis better than PU | Low to mid |
| PU-coated 420D nylon with dull finish | Closest to conventional bag look | Sheds rain initially; PU degrades sooner in humid storage | Low |
| Silicone-coated ripstop nylon | Soft sheen, premium technical | Excellent shed and packability; shows abrasion whitening | Mid to high |
| Woven polyester with DWR only, no coating | Most conventional, most "normal bag" | Beads briefly then wets out; needs a liner | Low |
| Recycled polyester with matte TPU back-coat | Matte, credible sustainability story | Equivalent to virgin TPU-coated | Mid |
| PVC-coated or glossy TPU film | High gloss, plastic | Fully waterproof | Low, but reads cheap in this setting |
Two cautions come out of that table. The first is that gloss is the fastest way to lose the professional register: a high-gloss shell catches office fluorescent light in a way that reads as rainwear regardless of how good the pattern is, and no amount of hardware upgrading recovers it. Specify matte or semi-matte and accept the small cost premium. The second is that PU-coated fabrics have a storage-life problem rather than a use-life problem — hydrolysis in humid warehouse conditions can degrade the coating before the bag is ever sold, which matters enormously if inventory turns slowly.
For the liner, welded TPU in the 0.3 to 0.5 millimetre range is the practical default. Thinner film welds cleanly but punctures at sharp corners; thicker film resists puncture but produces stiff, visible weld beads and makes the liner bulky when the bag is empty. Colour matters more than expected: a mid-grey or sand liner hides the residue that a wet swimsuit or a damp umbrella inevitably leaves, while white shows it and black hides the contents.
Abrasion resistance deserves a number rather than an assertion, particularly at the base corners where a tote is set down several times a day. The relevant comparison and the standards commonly cited are covered in our review of abrasion resistance standards, and the practical guidance is to specify a base panel of higher denier than the body rather than upgrading the whole shell, which saves weight and money where neither is visible. Test methods published by the American Association of Textile Chemists and Colorists are the customary reference for abrasion and colour transfer on coated fabrics, and naming one of them in a specification is what turns "resistant" into something enforceable.
Capacity and carry geometry: 18 to 32 litres
Capacity is where a dual-use tote is most often over-specified. Designers respond to the beach brief by making the bag large, and the result is a 40 litre holdall that is absurd beside a conference chair. Experience across this category puts the useful window considerably lower: 18 to 22 litres covers a laptop, documents, a bottle and a light layer, and 26 to 32 litres covers a towel, swimwear and a change of clothes. There is no single volume that does both well, and pretending otherwise produces a bag too big for one use and too small for the other.
The better answer is proportion rather than volume. If the bag is 24 litres with a footprint around 32 by 14 centimetres and a height near 30 centimetres, it carries a laptop flat, stands beside a chair without intruding, and still holds a rolled towel plus a wash bag for a beach morning. If the same 24 litres are arranged as a tall, narrow shape, it carries neither well: the laptop will not lie flat and the towel will not fit across.
Height relative to the handle drop is the relationship that decides whether the bag drags. With a 26 centimetre drop, a bag taller than roughly 34 centimetres will touch the ground when carried by hand by an average-height user. Designers routinely discover this at the photoshoot rather than at the pattern stage, and the fix at that point is an expensive one because it changes the whole body panel.
Weight is the other half. A dual-use tote with a base insert, a welded liner and 25 millimetre webbing typically lands between 550 and 900 grams depending on size. Above about 1 kilogram the product is perceived as heavy before the user has put anything in it, and perception is what governs the review. If a specification is trending over that, the place to take the weight out is almost always the coating weight on the shell rather than the structure — because removing structure produces the collapse that caused the problem in the first place.
For brands building a family rather than a single bag, the disciplined approach is one pattern in two sizes with a shared liner tooling. Our notes on what a beach day actually requires and on professional travel protection describe the two ends of the use case in detail; reading both before the size set is fixed prevents the common mistake of designing the large one first and scaling down, which produces a small bag with the wrong proportions.
How waterproof a commuter tote actually needs to be
The honest answer for the office half of this product’s life is splash resistance, not submersion. A commuter bag faces rain during a walk, a wet umbrella placed against it, and condensation from a cold bottle. None of those requires a submersible construction, and specifying one imposes costs that are paid every day for a benefit needed once a year. The submersible requirement belongs to the beach half, and it belongs to the liner rather than to the shell and closure together.
In rating terms, the practical targets are these: a shell fabric with a hydrostatic head comfortably above 1,500 millimetres so that sustained shoulder-strap pressure in rain does not push water through, a closure rated for rain rather than immersion, and a liner that is genuinely sealed so a wet swimsuit never reaches the laptop. That combination is achievable at a fraction of the weight and cost of a fully submersible tote, and it fails far less often in the field because submersible constructions on a soft product almost always leak at the corners anyway.
Ratings are widely quoted and frequently misunderstood, and the distinction between a fabric rating and a product rating is the one that matters here. A fabric can be tested to a hydrostatic head figure under laboratory clamping while the assembled bag leaks at every corner seam. The standards and what they actually certify are set out in our guide to the IPX rating system, and the practical rule is to specify both: a fabric number for the material and a product-level test for the assembly.
One failure mode deserves specific mention because it appears only in dual-use products. A sealed liner is by definition a vapour barrier, so a wet towel sealed inside it for six hours produces condensation on the inside of the shell and on the laptop that shares the space. The fix is trivial and almost always omitted: either a vapour-permeable panel in the liner, or simply instructing the user to open the bag. Brands that skip this collect a small, steady stream of "bag was wet inside" complaints that no water test would have predicted.
Hardware and trim: the detail that dates a bag
Fabric ages slowly; trim ages fast. A tote with a dated buckle shape or a shiny chrome zip looks old within two seasons while its shell still looks new, because hardware fashion moves faster than materials. This matters disproportionately in the professional setting, where the bag is seen by colleagues repeatedly and the judgement is comparative.
Three specification choices do most of the work. Finish consistency: mixing a matte shell with bright chrome hardware is the most common visual error in this category, and a dark gunmetal or soft-brushed finish is the safest default. Weight of the pull: a hollow, light puller reads cheap in the hand before it reads cheap in the eye, and upgrading to a solid zamak or a wrapped moulded pull costs cents. And feet: four small moulded feet at the base corners protect the fabric where it is set down most often and, incidentally, reinforce the self-standing impression the whole product depends on.
There is a waterproof consequence to trim that catches teams out. Every hole made in a coated shell for a rivet, a magnetic snap or a decorative stud is a potential leak path unless it is backed and sealed. Magnetic snaps in particular require a housing plate behind the shell, and on thinner coated fabrics that plate telegraphs visibly as a raised ring after a few weeks of use. If the design calls for a magnet, the shell around it needs a reinforcement patch, and the patch needs to be specified rather than assumed.
Logo application interacts with all of this and has hard limits on coated shells. Screen printing on TPU-coated fabric requires a compatible ink system and usually a pre-treatment, heat transfer needs a temperature the coating can tolerate without glossing, and embroidery perforates the shell and therefore needs a sealed backing if the bag is claimed as water-resistant. Our detailed review of logo printing and embroidery options and of hardware selection covers the constraints for each method, and the short version is that logo method should be chosen at the same time as the shell material, not after it.
Field failure modes and what returns data really says
Return narratives in this category are remarkably consistent across brands and markets, and they rarely mention water. Reading several hundred of them produces a short list, and the list is useful because each entry maps to one specification that could have been different at sampling.
| Reported symptom | Actual mechanism | Where it is decided | Prevention at specification stage |
|---|---|---|---|
| "Went out of shape" | No base structure, or insert bonded and cracked | Pattern and base insert spec | Sleeved 3 to 5 mm EVA insert with footprint matched to the base seam |
| "Handle came off" | Stitch tear-out at the attachment patch | Reinforcement size and bar-tack pattern | 40 by 60 mm patch minimum; continuous strap under the base |
| "Looks cheap" | Glossy shell plus light hollow hardware | Material finish and trim weight | Matte finish, solid pullers, consistent metal colour |
| "Wet inside, never went in water" | Condensation inside a sealed liner | Liner ventilation | Vapour-permeable panel, plus a user instruction to air the bag |
| "Zip lets water in" | Uncoated zip tape wicking | Closure specification | Coated reverse-coil tape with a storm flap |
| "Liner ripped" | Film too thin at a sharp internal corner | Liner film gauge and corner radius | 0.4 mm film with radiused welded corners |
| "Smells" | Damp liner stored closed between uses | Material and user behaviour | Antimicrobial treatment on the liner plus a care label that says dry open |
Notice how few of those are waterproofing failures in the strict sense. The category is sold on waterproofing and returned on structure, finish and condensation, which is the strongest argument for spending development attention where the returns actually come from. A programme that budgets its testing effort according to marketing claims rather than failure data will test submersion repeatedly and never test a drop.
The condensation and odour entries deserve one more sentence because they interact. A welded liner is impermeable by construction, so any moisture sealed inside it stays until the bag is opened, and in warm conditions microbial growth begins within a day or two. Treatments exist and work, but the cheap fix is behavioural: a care label that says to dry the bag open. Our survey of antimicrobial treatments for bag materials sets out what those finishes do and do not achieve, and the honest position is that they extend the window rather than removing the need.
Testing a tote before you commit a programme
Pre-production testing for this product should be built around the failure list above rather than around the marketing claim. That means fewer submersion tests and more of the following, each of which is cheap, fast, and catches a defect that would otherwise appear as a return.
- Stand test: load the bag to 60 per cent of its volume, set it on a hard floor, and photograph it after one minute and after 24 hours. A bag that slumps in the first minute has no structure; one that slumps only after 24 hours has a coating-stiffness problem that will worsen in summer.
- Handle pull test to destruction on three samples, recording the failure mode, not just the load. Stitch tear-out and substrate tear require different fixes.
- Drop test from hip height onto a hard surface with a 5 kilogram load, repeated ten times, then inspect the base insert and the weld corners.
- Rain rig exposure for twenty minutes at a defined intensity with the bag oriented as carried, then check the interior by zone rather than as a whole, so the leak path is identifiable.
- Zip wick test: expose the closed zip to running water for one minute and inspect the tape on the inside, which is where failure appears first.
- Abrasion on the base corners alone, since that is where set-down wear concentrates and where upgrading the whole shell would waste money.
Two of those are worth doing at the sampling stage and again on the first bulk lot, because they detect drift rather than design error: the handle pull test and the rain rig. A sample that passes and a production unit that fails at the same load usually indicates a material substitution or a parameter change rather than a bad design, and catching it before the second lot ships is worth a great deal more than the test costs. The procedures behind each of these are published in detail by standards bodies such as ASTM International, which is worth citing by number if you want a laboratory to reproduce the result rather than interpret it.
Sampling itself should be treated as a design tool rather than a formality. A first sample in the final material, with the final hardware, in the final colourway, is the only sample worth evaluating for this product, because register is a visual judgement and a substitute fabric in a substitute colour answers nothing. Our notes on what to expect from sampling set out the realistic sequence and timing; the relevant point here is that sampling takes 6–10 working days, which is short enough to run two rounds on a tote before committing volume.
Building a tote line: materials, hardware, logo and order economics
For a brand developing this category rather than buying a single bag, the economics are governed by one number: the minimum order quantity per style. At 500 pieces per style, a launch assortment of three colourways in one size is 1,500 units, which is a meaningful inventory commitment for a small brand and a rounding error for a large one. The practical consequence is that range planning has to happen before material selection, because the number of styles determines whether a custom material or a custom hardware finish is affordable at all.
The usual way to make the arithmetic work is to share structure across the range and vary only what is cheap to vary. One body pattern, one liner tooling set, one hardware suite; then differentiate by shell colour, liner colour and logo treatment. Custom hardware — a bespoke puller or an engraved buckle — usually carries its own tooling cost and its own minimum, so it belongs to the second season rather than the first, once the base style has proven itself.
Logo method is the other constraint that arrives earlier than teams expect. On a coated shell, the options narrow to screen print with a compatible ink system, heat transfer within the coating’s temperature limit, or an embroidered patch applied before assembly so the perforations are sealed by the construction. Direct embroidery through a finished waterproof shell defeats the water resistance unless it is backed and sealed, and the backing is visible from inside unless a liner covers it. Choosing the logo method after the shell is specified routinely produces either a compromise or a re-tooling.
Timing follows a predictable shape. Sampling runs 6–10 working days per round, bulk production 35–50 days, and both are quoted FOB Xiamen. For a seasonal launch, the discipline is to plan backwards from the on-shelf date with freight as a fixed block, which our guide to lead times on custom waterproof bag orders lays out in full. Brands that plan forwards from the sample approval date consistently miss the season by two to three weeks.
One last planning point that is specific to this product: a tote range benefits from a shared liner across sizes more than most categories, because the liner is the expensive welded component and it is invisible in use. Tooling one liner for two shell sizes halves the welded-part cost and removes a whole quality surface from the programme.
Price bands and where the value is visible
In this category the retail price at which a product sits determines which compromises are acceptable, and each band has a specific place where money spent is visible to the customer and a place where it is wasted. Getting that allocation right matters more than the total cost, because a bag can be expensive and still look cheap if the money went into the wrong component.
At the entry band, the visible money is in the shell finish and the silhouette. A matte shell with a clean base seam looks considerably more expensive than a glossy shell with better hardware, so the correct allocation is to spend on finish and structure and to accept a simple moulded puller. At the mid band, the visible money moves to hardware weight and the closure: a solid puller and a zip-plus-flap top are noticed immediately. At the upper band it moves to the interior — a light-coloured liner, a suspended laptop sleeve, a key leash — because the customer who pays more opens the bag and looks inside.
What is almost never visible, and should therefore be the first place to economise in a cost-down exercise, is fabric denier on the body panels. Going from 600D to 420D on the sides is invisible in use and saves real money; going from a 3 millimetre to a 2 millimetre base insert is extremely visible within a month. Cost-down exercises run without that distinction reliably damage the product in the place that generates returns.
For brands positioning above the mid band, the material story carries weight that the material performance does not. A recycled polyester shell with a credible certification supports a price that a virgin fabric of identical performance does not, and the certification is the deliverable rather than the fibre. Our overview of GRS certification for recycled bags explains what has to be documented, and the practical note is that traceability documentation has to be arranged before production rather than requested afterwards.
If you want the material, hardware and logo decisions above turned into a costed specification, the fastest route is a defined brief: target retail band, size set, colourway count, logo method and launch date. Send that brief and we will return a material set, a hardware schedule and a landed cost per unit. Minimum order quantity is 500 pieces per style, samples take 6–10 working days, bulk production runs 35–50 days, and quotations are issued FOB Xiamen.
Frequently Asked Questions
Q1. What makes a waterproof tote look professional rather than outdoor gear?
Structure, finish and closure, in that order. A matte shell, a base that keeps the bag upright when set down, and a zip or flap top rather than a roll-top with a side buckle do more for the register than any fabric upgrade.
Q2. How much structure does a tote need to stand up?
A sleeved EVA or moulded insert of 3 to 5 millimetres, cut to match the base seam footprint, is usually sufficient. Thicker inserts telegraph a visible ridge through the shell and read as cooler construction.
Q3. Why do tote handles fail at the top rather than in the hand?
Because the load concentrates at the attachment. Stitch perforations in a coated shell act as a tear line, so the fix is a larger reinforcement patch and a strap that continues under the base rather than stopping at the front panel.
Q4. What handle drop should a dual-use tote have?
Around 26 centimetres is the practical compromise: comfortable in the hand over a coat, usable on the shoulder. Below 20 centimetres is hand-carry only; above 32 centimetres the bag drags when carried by hand.
Q5. Is a roll-top closure appropriate for an office bag?
Rarely. It delivers genuine submersion performance but signals technical outdoor use and adds bulk at the mouth. A water-resistant coil zip under a flap achieves the rain protection a commute needs with a far quieter appearance.
Q6. Does the whole bag need to be submersible?
No. The commute needs splash and rain resistance; the beach needs a sealed container for wet items. Putting the waterproofing in a removable welded liner and keeping the shell splash-resistant gives both at lower weight and cost.
Q7. Why is my tote wet inside when it never went in water?
Condensation. A sealed liner is a vapour barrier, so moisture from a damp towel or a cold bottle condenses on the inside. A vapour-permeable panel, or simply drying the bag open, resolves it.
Q8. What capacity works for both a beach morning and a commute?
Roughly 24 litres with a wide, low footprint rather than a tall narrow one. That carries a laptop flat, holds a rolled towel, and still stands beside a chair without intruding.
Q9. Should the liner be sewn in or removable?
Removable and welded. A welded liner has no seam allowances to trap sand, can be rinsed and dried in an hour, and lets one shell serve both the beach and the office channel.
Q10. What film thickness should a welded liner use?
Around 0.4 millimetres with radiused corners. Thinner film punctures at internal corners; thicker film produces stiff weld beads and adds bulk when the bag is empty.
Q11. Which shell materials look best under office lighting?
Matte TPU-coated polyester, dull-finish PU-coated nylon and silicone-coated ripstop all read well. High-gloss PVC or glossy TPU film reads as rainwear and is the fastest way to lose the professional register.
Q12. Can I embroider a logo on a waterproof tote?
Yes, but not through a finished waterproof shell without consequence. Direct embroidery perforates the coating; either apply the embroidery before assembly so it is sealed by the construction, or use a patch, heat transfer or a compatible screen print system.
Q13. How heavy should a dual-use tote be?
Between 550 and 900 grams is typical for a structured tote with a liner. Above about 1 kilogram the product feels heavy before anything is put in it, and perception drives reviews.
Q14. What tests should I run before placing a bulk order?
Stand test loaded and unloaded, handle pull to destruction recording failure mode, drop test with load, rain rig with zoned interior inspection, zip wick test, and base corner abrasion. Submersion testing matters far less than these for this product.
Q15. How many colourways should a launch assortment include?
Three is the usual answer at 500 pieces per style, because each colourway is a separate style for minimum quantity purposes. Share the pattern, liner tooling and hardware across them and vary only colour and logo treatment.
Q16. When should custom hardware be introduced?
Usually in the second season. Bespoke pullers and engraved buckles carry their own tooling and minimum quantity, so they are best justified once the base style has proven sales.
Q17. Where should cost-down effort go on an expensive tote?
Into fabric denier on the body panels, which is invisible in use. Never into the base insert, the handle reinforcement or the closure, because those are precisely the components that generate returns.
People Also Ask
Can a waterproof tote look professional enough for work?
Yes, if the shell is matte, the base holds the bag upright and the closure is a zip or flap rather than a roll-top with a buckle.
What capacity tote works for both beach and office?
About 24 litres with a wide, low footprint. That carries a laptop flat, fits a rolled towel, and still stands neatly beside a chair.
Why do tote handles tear off?
Load concentrates at the attachment, and stitch holes in coated fabric form a tear line. A larger reinforcement patch and a strap running under the base prevent it.
Should a commuter tote be fully submersible?
No. Rain and splash resistance on the shell, plus a sealed removable liner for wet items, achieves more at lower weight and cost.
What is the best closure for a beach-to-office tote?
A water-resistant coil zip under a magnet flap. The zip seals; the flap hides the tape and supplies the restrained appearance.
How do I stop a waterproof tote smelling?
Dry it open after each wet use. A welded liner is a vapour barrier, so sealed-in moisture grows micro-organisms within a day or two in warm conditions.