A loaded touring bike carries fifteen to twenty-five kilograms for weeks at a time, and almost nothing about that load fails the way a weekend load fails. The bag itself rarely leaks. What ends a tour is a rack eyelet that cracks in week three, a pannier hook that has worn through its rail and drops the bag into the rear wheel, a lower mounting bolt that loses preload every couple of hundred kilometres, and a roll-top that has been opened and closed twice a day for ninety days until the coating at the fold crazes. Choosing a pannier system by litres and hydrostatic head misses the governing variable entirely, because the governing variable is a cyclic load applied tens of millions of times.
This guide follows the decisions in the order they cost money: what the rack and its fasteners actually do to a waterproof bike touring bags programme, why classic cross country cycling panniers are specified by platform geometry rather than by volume, what cumulative cycle counts a continental distance involves, how metal fatigue presents and why it cannot be inspected away, which mounting systems survive and which wear their rails, what eight hours of continuous rain does that a shower test never reveals, where road film and chain mist attack the shell, how load distribution changes a loaded bike at speed, the capacity matrix a multi-week range needs, how resupply intervals set real volume, why daily unpacking is its own durability test, how drying fails indoors, and the test set worth writing into a specification. MOQ 500 pieces per style, sampling in 6–10 working days, bulk in 35–50 days, FOB Xiamen: these are the working terms at QUANZHOU JUNYUAN BAGS, custom waterproof bag production since 2014 in a 4,950 m² SGS-verified facility.
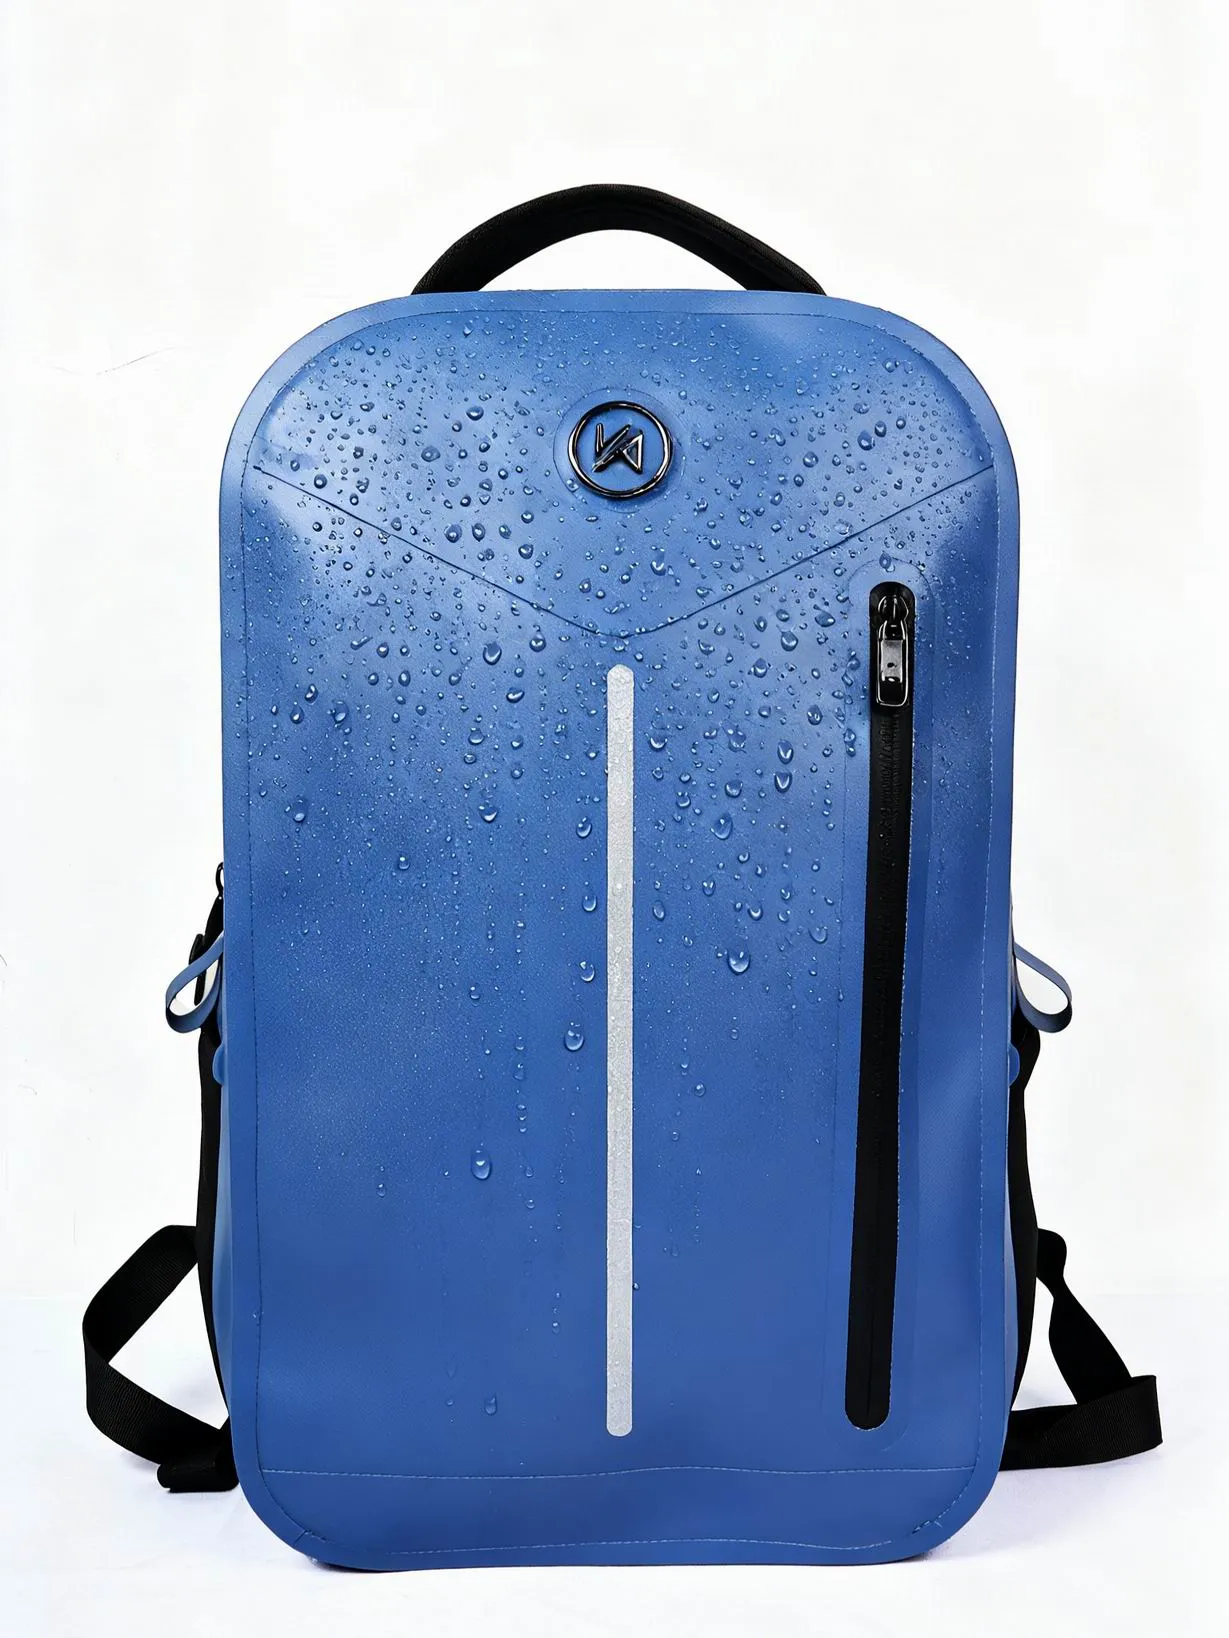
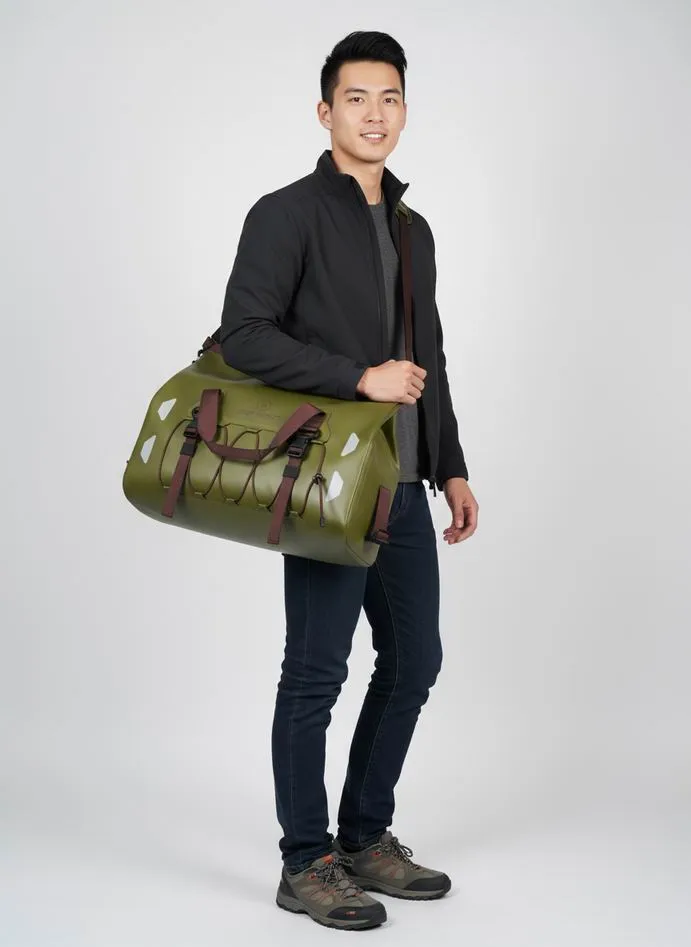
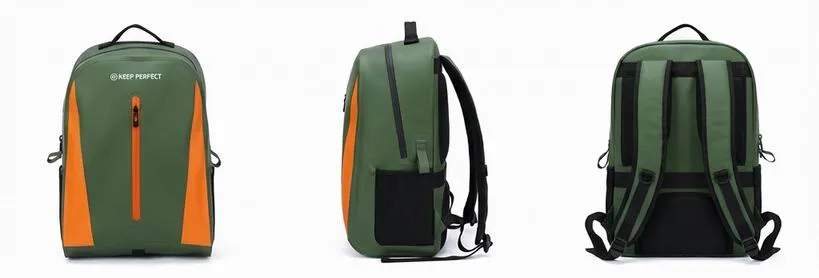
The rack is the product; the bag only hangs off it
Every serious touring failure I have reviewed started at the interface rather than in the fabric. Racks are sold with a static load rating, commonly twenty-five kilograms, and that number describes a weight hanging still in a shop. On the road the same load is multiplied by dynamic factors: a pothole at touring speed can put three or four times static load through the platform for a few milliseconds, and a corrugated shoulder applies a smaller version of that continuously. So the effective specification for racks carrying waterproof bike touring bags is not twenty-five kilograms but twenty-five kilograms at a dynamic factor nobody publishes, and the same is true of the cross country cycling panniers hung from them.
Three geometric facts follow. Rack tubing for pannier rails is usually ten to twelve millimetres in diameter, and a hook cut for ten will rock on twelve until it wears oval. Eyelets at the dropout and seat stay are almost always M5, threaded into a thin aluminium boss or a brazed-on insert, which means the bolt is stronger than the thing it screws into. And the distance from the axle rearward along the platform determines heel strike, which is why a pannier that fits one rack beautifully can be unusable on another that looks identical.
- Specify the rail diameter range the hook is cut for, and publish it; a hook that fits 8 to 12 mm with an insert shim covers nearly the whole market.
- Ask what the lower hook or elasticated strap does, because vertical bounce is what actually breaks upper hooks.
- Require the mounting hardware to be serviceable with a 4 or 5 mm hex key, since a tourer carries one and never carries a screwdriver.
- Never let the bag contact the rack tube directly at a load point; a rubber-lined contact adds friction and stops the fretting that polishes rails.
- Check the platform-to-brake clearance with the bag loaded and the bike leaning, not on a stand.
The immediate consequence for sourcing is that a touring range is a rack-compatibility document as much as a set of bags. Riders do not buy panniers; they buy an assurance that the panniers will stay on their rack for four thousand miles. Publishing the compatibility data is cheaper than handling the returns, and it is the single clearest way to separate a touring brand from a general outdoor brand selling the same shape. Our related guide to bikepacking bags for off-road and lightweight rigs covers the strap-mounted side of the category, where the same fatigue logic applies to different hardware.
What a continental distance actually does to a bag
Length converts into cycles, and cycles convert into failure modes that never appear in a weekend test. A rider covering six thousand kilometres at an average of twenty-two kilometres per hour spends roughly two hundred and seventy hours in the saddle. At a touring cadence of about eighty-five revolutions per minute that is close to 1.4 million pedal cycles, each one flexing the frame, the rack, the hook and every strap by a small amount.
On top of the cadence excitation sits tyre and road texture. Coarse chip seal, expansion joints and the rumble of a highway shoulder excite the load at something in the order of thirty to sixty hertz. Multiply that by two hundred and seventy hours and the bag and its mounts see tens of millions of small-amplitude cycles. This is the number that governs everything: nothing on a touring bike is tested by strength, because everything is tested by fatigue.
The practical translation is that static pull figures are close to meaningless for this category. A hook that survives a two-hundred-kilogram pull on a tensile machine will still crack at forty thousand cycles if it has a sharp internal radius at the load path. What you want from a supplier is not a strength number but a radius, a material designation and a cycle target, and a supplier who cannot talk in those terms has not built touring product before.
Distance also changes what "waterproof" means. A rider crossing a continent will ride through several days of steady rain, and rain on day nine meets a bag whose roll fold has already been worked four hundred times and whose hook has already worn a groove. Durability of the closure is therefore a waterproofing specification, not a comfort feature, which is the point most product briefs get backwards.
Metal fatigue: the failure that cannot be inspected away
Fatigue is the touring failure mode because it is progressive, invisible and sudden. A crack initiates at a stress concentration, grows a little with every load cycle, and then the remaining section can no longer carry the load and fails in one event. The fracture surface is characteristically bright and crystalline with a smooth beach-marked region behind it, and the part looked perfectly serviceable the day before.
Where it happens is predictable. Rack mounting bolts fail at the first engaged thread, because that is where the stress concentration is highest and where preload loss begins. Rack welds crack at the toe of the weld where the tube meets the strut. Pannier hooks crack at the inside radius of the bend that carries the load. Aluminium eyelets crack where the bolt clamps them. None of these locations can be seen without disassembly, and all of them are decided at the design stage rather than in service.
| Component | Why it fatigues | How it presents | Design response that works |
|---|---|---|---|
| M5 rack bolt at the eyelet | Preload loss from bedding-in, then cyclic bending at the first engaged thread | Bolt found loose repeatedly, then gone; sometimes a snapped shaft in the boss | Thread-locking compound plus a nylon-insert nut, rubber shim under the head, and a stated re-torque interval in the instructions |
| Rack strut-to-platform weld | Cyclic bending at the weld toe amplified by rear-biased load | Sudden platform drop; often on a rough descent | Spread the load forward of the axle; use a rack whose struts triangulate to the seat stay rather than the brake boss |
| Pannier hook at the load radius | Tensile cycle at a sharp internal corner | Hook opens and the bag swings into the wheel | Generous radius at the load path, stainless rather than plated steel, and a replaceable hook as a spare part |
| Aluminium rack rail under a hook | Fretting wear from micro-motion at the contact | Rail worn oval; hook no longer grips; rattle long before failure | Full-contact rubber-lined hook, checkable re-tension, and a shim for smaller tube diameters |
| Rivets and eyelet inserts in the bag | Shear cycle from the bag pulling down and bouncing up | Insert spins, then tears out of the panel | Backing plate welded or bonded across the load, never a rivet into a single layer of fabric |
The operational answer is unglamorous and it works: re-torque on a schedule. Every rack bolt gets checked at the start of each riding day for the first week, then weekly, and the instruction card should say so. Riders who adopt that habit lose very few bolts; riders who assume that "tightened once" means tightened lose them at a rate that looks like bad luck. Publishing a torque figure and a check interval costs nothing and prevents the most common mechanical abandonment on a long tour.
For anyone specifying hardware, the same fatigue logic governs buckles, cam levers and strap adjusters, and it is set out in more detail in our guide to selecting buckles, straps and fittings. The short version for touring: choose stainless over plated steel at every load path, and prefer a part that can be replaced on the road over one that is marginally stronger.
Mounting systems: what holds and what wears
Pannier mounting has converged on four approaches, and the differences between them matter more over a long tour than the fabric of the bag does. Each has a distinct wear signature, and each suits a different rider and a different price point, so a range can sensibly carry two of them.
| System | What holds the bag | Wear behaviour over 6,000 km | Best application |
|---|---|---|---|
| Cam-lock hooks on a shaped rail | Two upper hooks with an adjustable cam, plus a lower hook or elastic | Excellent if the rail is lined and re-tensioned; the cam jaw wears if grit gets in | Expedition touring where the bag must not move at all |
| Spring-loaded hook over tube with lower strap | Hook over the top rail, elasticated hook at the bottom | Very good; the lower elastic absorbs bounce, which is what saves the upper hook | General touring; the most forgiving of rack variation |
| Hook-and-loop wrap straps | Two wide textile wraps around the rack tube | Poor on a long tour; grit loads the textile, grip falls, the bag creeps | Light commuting loads, occasional use, rental fleets |
| Rail clip with a single locking lever | One lever clamps a shaped insert onto the rack rail | Good, but the insert is proprietary and a failure strands the rider | Premium systems where the brand controls the rack as well |
| Rack-top straps only (no side hooks) | Compression straps over the platform | Acceptable for a trunk bag, dangerous for a side pannier | Rack-top trunk bags and light day loads |
The pattern worth internalising is that the lower attachment is not a secondary detail. A bag with only upper hooks pivots about the rail on every bump, and that pivoting is what ovalises rails and cracks hooks. Adding a lower hook or a taut elasticated strap removes the rotation and typically multiplies the life of the upper hardware several times over. In specification terms: require the lower attachment, and require it to be under tension.
Grit is the other variable, and it decides against hook-and-loop for touring use. Wrap straps work beautifully until fine road dust packs into the loop side, at which point grip falls steadily and the bag begins to walk backwards on the rail. On a paved tour there is always dust. Reserve wrap systems for urban and rental applications where the load is light and the bike is washed.
One commercial note: the hook is the part riders replace. A brand that sells a serviceable hook, offers two rail diameters of shim and stocks spares converts a failure into a second purchase, whereas a brand whose hook is moulded into the bag converts it into a lost customer.
Eight hours of rain is a different test from a shower
A spray-rack test runs for a few minutes and aims at the bag from one direction. A touring day in steady rain runs for eight hours, and water arrives by four routes that a bench test does not reproduce: direct rain on the top face, spray thrown up through the wheel onto the forward and underside faces, water running down the rider’s back and legs into the top opening, and water already inside the bag because a wet jacket or a leaking bottle went in with the rest.
The dominant ingress route under sustained rain is not through the fabric. It is at the top closure, because water that lands on the rider runs down towards the lowest point it can find and the top of a pannier is a perfectly placed funnel. A roll-top folded outward sheds that; a roll-top folded inward collects it; a horizontal zip under a storm flap survives only if the flap is genuinely long enough to shed a stream rather than a drizzle.
- Fold roll-tops outward and downward, and specify at least three turns; two turns is a fair-weather seal.
- Put the closure on the face that does not receive the wheel spray, which on a rear pannier means the rear upper face.
- Avoid horizontal zips on the top face unless there is a structural storm flap, and test it with a stream rather than a mist.
- Give the bag somewhere to drip. A drain grommet at the lowest corner costs cents and prevents the bag becoming a water tank.
- Remember that one wet item sealed inside will wet everything else; a wet/dry split is worth more than another rating point.
Then there is the moment nobody designs for: arriving at accommodation. A loaded touring bag that has been rained on all day carries a surprising amount of water on its outer faces, and it has to come through a hotel corridor, a hostel dormitory or a tent vestibule. Exterior panels that shed rather than hold, a base that can be wiped, and a shape that can be carried without pressing the wet face against the rider’s clothing are all small decisions that get mentioned in every review of the product. Our article on wet and dry separation in bag design covers the internal half of the same problem.
The specification takeaway is to test with a sustained, directional, grit-free wetting at a realistic duration rather than the standard short spray, and to add a separate check for the dripping behaviour afterwards. Both are cheap, and only the second one correlates with what customers actually complain about.
Road film, chain mist and the faces that wear
Paved roads produce a gentler spray than gravel but a chemically nastier one. What the rear wheel throws up is a suspension of fine mineral grit in water carrying a film of diesel residue, tyre rubber and, in agricultural regions, fertiliser dust. The drive side adds a continuous mist of chain lubricant. That combination does two things at once: it abrades, and it attacks the coating chemically.
The abrasion map on a touring bike is stable and worth zoning. The forward face of a rear pannier takes spray plus heel rub. The underside of a front low-rider pannier takes spray plus stone strikes. The drive-side face of everything takes oil mist. The top and inner faces take almost nothing, which is precisely why a uniform heavy shell is the wrong economic answer.
The right answer is a zoned laminate: a heavier denier coated face on the spray and heel zones, a sacrificial replaceable patch at the heel contact point, and a lighter shell on the protected faces. That structure usually costs less than a uniform upgrade and lasts longer, because it puts material where the map says it is needed. The test methods for quantifying it are described in our guide to abrasion resistance standards for waterproof materials, and the coating chemistry question is treated in our piece on chemical resistance to oils, solvents and salt water.
There is also a hygiene point specific to long tours. Road film builds up on the outer face over days without washing, and a rider handling the bag at every stop then handles food. A shell that can be wiped clean with a damp cloth, rather than one that holds a textured grime layer, is a genuine product advantage and it is a coating decision rather than a fabric one.
Where the weight goes on a loaded touring bike
A touring bike carrying twenty kilograms handles differently depending on where those kilograms sit, and the two variables that matter are height and distribution between the wheels. Weight high and behind the axle makes the bike wander on climbs and shimmy on descents. Weight low and split between front and rear makes a loaded bike feel almost like an unloaded one.
- Aim for roughly a third of the load on the front wheel and two thirds on the rear, which keeps steering light without unloading the front tyre.
- Put dense items low and forward; a low-rider front pannier carrying tools and food is the single biggest handling improvement available.
- Keep nothing heavy above the rack platform; a trunk bag stacked with dense items on top of rear panniers is the classic shimmy setup.
- Load the heavier side of each pair symmetrically; an unbalanced pair makes the bike pull to one side on every climb.
- Test the loaded bike at descending speed in a safe place before the first long day, because shimmy only appears above a threshold speed.
Shimmy deserves a sentence because it terrifies riders and is almost always a loading error rather than a frame fault. Speed wobble on a loaded bike is a resonance involving frame flexibility, load inertia and the rider’s own input, and it is triggered by mass placed high and rearward. Removing five kilograms from the top of a rack-top bag and moving it to low front panniers usually eliminates it. A bag range whose geometry encourages low loading is therefore selling handling, not just capacity.
For brands, this is a documentation opportunity. Publishing a recommended loading pattern with a diagram takes a page in the manual and turns a vague fear into a solved problem. Very few touring brands do it, and the ones that do receive markedly fewer "the bike felt unstable" reviews, which are otherwise blamed on the bag.
A capacity matrix for multi-week touring
Touring volumes are driven by a kit list and a trip length, and the range should map to trip length first. A weekend rider and a cross-country rider buy different systems from the same brand, and the commercial trick is to make both out of the same components.
| Product | Volume band | What goes in it | Trip length it serves | Sourcing note |
|---|---|---|---|---|
| Rear panniers, pair | 2 × 18 to 25 L | Clothing, food, cooking gear | Weekend to multi-month | Sold as a pair; the anchor SKU of any touring range |
| Front low-rider panniers, pair | 2 × 12 to 16 L | Tools, spares, water, dense food | Tours over five days | Improves handling; differentiates a touring brand from a gravel brand |
| Rack-top trunk bag | 6 to 14 L | Rain gear, camera, snacks, map | Any | Highest-margin accessory; the easiest cross-sell |
| Handlebar bag or harness | 5 to 12 L | Phone, wallet, documents, food | Any | Removable for town stops; solves the theft problem |
| Water carriage, external | 2 to 6 L | Bottles or a reservoir | Desert and remote stretches | Sleeves and lash points rather than internal volume |
| Small parts pouch | 1 to 2 L | Tools, tube, spare bolts, patches | Any | Lowest cost SKU; the natural place for a logo |
Read as a system, that matrix is two main products, two accessories and one consumable, all built from one fabric platform and one hardware family. That is what makes each style commercially viable at a 500-piece minimum while presenting six retail lines. Building seven unrelated shapes instead would fragment the same order across seven tooling setups and leave slow movers in the warehouse.
Sizing within the matrix should follow the trip, not the customer. Riders reliably under-buy on the first tour and over-correct on the second, so publishing a "what this volume holds in days" column converts better than publishing litres. Our general method for turning kit lists into volumes is set out in the capacity selection guide, and the touring version simply adds water and food weight to the calculation.
Resupply rhythm sets the real volume requirement
Volume on a long tour is governed by the longest gap between supplies, not by the average one. On many cross-country routes the spacing between towns with a full grocery is one to three days of riding, and on remote stretches a water source may be sixty to a hundred and twenty kilometres apart with no shade. A bag sized for the average day leaves the rider carrying nothing on day one and short on day two.
Water dominates the calculation because it is heavy and inelastic. A rider in hot dry country needs four to six litres between sources, and at one kilogram per litre that is a meaningful fraction of the entire load, carried at the worst possible height if there is nowhere to put it. This is an argument for external water carriage — bottle sleeves on the low-rider panniers or lash points on the rack platform — rather than for more internal litres.
- Size food capacity for the longest resupply gap plus one day, not for the average gap.
- Provide external water carriage so the heaviest consumable sits low rather than inside a high pannier.
- Make capacity adjustable: compression straps that genuinely compress let a half-empty bag stay stable.
- Accept that a touring bag is rarely full. Volume that cannot be compressed down becomes a rattle.
- Give the bag a external lash point for a jacket or a sleeping mat; the awkward items are bulky, not heavy.
The commercial translation is that a touring range should offer one expandable volume rather than three fixed ones. A pannier with a genuine extension collar and working compression covers a weekend and a month, and it halves the number of sizes a brand has to stock. Riders notice this immediately, because the failure mode of fixed sizes is discovering on the second tour that the wrong pair was bought.
Ninety unpackings: closures, access and the daily routine
A touring rider opens each pannier two to four times a day — for the rain jacket, for food, for the map, for the camp kit. Over ninety days that is between one hundred and eighty and three hundred and sixty cycles per bag, which is far more than a backpack sees in several years of weekend use, and it is a completely different durability regime from the one most closure tests simulate.
What wears is specific. On a roll-top, the fold line is flexed and abraded every single cycle, and the coating at the fold is the first place a touring bag starts to weep. On a zip, the slider wears against the coil and collects dust, and the coil itself is abraded by grit that rides up from the road. On a buckle, the cam teeth and the webbing under them wear together, and wet webbing wears faster than dry.
- Specify a closure cycle target — a few thousand cycles with no measurable loss of water resistance — and test it in a dusty, wet state.
- Choose roll-tops with a generous fold radius and a coating rated for repeated flex, because the fold is the wear point.
- Prefer closures operable with a cold, wet, gloved hand; a closure that needs fine alignment gets left half closed.
- Put daily-access items in the external pocket, so the main compartment is opened once a day rather than four times.
- Make buckles and sliders replaceable, since these are the parts that wear before the body does.
Order matters more than access speed. A rider stopped in rain at the roadside wants the rain jacket in under ten seconds and does not want to expose the sleeping bag to do it, which argues for a dedicated external pocket with its own closure rather than for a bigger single compartment. The full sealing mechanics of each closure family are compared in our overview of zipper and roll-top closures, and the specific wear behaviour of coil zips is covered under zipper durability testing.
Drying, mildew and life indoors
A welded touring bag is a sealed box, and everything a rider puts in it during a wet week is damp. Clothing worn during the day carries sweat, the rain jacket carries surface water, food packaging carries condensation, and a leaking bottle occasionally contributes the rest. Sealed in a barrier with no vapour path, that moisture has nowhere to go and the bag becomes a humid chamber at exactly the temperature mould prefers.
The mitigation is procedural first and design second, and it should be printed on a card in the bag. Open every bag at camp, every day, even in rain under a vestibule. Empty it, wipe the interior, and let the contents air for an hour before repacking. Nothing else is as effective, and no material choice substitutes for it.
The design contribution is limited but real: a light-coloured interior so dampness and dirt are visible, a removable liner that can be dried separately, no absorbent textile in the wet zone, and a shape that can be hung open rather than laid flat. Antimicrobial finishes help at the margin and are covered in our review of antimicrobial treatments for bag materials, but they suppress growth on the treated surface and do nothing about moisture trapped under a wet jacket.
Indoors, the practical problem is drip and floor space. A bag that stands upright when empty, has a wipeable base and can be hung from a shower rail or a door hook is a bag that gets used properly. It is a small design decision with a disproportionate effect on how a rider describes the product afterwards.
The test set worth writing into a touring specification
Standard waterproof tests are necessary and insufficient for this category, because they are static and short. The tests below are the ones that correlate with continental distances, and each can be run on a pre-production sample at modest cost.
| Test | Method in plain terms | Pass criterion worth specifying | What it predicts |
|---|---|---|---|
| Sustained directional wetting | Bag mounted on a loaded rack, sprayed at a realistic angle and intensity for several hours | Interior paper dry; no weeping at the closure fold | Real behaviour in a day of steady rain |
| Vibration and preload retention | Loaded bag on a rack, shaker or rough-road cycle, measuring bolt torque at intervals | Torque loss below a stated percentage after a defined cycle count | The bolt that goes missing in week three |
| Closure cycle durability | Open and close the closure several thousand times, wet and dusted, then re-test water resistance | No measurable drop in water resistance; no coating cracking at the fold | The weep that appears after two months |
| Hook and rail wear | Cyclic vertical bounce of a loaded bag against the rack tube | No ovalising of the rail, no crack at the hook radius after the target cycles | The bag that drops into the wheel |
| Abrasion on the spray face | Taber or Martindale on the laminate used on the spray and heel faces | Stated cycle count before coating breakthrough | Holes at the heel contact point |
| Load distribution check | Weigh front and rear axle loads with a representative kit | Front share within a stated band, nothing dense above the platform | The shimmy that ends a descent |
Insist that these run on samples taken from the production line rather than on a hand-built prototype. A prototype made by the best operator on the best machine passes tests the production run will fail, which is the whole reason a pre-production sample exists. The relationship between the two stages is described in our note on what to expect from a sampling round.
The structural tests are the ones most often skipped and the ones that matter most, because the bag body almost never tears while the interface fails routinely. Methodology for the strap and handle side is set out in our guide to load stress testing for straps and handles, and it applies to a pannier hook exactly as it does to a shoulder strap. Where a specification needs to be unambiguous across borders, referencing a published method rather than an in-house description removes the argument about what the test meant; the International Organization for Standardization catalogue is the usual starting point.
How a brand assembles a touring range
Touring customers are unusually valuable and unusually demanding: they buy a system rather than a bag, they research obsessively, and they tell everyone they meet what broke. That makes the category worth entering properly and punishing to enter casually. The commercial structure that works is a platform, not a list.
Decide the fabric platform by zone — one coated laminate in two deniers plus a heavy base — the hardware family in one alloy with two finishes, two closure types across the whole range, and one mounting system offered with shims for the common rail diameters. That covers the six-product matrix above and keeps every style at a workable minimum order quantity of 500 pieces per style while presenting a coherent range. Planning detail is discussed in our note on minimum quantities and production slots.
Logo durability on touring product has its own rules. Placement on the spray face is a mistake, because grit-laden water at speed removes print within a season; the outward face of the pannier is better, and the trunk bag is the best canvas of all because it is the most visible and the least abused. Welded-on or silicone badges survive flex and abrasion better than screen print on a coated shell, and embroidery perforates a waterproof panel unless it is backed and welded. The full comparison is in our guide to logo printing and embroidery options.
Accessories are where touring margins live. A spare hook kit, two rail shims, a rain cover for the rack-top bag, a small parts pouch and a printed loading-and-torque card cost a few dollars and are the difference between a system and a bag. Riders buy the pouch first, then the panniers, then the front pair, so a range sequenced that way funds itself.
Finally, sell the spares. Touring riders break hooks, buckles and straps and will pay promptly for a part that arrives in three days. Stocking them is profitable and it is the cheapest insurance available against a customer deciding the brand is not serviceable and switching.
If you are building a touring range, send the rack geometry, target loads, trip lengths and volume plan. Minimum order quantity is 500 pieces per style, samples take 6–10 working days, bulk production runs 35–50 days, and quotations are issued FOB Xiamen.
Frequently Asked Questions
Q1. What fails first on a long-distance touring bike?
Almost always the interface rather than the fabric: rack bolts losing preload, hooks wearing their rails, and eyelets cracking. The bag body rarely tears, so specify mounting hardware and a re-torque schedule before worrying about fabric ratings.
Q2. How much weight should a touring rack carry?
Plan around fifteen to twenty-five kilograms total, but treat the published rack rating as a static figure. Dynamic loads on rough pavement can reach three or four times that briefly, so bias the load low and forward.
Q3. Why do rack bolts keep coming loose on tour?
Surfaces bed in and micro-move, which bleeds preload. Use a rubber shim, a thread-locking compound or nylon-insert nut, and re-check every bolt daily in the first week, then weekly.
Q4. How should weight be split between front and rear?
Roughly one third front and two thirds rear, with dense items carried low on front low-rider panniers. Heavy items stacked above the rear platform are the usual cause of speed wobble on descents.
Q5. What causes speed wobble on a loaded touring bike?
Mass placed high and behind the axle, which creates a resonance at speed. Moving five kilograms from a rack-top bag into low front panniers usually removes it entirely.
Q6. Is a roll-top or a zip better for panniers?
Roll-tops win for the main compartment because the fold has no moving parts to jam, provided there are three turns and the fold faces away from the spray. Zips are better for an external quick-access pocket.
Q7. How many times does a touring bag get opened?
Two to four times a day per bag, which is one hundred and eighty to three hundred and sixty cycles over ninety days. That is a different durability regime from weekend use, and it wears the roll fold first.
Q8. What volume do I need for a cross-country tour?
Size for the longest resupply gap plus a day rather than the average one. Typically two rear panniers of eighteen to twenty-five litres each plus front panniers, with water carried externally.
Q9. Should water be carried inside the panniers?
No. Water is the heaviest consumable and at one kilogram per litre it belongs low, in bottle sleeves on front panniers or on the rack platform, not high inside a rear bag.
Q10. How do I stop a pannier dropping into the wheel?
Use a lower hook or taut elasticated strap as well as the upper hooks. A bag that can pivot about the rail ovalises it and cracks hooks; removing the rotation multiplies hardware life.
Q11. Are hook-and-loop wrap straps reliable for touring?
No. Road dust packs into the loop side, grip falls steadily and the bag creeps backwards. They are acceptable for light commuting and rental fleets where loads are small and bikes get washed.
Q12. What causes the inside of a pannier to smell after a week?
Moisture sealed in with a damp jacket, sweat-soaked clothing and condensation. Open every bag at camp, wipe the interior and air the contents for an hour; no finish substitutes for that routine.
Q13. How do I stop heel strike with panniers?
Check the distance from the axle rearward along the rack platform, choose a pannier cut for that platform, and bias the load forward. Also check clearance with the bike leaning rather than on a stand.
Q14. What should I look for in a pannier hook?
A generous radius at the load path, stainless rather than plated steel, a rubber-lined full-contact jaw, a shim for different rail diameters, and availability as a spare part.
Q15. How often should I re-torque rack bolts?
Daily for the first week while surfaces bed in, then weekly, and always after the first rough descent. Publishing a torque figure and a check interval prevents the commonest mechanical abandonment on tour.
Q16. Why does the coating at my roll-top fold crack?
Repeated flex plus grit. The fold is worked every time the bag is opened, so it needs a coating rated for flex and a generous fold radius. Rinse the fold faces and inspect them periodically.
Q17. How should a brand structure a touring range to hit minimums?
One fabric platform in two deniers, one hardware family, two closure types and one mounting system with shims. That covers six retail lines while keeping each style at a 500-piece minimum.
People Also Ask
How much weight can touring panniers carry?
Plan fifteen to twenty-five kilograms total, split roughly one third front and two thirds rear, with dense items carried low.
Why does my pannier come loose on tour?
Bolt preload loss and hook wear from continuous small-amplitude movement. Re-torque daily at first and use a lower strap to stop pivoting.
Are front panniers worth it?
Yes. Low front loads keep the centre of mass low, stop speed wobble and make a loaded bike track like an unloaded one.
How do I keep gear dry in all-day rain?
Fold roll-tops outward with three turns, put the closure away from wheel spray, add a drain point, and use a wet/dry split inside.
What size panniers for a month-long tour?
Two rear panniers of eighteen to twenty-five litres each, plus front panniers, sized for the longest resupply gap plus one day.
How often should I check rack bolts?
Daily during the first week while surfaces bed in, then weekly, and after any rough descent.