At the crag, water is almost never the problem. A climbing bag is destroyed by grit, by sharp rock, by chalk dust working into seams and closures, and by being dragged across the ground at the base of a route twenty times a day. The waterproof requirement is real but narrow: chalk must stay dry, shoes must not get damp, and if it rains the day is usually over anyway. Everything else about a crag bag is an abrasion and organisation problem, and specifying it as a rain problem produces a bag that is over-sealed where it should be ventilated and under-protected where it actually wears.
This guide works through the decisions in the order a climber meets them across a day: why dust and abrasion dominate at the crag, how chalk should be stored and contained, what moisture does to shoe rubber and how to protect it, how ropes are managed and where they get damaged, why different rock types abrade differently, how a pack converts for the walk-in, how a bag hangs at the base and at a belay station, what happens when it does rain, how hardware and rack should be organised, what bouldering specifically needs, which tests actually predict crag performance, and how a brand should build a climbing range. QUANZHOU JUNYUAN BAGS has produced custom waterproof bags since 2014 in a 4,950 m² SGS-verified facility: MOQ 500 pieces per style, sampling in 6–10 working days, bulk in 35–50 days, FOB Xiamen.
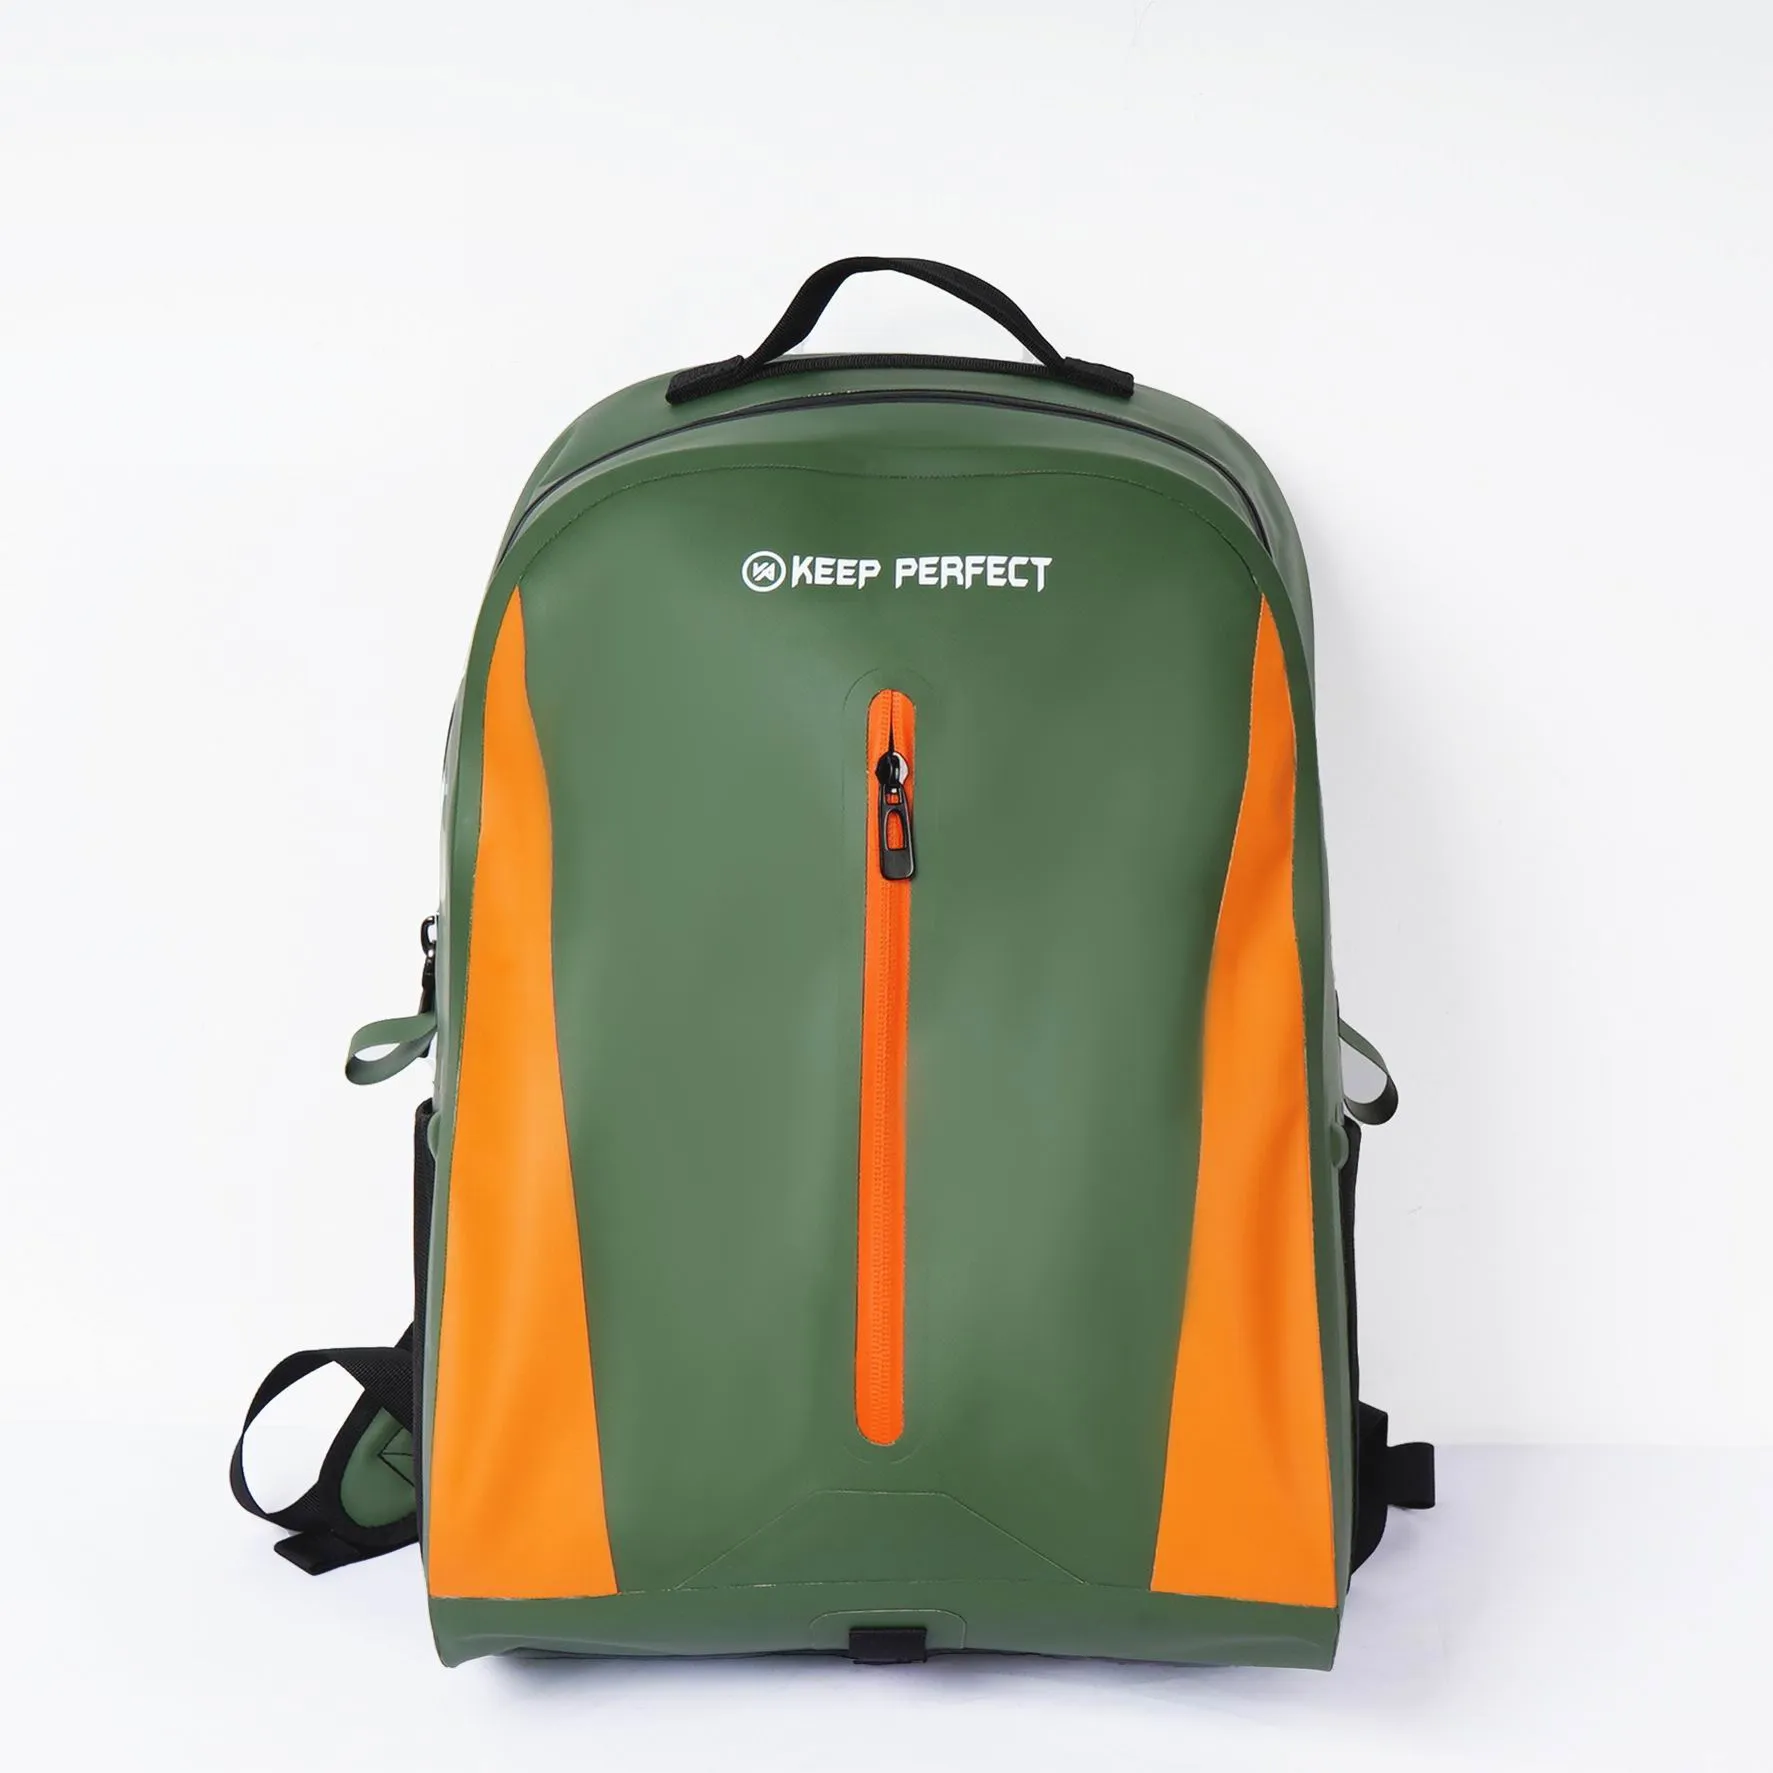
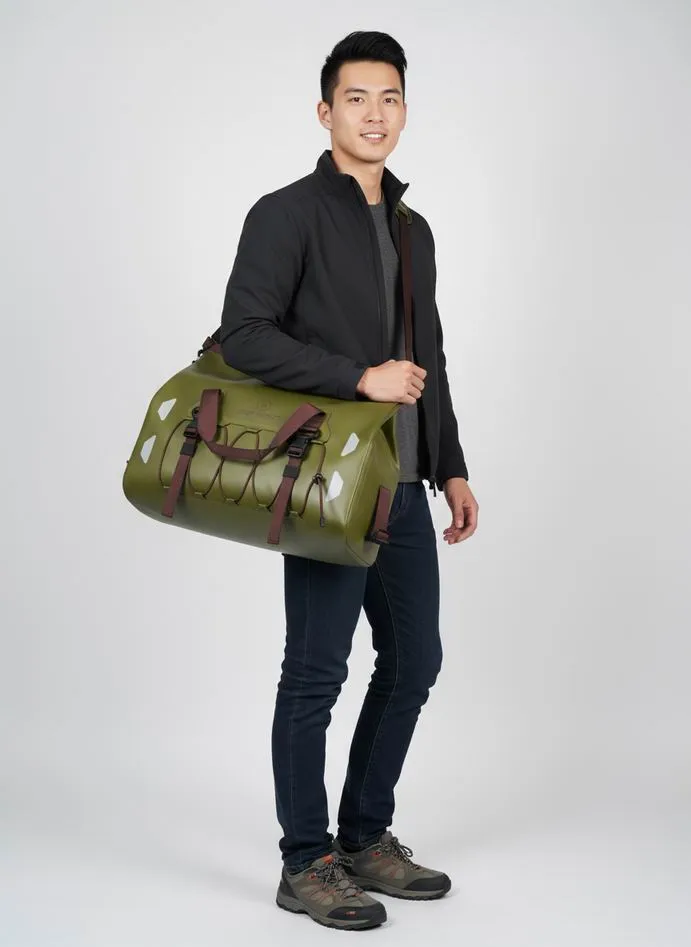
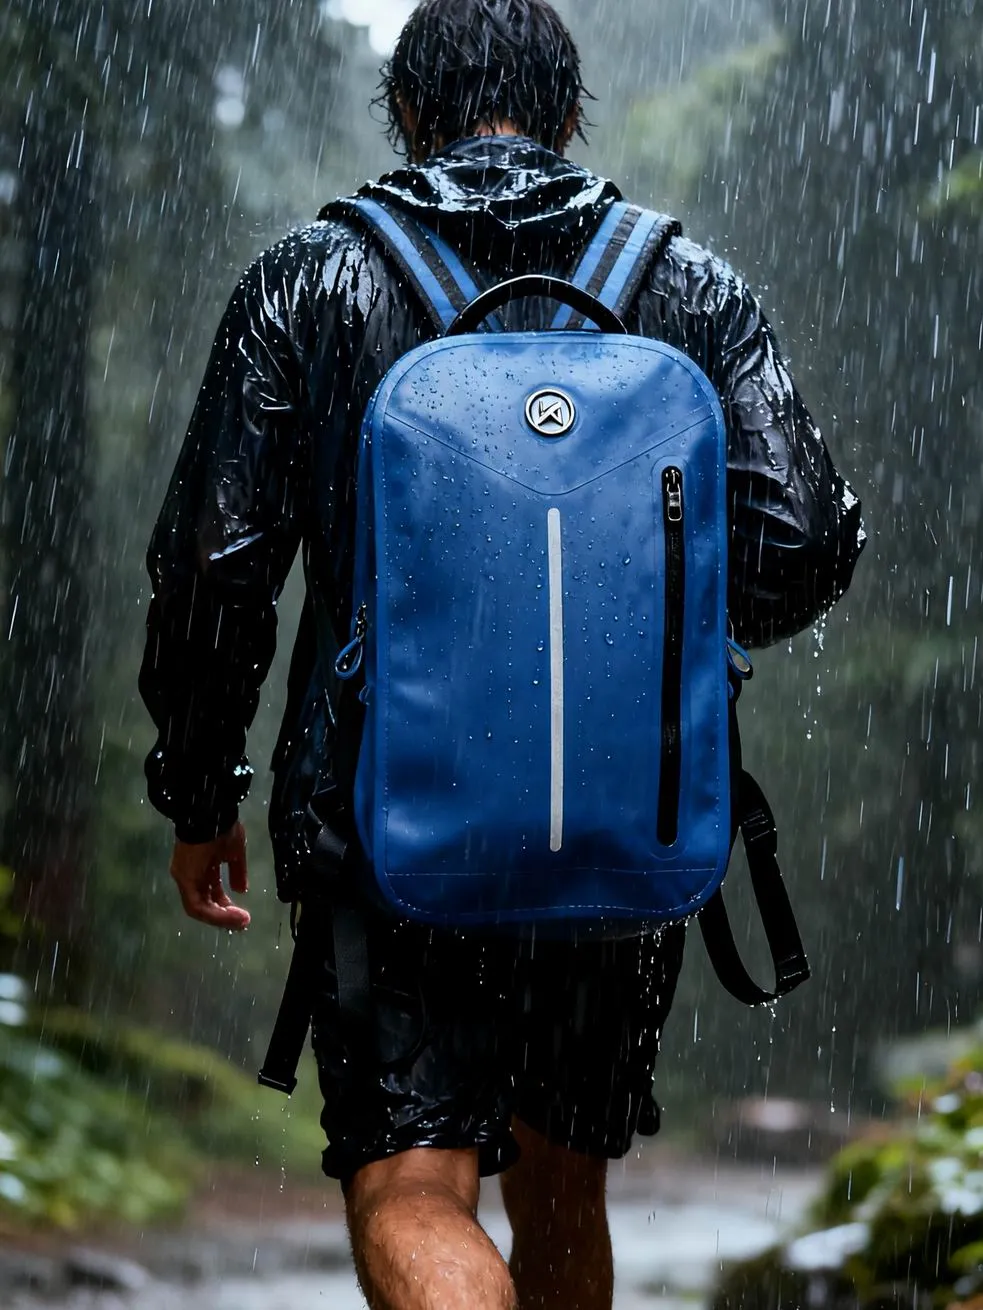
At the crag, rain is not the problem
A day at the crag loads a bag in a way no other outdoor activity does. The bag is set down on grit and sharp rock, dragged sideways along the base of the cliff, sat on, stepped over and occasionally knocked off a ledge. It is filled with chalk dust that finds every gap, with a rope that is heavy and dirty, and with shoes whose rubber is soft enough to be marked by handling. Climbing waterproof bags succeed or fail on how they handle that, and chalk dust containment turns out to be one of the harder specifications in the category because dust behaves like a fluid and gets into closures that water cannot enter.
Rain, by contrast, is a rare and decisive event. Most climbers stop when the rock is wet, because friction drops and the risk rises, and because wet rock damages holds. So the waterproof requirement is not about a day of sustained rain; it is about protecting the two or three items that must not get wet — chalk, shoes and any electronics — from a shower, from damp ground and from a bottle that leaked inside the bag. That is a much narrower brief, and it is why a fully welded, sealed crag bag is usually the wrong answer.
| Exposure at the crag | How often | What it damages | Design response |
|---|---|---|---|
| Grit and sharp rock under the bag | Every time it is set down | Base panel, seam tape, coatings | A heavy welded base with no seam on the contact plane |
| Chalk dust in the air | Continuously, all day | Zips, hook-and-loop, any untreated gap | Roll-tops over zips, sealed chalk compartment, wipeable linings |
| Rope drag across the bag | Several times per route | Shoulder and top panels | Abrasion-resistant panel where the rope rests |
| Sun and ultraviolet on a ledge | All day, often for weeks of days | Coatings, prints, webbing | UV-stabilised coating and light-fast pigment system |
| Occasional shower | A few times a season | Chalk, shoes, electronics | Targeted waterproof compartments, not a sealed bag |
The consequence for product design is that a crag bag should be zoned and ventilated rather than sealed. Abrasion-resistant and wipeable where it meets the ground and the rope; breathable or open where chalk and damp shoes need to dry; sealed only in one or two small compartments where chalk and electronics live. A bag designed the other way round — sealed everywhere — traps chalk moisture and ends the season smelling like a gym sock.
It is worth separating this from the alpine case explicitly, because the two get confused. Alpine problems are cold, spindrift, crampon puncture and down compression. Crag problems are dust, abrasion and rope management. The material choices overlap but the compartment logic does not, and the alpine version is covered in our guide to bags for mountaineering and alpinism.
Chalk: keeping it dry and containing the dust
Chalk is the substance that defines the category. Loose magnesium carbonate is used constantly, it becomes airborne with every clap and every hand jam, and it gets into everything. It is also ruined by water: damp chalk cakes, does not coat the hands evenly and stops working. So chalk needs two opposite things at once — a dry environment, and containment so that it does not spread through the rest of the bag.
Those two requirements are in tension because a sealed container keeps chalk dry but concentrates the dust, while an open container lets dust escape and lets humidity in. The resolution used by experienced climbers is a two-part system: a chalk bag with a good closure for the climb, and a sealed dry compartment or a resealable inner bag for the bulk supply. The bulk supply stays dry; the working chalk stays accessible; the dust stays in one place.
- Give the bulk chalk a sealed inner container with a roll-top or a wide-mouth closure that can be opened without a puff of dust in the face.
- Line the chalk compartment with a smooth film rather than fabric, because fabric holds dust permanently and transfers it to everything else.
- Never put chalk and electronics in the same compartment. Chalk dust is mildly abrasive and finds its way into ports and hinges.
- Avoid hook-and-loop inside the bag. Chalk destroys hook-and-loop faster than anything else in the outdoor world.
- Make the chalk compartment wipeable and give it a closure that can be brushed clean rather than one that traps powder in its teeth.
Zip choice is the practical battleground. A zip whose coil has been loaded with chalk dust stops sealing and starts wearing, and the dust is impossible to remove from the tape. Where a crag bag needs a zip, it should have a garage, a large puller that can be operated with chalky hands, and a cleaning instruction. Where it does not, a roll-top or a simple drawcord with a stiff mouth is more durable and much cheaper.
There is a cleaning dimension too, and it is the reason most crag bags are retired. Chalk dust plus sweat plus a sealed bag produces a residue that smells and cannot be washed out of a textile lining. A bag with a smooth, wipeable interior and a shape that can be turned inside out will last several seasons longer than one with a brushed lining, and that difference is visible in the secondhand market, which is where a brand’s reputation in this category actually forms.
Climbing shoes: rubber, moisture and the friction economy
Climbing shoe rubber is soft by design, which is what makes it grip, and soft rubber is vulnerable to three things: heat, contamination and compression. Heat softens and then degrades the compound. Contamination — dust, oils, sand — destroys friction on the rock face. And sustained compression against a hard object deforms the edge, which is the part of the shoe that does the work on small holds.
Moisture is the underrated one. A damp shoe does not grip, dries slowly inside a sealed bag, and then carries that moisture into the bag where it meets chalk residue. The result is the classic end-of-day failure: shoes that will not stick to a warm-up slab for no reason the climber can identify. The answer is a shoe compartment that breathes rather than one that seals, and a bag that is opened and aired at the end of every session.
| Shoe storage approach | Protects from rain | Allows drying | Verdict |
|---|---|---|---|
| Sealed dry bag | Excellent | No | Only for the walk-in in heavy rain; never for daily storage |
| Ventilated mesh or net panel compartment | Poor | Excellent | Best daily answer; the shoes dry and the dust falls out |
| Separate shoe bag with a breathable face | Moderate | Good | Best compromise; keeps chalk off clothing and lets shoes dry |
| Loose in the main compartment | Depends on the bag | Moderate | Worst option; dust transfers to everything and edges get compressed |
| External shoe carry on the approach | Poor | Excellent | Best for the walk-in, since approach shoes are worn anyway |
The external carry point is the detail that marks a climbing-specific pack. On the approach, a climber wears approach shoes or boots and carries their rock shoes; at the crag, the reverse. A pack with a dedicated external attachment for the shoes not in use — two straps and a protected pocket, positioned so the shoes are not crushed — solves the transition without putting dirty shoes inside the bag. That is worth more to a climber than any fabric upgrade.
Ventilation is the other half, and it is where a waterproof brief can actively hurt. A welded, fully sealed shoe compartment keeps rain out and keeps sweat in, and after a session the interior is worse than the shoes. A breathable panel on the shoe compartment, placed where it will not contact the ground, is the right specification. Our note on ventilated mesh and netting in bag design covers the material options, and the dedicated product category is covered in shoe and boot bags.
Rope management: tarps, bags and where ropes get damaged
A climbing rope is the heaviest and most expensive consumable a climber owns, and most rope damage happens on the ground rather than on the rock. Grit worked into the sheath, a sharp edge under the rope, standing on the rope with dirty shoes, and dragging it across abrasive surfaces are the four mechanisms, and all four happen at the base of the route. A rope tarp is the cheapest effective answer, and a rope bag is the better-organised one.
A rope tarp is a simple product with a real specification: a durable, abrasion-resistant sheet, large enough for the rope to be flaked onto it, with tie-out loops at the corners and a cord to gather it up. A rope bag adds a shoulder carry and a closure. Both should have a smooth inner face that does not hold grit, and both should be made from a material that can be shaken out, because a tarp that holds grit does more harm than none at all.
- Make the tarp big enough. A rope flaked onto a tarp that is too small hangs off the edge and picks up grit exactly as it would on the ground.
- Use a smooth inner face so grit can be shaken off rather than worked into a weave.
- Put tie-out loops at the corners, because a tarp that blows away is worse than no tarp.
- Give a rope bag a wide mouth and no internal obstacles, so the rope can be stuffed in rather than coiled every time.
- Never share the rope compartment with shoes. Grit on shoes is grit in the rope sheath.
The carry question is worth a decision. A rope carried inside a pack adds eight to twelve kilograms low and central, which is fine for load carriage but puts grit into the pack. A rope carried outside on a strap is cleaner but catches on vegetation on the approach. Climbing packs that offer both, with a dedicated rope strap that stows away when not in use, are the ones that get recommended.
There is a material point about rope abrasion that generalises. A rope dragged across a pack panel abrades it faster than rock does, because the rope has a large contact area, grit embedded in it, and a climber pulling it repeatedly. The panel where a rope rests should be specified by an abrasion cycle figure, not by feel, which is what our guide to abrasion resistance standards is for.
Sharp edges: granite, sandstone and limestone are different abrasives
Climbers talk about rock type constantly and bag designers rarely do, which is a missed opportunity. Granite and quartzite are effectively files: sharp, hard crystals that cut coatings and abrade fabric quickly. Sandstone is softer but sheds coarse grit that works into seams and closures. Limestone is often the worst combination of sharp and dusty, with a fine alkaline dust that packs into zip coils and hook-and-loop and accelerates wear. Slate and schist cut cleanly and are unforgiving of thin films.
| Rock type | Abrasion character | What it damages | Specification response |
|---|---|---|---|
| Granite and quartzite | Sharp, cutting, high hardness | Coatings, thin films, seam tape | Heavier denier laminate on base and contact faces, welded not stitched |
| Sandstone | Coarse grit, moderate hardness | Seams, closures, zips | Sealed closures, shakeable surfaces, minimal exposed seam tape |
| Limestone | Sharp plus fine alkaline dust | Zips, hook-and-loop, finishes | Roll-tops over zips, no hook-and-loop in dust zones, washable finishes |
| Slate and schist | Clean sharp edges, plate-like | Thin films and welds under point load | Thicker film on contact faces and reinforced corners |
| Gritstone | Very high friction, sandpapers | Everything it touches, fast | Sacrificial panels on the base, replaceable if possible |
Zoned construction is the economic answer, as it is in most abrasive categories. A heavy laminate on the base and lower back where the bag meets the ground, a medium weight on the outer faces, and a lighter weight on the top and inner faces, with a sacrificial or replaceable panel at the highest-wear point. That beats a uniform mid-weight shell at similar cost, and it is the specification difference that shows up in year two rather than in the shop.
Corners deserve specific attention because they are where failure starts. A bag set down on sharp rock lands on a corner, and a corner is a stress concentration with two seams meeting. Reinforcing the four bottom corners, and keeping welds out of the corner radius, is a cheap change that removes the most common structural warranty claim in this category.
The approach: converting a pack for the walk-in
The approach is the part of a climbing day when the bag is actually carried, and it is where a climbing pack earns or loses its reputation. A typical walk-in is twenty minutes to two hours, often uphill, often on rough ground, with a rope, shoes, a harness, a helmet, a rack, water and food. The pack has to carry that comfortably and then convert, at the base, into something that can be hung up and worked out of.
| Approach item | Where it should live | Why | Conversion requirement |
|---|---|---|---|
| Helmet | Outside, on a dedicated strap or in an external cradle | Bulky, and must not be crushed | A stowable helmet carry that does not foul the shoulder straps |
| Climbing shoes | External attachment or a ventilated outer pocket | Dirty, and must not be crushed | A protected external attachment that keeps the edges safe |
| Harness | Worn, or in a top pocket | Needed immediately at the base | A pocket that can be reached without unpacking |
| Rope | On a dedicated rope strap, or inside low and central | Heavy, and dirty | A strap that stows when not carrying a rope |
| Rack and quickdraws | Inside, in a rigid organiser | Heavy, sharp, must not tangle | A removable organiser that can be hung at the base |
| Water and food | Side and lid pockets | Needed on the walk | Reachable while the pack is hung |
The conversion is the design problem most packs ignore. At the base, a climber wants to hang the pack, take out the rack, the shoes, the chalk and the rope, and leave everything else in place. A pack with a strong hang loop, a front or panel access that opens wide, and internal anchor points for the rack organiser does that in one motion. A top-loading pack requires the climber to take everything out to reach the rope at the bottom, which is why top-loaders are unpopular at the crag despite being excellent on a trail.
Hanging strength is not a trivial specification. A pack loaded with a rope and a rack can exceed fifteen kilograms, and it is often hung from a single point on a bolt or a branch. The hang loop should be rated, load tested wet, and anchored into a reinforced structure rather than into a single panel seam. Our guide to load testing for straps and handles applies directly.
Hanging the bag at the base and at a belay station
Once hung, a pack has a second set of requirements that are specific to climbing. It should hang so that its contents are reachable from the front, it should not swing when the rope moves, and it should protect its contents from the dust and small debris that fall from a route. Multi-pitch climbers additionally haul a pack on some routes, which adds a drag and abrasion case that no other category has.
- Put the hang loop high and central so the pack hangs upright and the access panel faces the climber.
- Give the pack a second stabilising point so it does not rotate when the rope is pulled through it.
- Design the access panel to open away from the rock, because debris falls down the cliff face and lands on the outward-facing side.
- Keep closures on the lower half of the pack, where falling debris and spilled water are less likely to enter.
- For hauling, reinforce the base and the lower back with a heavier panel and provide a haul point rated for the loaded weight.
- Avoid external pockets on the face that will be dragged against the rock during a haul; they will be gone in a few pitches.
A specific and underrated hazard: falling objects. On a busy crag, rocks, gear and occasionally a dropped item come down the face, and a pack sitting directly under the route is in the fall line. Siting the pack to one side is climber behaviour rather than product design, but a pack with a reinforced top panel and no fragile external components survives an incidental strike far better than one with exposed zips and mesh on top.
Multi-pitch hauling deserves one more line. A hauled pack is dragged, not carried, and it takes abrasion along one entire panel while under load. If a product is marketed for multi-pitch use, that panel should be specified as a haul surface: heavy, smooth, welded, with no exposed stitching and no external pockets that can catch. Marketing a general pack for hauling without that is how a brand acquires a reputation for a product that shreds.
When it does rain at the crag
Rain at the crag is usually the end of the day, but there is an hour before everyone accepts that, and there is the walk-out afterwards. In that window, the items that matter are the same three as always: chalk, shoes and electronics. Everything else — the rope, the rack, the harness — is either already wet or unaffected, and a climber will accept a wet rope far more readily than ruined chalk.
The design response is targeted rather than global. One small sealed compartment for chalk and any electronics, a ventilated but shower-resistant shoe compartment, and a shell fabric that sheds water from the top surface so the bag does not become heavy. The bag does not need to survive submersion, and a climber who is packing for a crag day does not want to carry a sealed bag’s weight and stiffness for the sake of a scenario that ends the session anyway.
| Item | Priority in rain | Right specification | Common mistake |
|---|---|---|---|
| Chalk, bulk and working | Critical | Sealed compartment or a resealable inner bag | Loose chalk in an open pocket |
| Climbing shoes | High | Shower-resistant, ventilated compartment | A fully sealed compartment that traps sweat |
| Phone, keys, car keys | High | Small sealed pouch, on the person or in the lid | Loose in a side pocket |
| Rope | Low | Accept it; dry it at home | Trying to keep a rope dry during use |
| Clothing layers | Moderate | A pack that sheds water and dries fast | A heavy shell that stays wet all day |
Drying after rain is the part that gets neglected. A wet rope and a wet pack put away together will smell within a week, and a rope stored wet is a rope with reduced life. The useful product here is not a better bag but a drying system: a bag that opens fully, a mesh panel that allows air through, and an instruction to dry the rope loosely at home. Our note on choosing the right waterproof level is the right frame for deciding how much protection each compartment actually needs.
Rack organisation: quickdraws, cams and nuts
A rack is heavy, sharp, expensive and easy to tangle, and it is the reason climbing packs need internal organisation that hiking packs do not. Quickdraws have carabiners that catch on fabric; cams have metal stems and trigger wires that abrade; nuts are on wire and tangle; and all of it is metal that will find any weakness in a lining.
- Use a removable rack organiser with rigid sides, so the rack can be taken out and hung at the base without unpacking the bag.
- Line the rack compartment with a smooth, abrasion-resistant film, because carabiner edges cut textile linings quickly.
- Keep the rack low and central in the pack for load carriage, and separate it from the rope so the two do not abrade each other.
- Avoid hook-and-loop and mesh inside the rack compartment; metal catches on both.
- Give the compartment a drain, because a wet rope and wet gear end up in the same place and water has to leave.
The removable organiser is the product worth building. It converts the pack from a container into a system, it is sold as an accessory to climbers who already own a pack, and it is cheap to make from the same fabric platform as the pack. It is also the item that gets noticed in photographs and reviews, because it is visible in use at the base of a route.
Weight distribution has a climbing-specific wrinkle. A rack is dense and it is usually carried on the approach but not on the climb, which means the pack’s centre of mass changes during the day. A pack with a compartment layout that lets dense items move from a low position to an upper one handles that better than a pack with a single fixed volume, and climbers notice the difference on a steep descent with a full rack.
Bouldering specific: pads, brushes and multiple pairs
Bouldering is a different logistics problem from rope climbing, and it is under-served by bag ranges. A boulderer carries a crash pad, which is large, bulky and awkward; brushes, which are dirty and chalk-covered; often two or three pairs of shoes for different problem styles; and a chalk bag and a brush for each session. Everything happens at ground level over a short distance from the car, so the carrying problem is bulk rather than weight.
| Bouldering item | Carrying problem | Right product response | What fails otherwise |
|---|---|---|---|
| Crash pad | Bulky, awkward, awkward to carry with anything else | A pad with a proper carry system that can also be strapped to a pack | Carrying a pad under one arm and everything else in the other |
| Brushes | Chalk-covered, dirty, damage other items | A sealed brush pocket with a wipeable lining, outside the main volume | Chalk and grit through the whole bag |
| Multiple pairs of shoes | Bulky, must not be crushed | A ventilated shoe compartment sized for two pairs, with a divider | Deformed edges and no drying |
| Chalk and skin care | Dust and small items | A small sealed pouch with a wide mouth | Chalk dust everywhere, tape and files lost |
| Food and water | Needs to stay clean | A compartment strictly separated from shoes and brushes | Grit in the food |
The crash pad carry is the biggest opportunity in this segment, because pads are bought frequently, they wear out, and almost every boulderer has a story about a pad carry system that failed. A pad with comfortable straps, a way to attach a small pack to it, and a closure that does not open when it is dragged is a product that sells on a specific, demonstrable improvement rather than on brand.
Boulderers also move between problems constantly, which means the bag is opened and closed far more often than in rope climbing. Closures should be one-handed, durable and tolerant of chalky hands, which in practice means large pullers and no hook-and-loop in the dust path. Our comparison of zipper and roll-top closures covers the durability side of that choice.
Which tests actually predict crag performance
Standard waterproof tests tell a crag bag buyer almost nothing, and the tests that do predict field performance are mostly abrasion and dust tests. The set below is cheap to run on a pre-production sample and each one maps to a failure climbers actually report.
| Test | Method in plain terms | Pass criterion | What it predicts |
|---|---|---|---|
| Abrasion on the base and rope panel | Taber or Martindale on the production laminate used on contact faces | A stated cycle count before coating breakthrough | The most common wearable failure at the crag |
| Dust ingress on closures | Operate the closure in a dust-loaded environment for a cycle count, then check sealing and function | No measurable loss of function or sealing | Whether zips survive a season of chalk |
| Corner drop and point load | Drop the loaded bag onto a sharp edge from a defined height | No coating cut-through or weld opening | The corner failure that starts most structural claims |
| Hang loop load, wet | Hang the stated maximum load from the loop, wet, for a defined period | No elongation or failure | The pack that falls off a bolt at the base |
| Haul abrasion | Drag the loaded pack over rock for a defined distance | No breakthrough on the haul panel | Whether a multi-pitch hauling claim is honest |
| Shake-out and cleanability | Load with chalk and grit, shake out, wipe, and inspect | Residue removable from the interior surface | Whether the bag lasts more than one season |
The dust test is the one almost nobody runs, and it is the most informative. Chalk dust behaves differently from water: it is dry, it is fine, and it migrates into closures by vibration rather than by pressure. A zip that seals perfectly against water can be destroyed by a week of chalk, and there is no way to predict that from a waterproof test.
Run all of these on production-representative samples. A handmade prototype made by the best operator with the best machine settings will pass tests the production run will fail, which is why a sample from the actual line is worth more than a beautiful prototype. The relationship between sampling rounds and production discipline is covered in what to expect from sampling, and independent verification is discussed in third-party laboratory testing. Where a specification needs to be unambiguous across borders, published methods catalogued by the International Organization for Standardization remove the argument about what a test meant.
Materials and hardware decisions for a climbing range
The brief for a crag range reduces to six decisions, and each is cheaper to make on paper than to discover in production. The abrasion laminate by zone, the interior surface finish, the closure types and their dust tolerance, the hang and haul points and their rating, the ventilation strategy for shoes and chalk, and the hardware choice with chalk and impact in mind.
Interior finish is the one most often decided last and regretted first. A smooth film or a tightly calendered lining can be wiped and shaken clean; a brushed or textile lining holds chalk, sweat and grit permanently and is the single biggest reason a crag bag is retired early. It is also a cheap decision, because the smooth option is usually no more expensive than the soft one.
- Choose hardware that tolerates impact. Buckles at the base of a crag get dropped onto rock, and a polymer with poor impact strength will break.
- Avoid exposed metal on the outside of the pack where it can strike rock or be struck; it dents, it is noisy and it conducts cold.
- Specify large, glove- and chalk-friendly pullers on every closure that will be operated during a session.
- Keep hook-and-loop out of the dust path entirely; use it only where it will never see chalk.
- Use UV-stabilised coatings and light-fast pigments, because crag bags live outdoors for entire seasons.
- Make the base panel smooth rather than textured, so grit can be shaken off rather than retained.
Weight is a genuine consideration for the approach but not for the bag itself, and the trade is asymmetric in the same way it is in alpinism. Saving grams on the shell where nothing touches rock is sensible; saving grams on the base, the hang loop or the haul panel is not. Our article on weight optimisation and the breakdown of denier and durability give the numbers behind that judgement, and hardware selection is covered in hardware, buckles and strap accessories.
Building a climbing range: products, minimums and logo
Climbing is a small, influential market with strong word of mouth and a high rate of repeat purchase on consumables. That combination favours a range built around a few well-specified core products plus a set of cheap accessories that carry the brand, rather than a wide range of packs. Climbers buy a pack every few years and accessories every season.
| Product | Role in the range | Key specification | Sourcing note |
|---|---|---|---|
| Crag pack | The defining product | Zoned abrasion laminate, panel access, rated hang loop | Highest validation burden; test on real rock before committing |
| Rope tarp | Consumable, replaced often | Smooth shakeable face, corner tie-outs, generous size | Cheap, high repeat, ideal for colour and logo experimentation |
| Rope bag | Step-up from the tarp | Wide mouth, shoulder carry, no internal obstacles | Shares the fabric platform with the pack |
| Removable rack organiser | Attachment product | Rigid sides, smooth lining, hanging loop | Sells to climbers who already own a pack |
| Chalk and smalls pouch | High margin accessory | Sealed, wipeable, wide mouth, dust-tolerant closure | Lowest unit cost, sold in multiples |
| Shoe bag with a breathable face | Everyday accessory | Ventilated panel, divider for two pairs | Crossover into gym and travel channels |
Logo placement and process matter unusually here because of where climbers see the product. A bag hung at the base of a route is photographed constantly, and it is photographed dirty. A logo that sits on a high-abrasion panel will be half gone by the middle of the season, and a logo that cracks looks like a defect. Silicone prints and welded badges survive the abrasion, the chalk and the ultraviolet; screen print cracks on flexing panels and embroidery perforates the shell and needs a welded backing. The comparison is set out in logo printing and embroidery options.
Order planning should follow the purchase pattern. Because each style carries its own minimum of 500 pieces, the accessories are the products that absorb it most comfortably: a rope tarp, a chalk pouch and a shoe bag share one fabric platform and one trim family, they are cheap, and they turn over. The pack is the product that defines the brand and carries the validation cost, and it should be developed second, once the fabric platform has been proven on the accessories.
Sequencing matters for a second reason. Climbing is a credibility market. A brand that launches with a rope tarp that is genuinely better than the alternatives earns the right to sell a pack; a brand that launches with a pack and no accessories is asking the customer to take the larger risk first. The accessory-first order is also the cheaper order, which is how a small range funds its own development.
Two documentation decisions close the range. Publish the abrasion zone and the hang-loop rating, because almost no climbing brand does and both are checkable claims. And publish the care instruction — shake out the chalk, wipe the lining, dry the rope — because that is what determines whether the product lasts one season or four. Climbing has a strong published-technique culture, supported by organisations such as the International Climbing and Mountaineering Federation and the American Alpine Club, and brands that write precise specifications into their documentation earn trust in that culture quickly.
If you want these decisions turned into real numbers rather than estimates, send us your product list, abrasion requirements and target volumes. Minimum order quantity is 500 pieces per style, samples take 6–10 working days, bulk production runs 35–50 days, and quotations are issued FOB Xiamen.
Frequently Asked Questions
Q1. Do climbing bags need to be fully waterproof?
No. The crag is a dust and abrasion environment. Targeted waterproof compartments for chalk and electronics matter; a fully sealed bag traps sweat and chalk moisture and ends the season smelling.
Q2. Why does chalk ruin zips?
Chalk dust is fine, dry and mildly abrasive, and it migrates into the coil under vibration. Packed dust wears the slider and the teeth and cannot be washed out of the tape.
Q3. How should climbing shoes be stored in a bag?
In a ventilated compartment or a breathable shoe bag, never sealed. Sealed shoes stay damp, do not grip and carry moisture into the bag where it meets chalk residue.
Q4. What is a rope tarp for and how big should it be?
It keeps the rope off grit while it is flaked at the base. It should be large enough that no part of the rope hangs off the edge, with corner tie-out loops.
Q5. Which rock type is hardest on bags?
Granite and quartzite cut coatings, while gritstone sandpapers everything it touches. Limestone is the worst combination of sharp and dusty, because fine dust attacks closures.
Q6. Should a climbing pack be top-loading?
Not ideally. Top-loaders force the climber to unpack to reach the rope at the bottom. A wide panel or front access converts far better at the base of a route.
Q7. How strong does a pack hang loop need to be?
Rated for the loaded weight, often fifteen kilograms or more with a rope and rack, and load tested wet. It should be anchored into a reinforced structure, not into a single panel seam.
Q8. Can a regular hiking pack be used for multi-pitch hauling?
Not without a reinforced haul panel. A hauled pack is dragged under load along one entire face, and external pockets and light panels do not survive it.
Q9. What interior finish lasts longest in a chalk environment?
A smooth film or tightly calendered lining that can be wiped and shaken clean. Brushed or textile linings hold chalk and sweat permanently and end the bag early.
Q10. What should a bouldering bag carry that a climbing pack does not?
Room for two or three pairs of shoes without crushing them, a sealed brush pocket outside the main volume, and a way to attach to a crash pad.
Q11. How do I stop my bag smelling after a season?
Shake out the chalk, wipe the interior, and dry the bag and the rope fully before storing. Sealed bags with textile linings are the ones that cannot be reset.
Q12. Are metal buckles a problem at the crag?
Generally yes on the outside. Exposed metal dents against rock, is noisy when the pack is set down and conducts cold. Polymer with good impact strength is the better choice.
Q13. Does ultraviolet really matter for a crag bag?
Yes. Bags sit on ledges and at the base of routes all day for entire seasons, so a UV-stabilised coating and light-fast pigments prevent chalking and fading.
Q14. Which logo process survives climbing use?
Silicone prints and welded badges. They resist abrasion, chalk and ultraviolet. Screen print cracks on flexing panels and embroidery perforates the shell.
Q15. What causes most crag bag warranty claims?
Corner and base failures, hang loops that pull out, and closures destroyed by dust. Water ingress is comparatively rare in this category.
Q16. How many products should a climbing range launch with?
Start with accessories: a rope tarp, a chalk pouch and a shoe bag share one fabric platform, are cheap and turn over. Add the pack once the platform is proven.
Q17. What should brands publish for a crag bag?
The abrasion zone, the hang-loop rating and a care instruction. Both claims are checkable, and almost no climbing brand publishes either.
People Also Ask
Do climbers need waterproof bags?
Partly. Chalk, shoes and electronics need targeted protection from showers and damp ground, but the crag is dominated by dust and abrasion rather than rain.
Why is chalk bad for bags?
Fine dry dust migrates into zips and hook-and-loop under vibration, wears them, and combines with sweat to form a residue that cannot be washed out of textile linings.
How should I carry climbing shoes?
Externally on the approach and in a ventilated compartment at the crag. Sealed storage keeps them damp and destroys grip.
What is a rope tarp for?
To keep a rope off grit and sharp ground while flaked at the base, since most rope damage happens on the ground rather than on the rock.
Can I haul a normal pack on a multi-pitch route?
Only if it has a reinforced, smooth haul panel with no external pockets. Otherwise it will abrade through within a few pitches.
Which rock wears bags out fastest?
Gritstone and granite. Gritstone sandpapers everything it touches; granite and quartzite cut coatings and seam tape.